1. Prep Your Nails
Step 1: Remove Old Polish
Even a tiny leftover polish can mess up your base coat and cause uneven application. I like using a cotton pad soaked in polish remover, then pressing it gently on the nail for a few seconds. This dissolves polish fully instead of just smearing it around. Pro tip: if your nails are stained (red polish, I’m looking at you), a light buff will help bring them back to their natural tone.
Step 2: Trim Your Nails
Decide on the length you want. Are you going classy and understated, or dramatic and long? Keeping nails consistent in length makes your French tips look professional, even at home. Use a nail clipper or scissors, then file the edges smooth. Personally, I love an oval shape—it’s forgiving if you mess up the corners (trust me, mistakes happen).
Step 3: Buff Your Nails
Buffing is crucial. It smooths ridges and gives the polish a nice surface to stick to. Just a light buff is enough—don’t go overboard.
Step 4: Wash Your Hands
Once nails are shaped and buffed, wash your hands thoroughly to remove dust, oils, and yes, even cookie crumbs. These little things really can mess with polish adhesion.
Step 5: Mental Prep
Set up a comfortable workspace with good lighting, grab your polish, and take a deep breath. A steady hand is everything for clean French tips. Think of this step as laying the foundation for salon-worthy nails—prep properly, and everything else will be easier.

2. Apply Base Coat
Alright, now that your nails are prepped and looking fresh, it’s time for the base coat—aka the unsung hero of perfect French tips. Honestly, this step is where a lot of beginners get lazy, and that’s when tips start chipping faster than your patience on Monday morning. Don’t skip it.
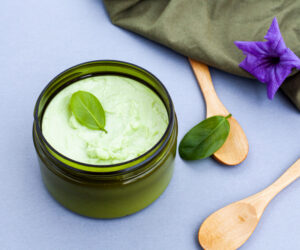
Step 1: Choose a Good Base Coat
Not all base coats are created equal. Look for one that strengthens your nails and provides a smooth surface. Some even have a hint of pink to even out nail color. Trust me, investing in a decent base coat makes the rest of the process way easier and your French tips last longer.
Step 2: Apply a Thin Layer
Less is more here. Apply one thin, even layer over each nail. Thick coats dry unevenly and can bubble—nobody wants that. Swipe from the base of the nail to the tip in one smooth stroke. If you feel shaky, take a deep breath and go slow—it’s better to be steady than to smear polish everywhere.
Step 3: Let It Dry
Patience, my friend. Let the base coat dry completely, usually 1–2 minutes. Don’t rush it. If you start painting your nude or pink polish too early, it can mix with the base coat and create streaks. A clean, dry base ensures your French tips look neat and professional.
Step 4: Inspect Your Nails
Before moving on, check each nail for streaks, uneven coverage, or bubbles. If needed, apply a second super-thin layer to smooth things out. A little extra care now saves a lot of frustration later.
Pro Tip: Always work in thin layers and let them dry. It’s boring, I know, but trust me—your future self (and your nails) will thank you. Think of the base coat as the foundation of your masterpiece. Skip it, and everything else feels like building on sand.

3. Apply Nude or Light Pink Base Color
Alright, we’re getting to the fun part—laying down that nude or light pink base that makes French tips look clean, classy, and effortlessly chic. This step might seem simple, but trust me, how you apply your base color sets the tone for the whole manicure.
Step 1: Pick the Right Shade
Choose a nude or light pink polish that complements your skin tone. A slightly sheer pink gives a natural look, while a beige or soft nude looks ultra-polished. Pro tip: if you want your tips to really pop, pick a base that’s a touch lighter than your natural nail color—it creates a crisp contrast.
Step 2: Apply the First Coat
Start with one thin layer. Thin coats dry faster, reduce streaks, and help you avoid smudges. Begin at the center of the nail and swipe polish toward the tip, then lightly stroke the sides. Don’t press too hard—the goal is smooth, even coverage.
Step 3: Let It Dry Completely
Patience is key. Allow the first coat to dry fully, usually 2–3 minutes depending on your polish. Rushing this step = uneven color and bubbles. FYI, drying time is your friend here.
Step 4: Apply a Second Coat
Once the first coat is dry, apply a second thin layer for full opacity. This is especially important if your first layer looks slightly streaky. Again, thin and even is the motto here.
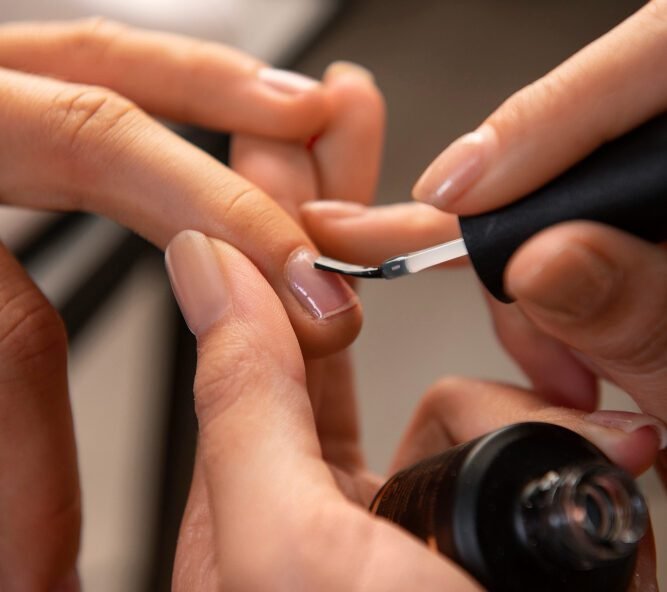
Step 5: Inspect and Correct
Check for any streaks, patchy areas, or uneven edges. Use a small brush dipped in polish remover to fix mistakes. Clean edges at this stage make your French tips look neat and professional.
Pro Tip: Keep your hand steady and work in well-lit areas. The smoother your base color, the easier it is to paint the white tip later. Think of it as creating a blank canvas—once this layer is perfect, the French tips practically paint themselves.

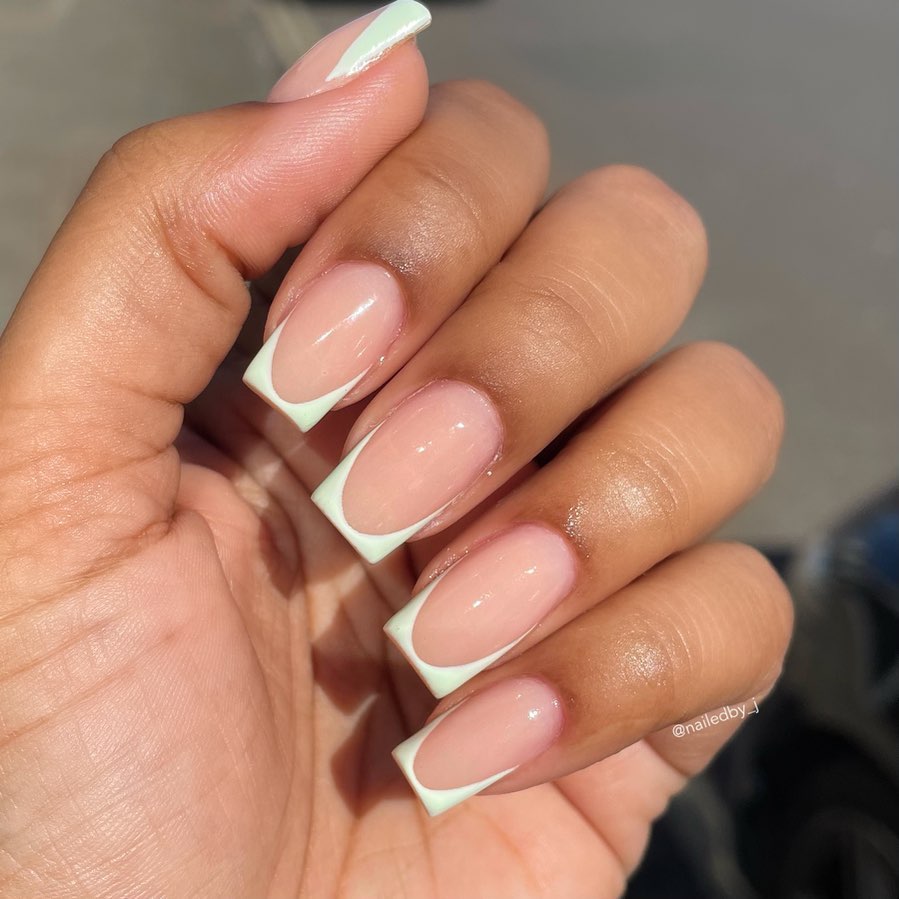
4. Create the White French Tip
Now comes the part everyone notices—the white tip. This is the signature part of French tips, and done right, it instantly makes your nails look polished and classy. Don’t worry, you don’t need a steady hand of a surgeon—there are tricks to make it look perfect.
Step 1: Choose Your Method
You have two main ways to do this: freehand or using guides/tape.
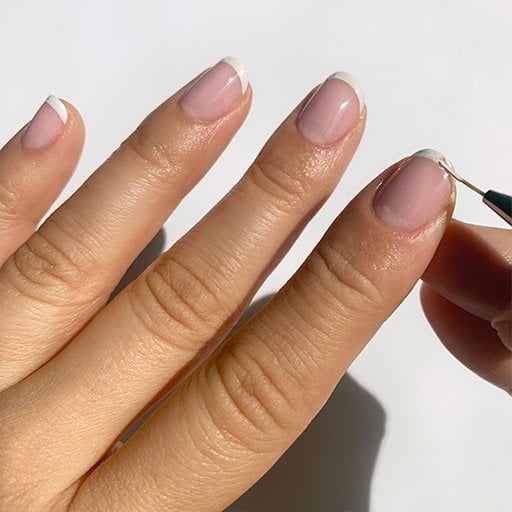
Freehand: If you feel confident, start in the center of your nail tip and gently draw a thin white line across. Extend to the sides for a smooth curve. Remember: slow and steady wins the race.
Guides/Tape: If freehand scares you (trust me, we’ve all been there), stick tape just below where you want the tip. Paint above the tape, then peel it off carefully for a crisp, clean line.
Step 2: Apply the White Polish
Use thin layers, not thick blobs. Thick polish smudges easily and takes forever to dry. Start at the center and move outward, then lightly stroke the sides for a perfect curve.
Step 3: Check for Mistakes
Don’t stress if it’s not perfect. Tiny smudges happen! Grab a small brush dipped in polish remover to clean up the edges. Precision is key, but don’t let perfectionism ruin the fun.
Step 4: Let It Dry
Allow the white tips to dry fully before moving to the top coat. Rushing this step can smudge your hard work.
Pro Tip: For a natural, elegant look, make the curve of the tip subtle—not too thick. If you want something bolder, you can always make it thicker or experiment with colors later.
5. Apply Top Coat & Seal Your French Tips
Congrats! Your white tips are looking sharp, and now it’s time for the final step—the top coat. This is what gives your French tips shine, durability, and a professional finish. Skipping this? Big mistake. Trust me, your tips will chip faster than a dropped cookie. 😅
Step 1: Choose a Good Top Coat
Pick a top coat that’s clear, smooth, and long-lasting. Some even add a glossy finish or extra strength. Personally, I love one that dries fairly quickly but still lets you adjust minor smudges if needed.
Step 2: Apply the First Layer
Apply one thin layer across the entire nail, covering both the nude base and the white tip. Make sure to seal the edges at the tip of the nail—this little trick prevents premature chipping. Thin layers dry faster and prevent smudges.
Step 3: Let It Dry
Patience is everything. Let the top coat dry for 1–2 minutes before doing anything with your hands. Rushing here risks smudging all your hard work.
Step 4: Optional Second Layer
For extra shine and long-lasting results, apply a second thin layer. This also helps smooth out any uneven areas or streaks from the first layer.
Step 5: Final Check
Inspect each nail for tiny bubbles or edges that need a small touch-up. Use a tiny brush with a bit of polish remover if necessary.
Pro Tip: Avoid using your hands for heavy tasks for at least 15–20 minutes. Your French tips need time to fully set. Also, applying a fresh top coat every 2–3 days can make your manicure last even longer.

Quick Tips & Tricks for Perfect French Tips
1. Work in Thin Layers
Thick polish = smudges, bubbles, and long drying times. Always apply thin, even coats for a smoother, longer-lasting finish.
2. Steady Hands Are Key
If your hands shake like mine after coffee, don’t stress! Use nail guides or tape for crisp tips. Even freehand looks better when you take it slow and steady.
3. Let Each Layer Dry
Rushing is your worst enemy. Make sure the base coat, base color, white tip, and top coat are all fully dry before moving to the next step. It makes a huge difference in the final look.
4. Clean Up Mistakes Early
Tiny smudges happen. Keep a small brush and polish remover handy to fix edges or uneven lines before the polish dries completely.
5. Seal the Edges
When applying your top coat, cover the tips of your nails. This prevents chips and helps your French tips last longer.
6. Practice Makes Perfect
Don’t worry if your first few tries aren’t flawless. French tips take a little practice, and even small improvements make a big difference.
7. Experiment with Fun Variations
Colored tips – Try pink, blue, or neon instead of white.
Glitter tips – Add sparkle for parties or special occasions.
Ombre tips – Blend white into the base for a soft gradient.
Matte finish – Swap a glossy top coat for a chic matte look.
8. Take Care of Your Nails Between Manicures
Keep nails moisturized, avoid harsh chemicals, and file lightly if edges get rough. Healthy nails = better French tips every time.
Pro Tip: Don’t be afraid to get creative! French tips are classic, but they’re also your canvas. The more you practice, the more confident and fun your designs will become.
Final Thoughts
And there you have it—your complete guide to DIY French tips at home! From prepping your nails to sealing those perfect white tips, you now have all the tools, tricks, and insider tips to create nails that look salon-worthy without leaving your house.
Remember, patience and practice are everything. Your first try might not be perfect, and that’s totally okay! Even the pros didn’t start out flawless. Every layer, every swipe, every little correction is just getting you closer to nails you can be proud of.
Also, don’t forget to have fun with it. French tips are classic, yes—but they’re also a canvas for your creativity. Play with colors, add glitter, try ombre, or even experiment with different shapes. Your nails, your rules.
So grab your polish, set up your mini at-home nail station, and go slay those French tips! Whether it’s a casual day at home or a special event, your nails will be your little confidence boost.
And hey—if someone compliments your nails, just smile, nod, and say, “DIY, baby. No salon required.”