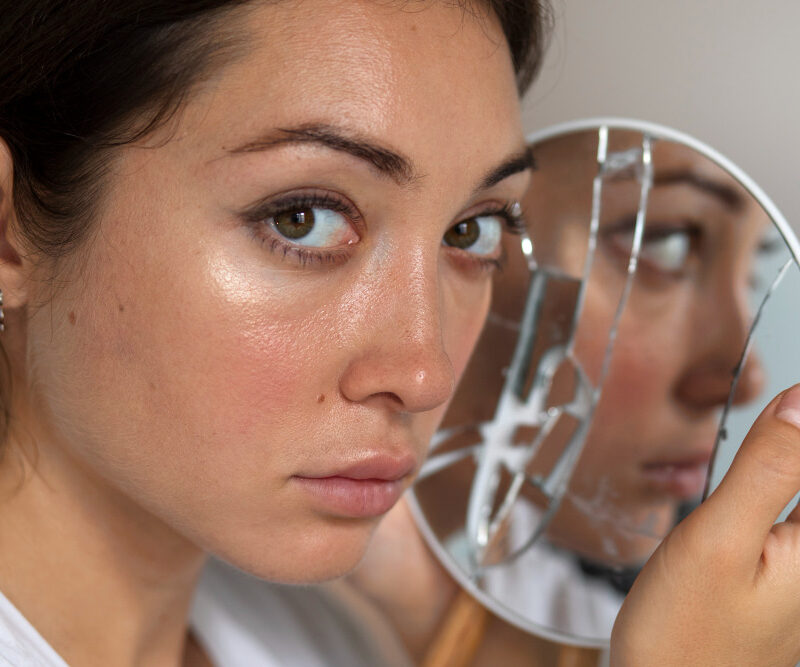
Ever looked in the mirror and thought, “Wow, my skin could use a little… sparkle?” Yeah, me too. That flawless, dewy, almost translucent look—aka glass skin—used to feel like something only K-beauty influencers could pull off. But here’s the good news: you don’t need a fancy dermatologist or a small fortune in skincare to get there. Yup, you heard me right. I’ve spent weeks testing and tweaking a DIY glass skin routine, and let me tell you, it’s a total game-changer.
In this guide, I’m sharing exactly how I achieve that radiant, dewy glow, step by step, all from the comfort of my bathroom. Think of this as your friend spilling the tea, not a dry skincare lecture.
What Exactly Is Glass Skin?
Before we start slathering on serums and toners, let’s get on the same page. Glass skin isn’t about foundation or filters—it’s about healthy, hydrated skin that looks naturally luminous. Imagine your face as a piece of fine glass: smooth, clear, and reflecting light beautifully.
You might be thinking, “Okay, but isn’t that just moisturizer?” Nope. It’s a combination of hydration, exfoliation, and layering lightweight products to enhance your skin’s natural glow without making it greasy. And yes, you can totally DIY it.
Step 1: Double Cleansing – Because One Isn’t Enough
Ever skip washing your face properly and regret it later? Yeah, me too. That’s why double cleansing is my first rule.
How I Do It
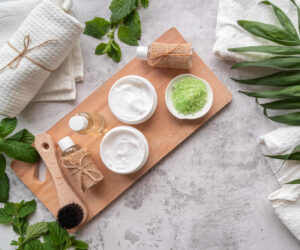
Oil-Based Cleanser: Start with an oil cleanser to melt away makeup, sunscreen, and the random pollution your face has collected. I personally love using plain mineral oil or a gentle jojoba oil. It feels luxurious without breaking the bank.
Water-Based Cleanser: Follow up with a mild foaming cleanser to remove any residue. Think of it as the “final polish” on your skin.
Pro Tip: Massage the oil for at least 60 seconds. Your skin will thank you for the extra love.
Step 2: Exfoliation – Out with the Old
Smooth glass skin starts with a clean canvas. Dead skin cells are the number one enemy of that glassy glow. But beware: over-exfoliating is a rookie mistake.
Gentle DIY Options
Sugar + Honey Scrub: Mix equal parts sugar and honey for a sweet, hydrating scrub. Massage in circles for 30 seconds.
Rice Powder + Yogurt: Rice powder gently buffs without irritation, and yogurt adds moisture.
I personally swear by the sugar + honey combo. It smells amazing, and honestly, it feels like a mini spa day at home.
Key takeaway: Exfoliate 2-3 times a week. More than that, and you risk turning your glow into a red, irritated mess.
Step 3: Toner – The Unsung Hero
If you skip toner thinking it’s “optional,” stop right there. A good toner balances pH, preps your skin for hydration, and tightens pores. I know, sounds fancy, but you can DIY.
DIY Toner Ideas
Green Tea Toner: Brew green tea, let it cool, and dab it on your face. It’s antioxidant heaven.
Aloe + Rose Water Mix: 2 parts rose water, 1 part aloe gel. Soothes and hydrates simultaneously.
I rotate between the two depending on how my skin feels. Green tea for oily days, aloe + rose water for when I need extra TLC.
FYI: Pat it gently instead of rubbing—it absorbs better.
Step 4: Essence – The Secret to Glassy Glow
Essences might sound unnecessary, but here’s the thing: they’re hydration superheroes. Think of them as lightweight, watery serums that sink into your skin like magic.
My DIY Essence Hack
Mix 1 tsp aloe vera gel + 1 tsp rose water + a few drops of hyaluronic acid.
Apply with gentle patting motions.
Ever noticed how Korean skincare routines love layering products? That’s because hydration is cumulative. One layer of essence, followed by a serum, then moisturizer, gives that plump, glass-like finish.
Step 5: Serum – Targeted Goodness
Now we get to the fun part: serums. This is where you can tailor your routine to your skin’s needs.
My Personal Favorites
Vitamin C Serum: Brightens dull skin and fades dark spots.
Niacinamide Serum: Minimizes pores and improves elasticity.
Hyaluronic Acid Serum: Keeps skin hydrated and plump.
I usually mix hyaluronic acid with niacinamide for a hydration + pore-minimizing combo. It’s like a power duo, seriously.
Tip: Don’t overdo it. A few drops are enough. You’re not painting a house here.
Step 6: Moisturizer – Lock It All In
If hydration is the main character, moisturizer is the supportive sidekick. It locks in all the layers you just lovingly applied.
DIY Moisturizer Options
Shea Butter + Jojoba Oil: Thick, creamy, perfect for dry skin.
Aloe Gel + Glycerin: Lightweight and non-greasy, great for oily skin.
I personally use aloe gel + a drop of jojoba oil for that soft, dewy finish. It’s like my skin drank a glass of water and smiled.
Step 7: Facial Massage – Optional but Magical
Ever seen those viral videos of people rolling jade or quartz stones across their face? Yep, that’s not just aesthetics. Facial massage boosts circulation, reduces puffiness, and gives your skin a subtle glow.
DIY Massage Tips
Use gentle upward strokes.
Don’t forget your jawline and under-eyes.
5 minutes is enough. You’re not auditioning for a face workout competition.
I personally do this while watching TikTok, so I get my glow and my entertainment. Win-win.
Step 8: Sunscreen – The Non-Negotiable Step
Listen, you could have the perfect DIY routine, but if you skip sunscreen, you might as well hand over your glow to the sun. UV damage undoes all your hard work, plus it accelerates aging.
Tip: Opt for a broad-spectrum SPF 30 or higher, even if it’s cloudy. Your future self will send you a thank-you note.
Quick Recap: The Ultimate DIY Glass Skin Routine
Let’s put this all together, so you have a handy reference:
Double Cleanse – Oil then water-based.
Exfoliate – 2-3x a week with sugar or rice scrubs.
Toner – DIY green tea or aloe + rose water.
Essence – Hydrating layer with aloe, rose water, hyaluronic acid.
Serum – Vitamin C, Niacinamide, or Hyaluronic Acid.
Moisturizer – Lock in hydration with aloe, shea butter, or oils.
Facial Massage – Boost circulation, optional but amazing.
Sunscreen – Daily, no excuses.
My Personal Hacks for Next-Level Glass Skin
If you really want to level up, here are some extra tricks I swear by:
Mist Throughout the Day: A rose water or aloe spray keeps skin hydrated and plump.
Sheet Masks 1-2x a Week: Great for intensive hydration boosts.
Hydrate Internally: Drink water, eat fruits—your skin literally feels the difference.
Sleep Well: Your skin repairs itself while you snooze. That’s science, not gossip.
IMO, consistency beats expensive products every time. Stick to your routine, and the glow will follow.
Common Mistakes to Avoid
Even with the best intentions, some missteps can sabotage your DIY glow:
Over-Exfoliating: Less is more. Your skin isn’t a sanding block.
Skipping Hydration Layers: Essence + serum + moisturizer = team effort.
Ignoring Sunscreen: Seriously, don’t.
Using Harsh DIY Ingredients: Lemon juice on its own? Nope. You’ll end up red and sad.
Remember, your skin is sensitive but resilient. Treat it like a friend, not a science experiment gone wrong.
Final Thoughts
Achieving that radiant, dewy, glass-skin look doesn’t have to be complicated or expensive. With a few simple DIY steps—cleansing, exfoliating, layering hydration, and protecting your skin—you can turn your bathroom into a mini spa and your face into a luminous masterpiece.
The key is consistency, gentle care, and a little patience. And hey, if someone asks why your skin is glowing, just smile and say, “It’s a DIY thing, you wouldn’t understand.”
So, what are you waiting for? Grab your aloe, honey, and a cute little jar of magic (or, you know, moisturizer), and start your DIY glass skin routine today. Your future radiant self will high-five you in the mirror.