Ever looked in the mirror and thought, “Ugh, my hair could use a little sunshine”? Yeah, me too. But the thought of sitting in a salon chair for hours, forked over a small fortune, and risking that weird orangey-blonde outcome? No thanks. That’s why DIY hair highlights at home have become my ultimate life hack. Trust me, with a bit of patience, the right tools, and some natural tricks, you can get gorgeous highlights without leaving your house—or crying over a botched dye job.
I’ve tried my fair share of at-home experiments (some more… successful than others), and I’m here to share what actually works. So, grab your hairbrush, a cup of patience, and maybe a towel you don’t mind ruining—we’re diving into DIY hair highlights 101.
Why Go DIY with Hair Highlights?
So, why even bother trying DIY hair highlights at home when salons exist? Well, a few reasons come to mind:
Cost savings – Salons can charge a small fortune, especially if you’re going for that multi-dimensional look.
Control over the process – You pick exactly where the highlights go, how subtle they are, and avoid any accidental “skunk stripe” disasters.
Natural methods are gentler – Many salon chemicals are harsh, so DIY methods often let you lighten hair without frying it.
It’s kinda fun – I mean, who doesn’t love a mini science experiment with their own hair?
Ever tried following a tutorial online, only to end up with highlights that look like spaghetti strands? Yeah, me too. That’s why we’re going to focus on methods that are foolproof-ish and approachable for non-pros.
Tools You’ll Need for DIY Highlights
Before we get messy, let’s talk tools. Having the right stuff makes a huge difference. Here’s my tried-and-true list:
Highlighting kit or bleach – If you want a brighter result, pick a kit designed for at-home use. Don’t go mixing random chemicals—you’re not a mad scientist.
Tinting brush – Seriously, don’t use your hands unless you like rainbow fingers.
Aluminum foil or plastic wrap – Keeps the bleach or lightener from touching the rest of your hair.
Gloves – Protect those precious fingers.
Comb – Helps separate strands neatly.
Old towel or cape – DIY highlights are messy. Just accept it.
Pro tip: Never skip a patch test, even if your friend swears it’s safe. Your hair and scalp will thank you later.
Choosing the Right Highlight Color
Here’s where a lot of DIYers trip up. Picking the wrong shade can lead to highlights that either look fake or clash with your natural color. Here’s how I approach it:
Natural blend wins – Stick 1–2 shades lighter than your natural hair. Going more than that at home is risky.
Consider your undertones – Warm tones (reds, golds) complement warm skin; ash tones suit cooler complexions.
Sun-kissed vs. dramatic – If you want subtle, go lighter at the tips and around your face. If you want a bold change, you’ll need a more thorough application.
Personally, I love the sun-kissed look. It’s soft, flattering, and honestly, easier to fix if you mess up.
Natural Methods for Hair Highlights
If chemicals scare you (I get it, bleach is intimidating), natural methods can give a gentle lift over time. They won’t make your hair platinum blonde, but they can give that subtle shimmer. Here are my favorites:
1. Lemon Juice Highlights
Lemon juice is a classic. It works best on light brown or blonde hair.
Mix 1 part lemon juice with 2 parts water in a spray bottle.
Spray onto strands you want to lighten.
Sit in the sun for 30–60 minutes.
Rinse and deep condition immediately (lemon dries hair).
Pro tip: If your hair is dark brown or black, this method will give very subtle warm tones, not a drastic blonde.
2. Honey and Cinnamon Mask
I discovered this one after a Pinterest rabbit hole session. Honey naturally lightens hair due to its small amount of hydrogen peroxide.
Mix 2 tbsp honey + 1 tbsp cinnamon + a bit of conditioner.
Apply to strands, wrap in plastic, and leave for 1–2 hours.
Wash as usual.
It smells amazing and adds softness too. Bonus: no harsh chemicals.
3. Chamomile Tea Rinse
Chamomile isn’t just for relaxing baths. It can gradually brighten blonde hair.
Brew a strong chamomile tea.
Let it cool and pour over your hair after shampooing.
Sit in the sun for faster results.
This method takes patience but is super gentle. FYI, it works best over time rather than for a sudden transformation.
4. Cinnamon and Conditioner Trick
If you love the smell of pumpkin spice season, this one’s for you. Cinnamon slightly lightens hair and adds warmth.
Mix cinnamon + conditioner into a paste.
Apply on sections, wrap in foil, leave overnight if you can.
Wash and style.
The result? Soft, sun-kissed highlights that smell like a latte.
Step-by-Step DIY Hair Highlight Process
Okay, let’s get serious. If you’re ready to go chemical (but safe), here’s how I do DIY hair highlights at home:
Step 1: Prep Your Hair
Wash hair 24–48 hours before highlighting. Natural oils protect strands from too much dryness.
Brush through tangles. Nothing ruins DIY faster than a knotty mess.
Step 2: Section Hair
Divide hair into 4 quadrants: top, bottom, left, right.
Clip each section separately. This keeps things manageable.
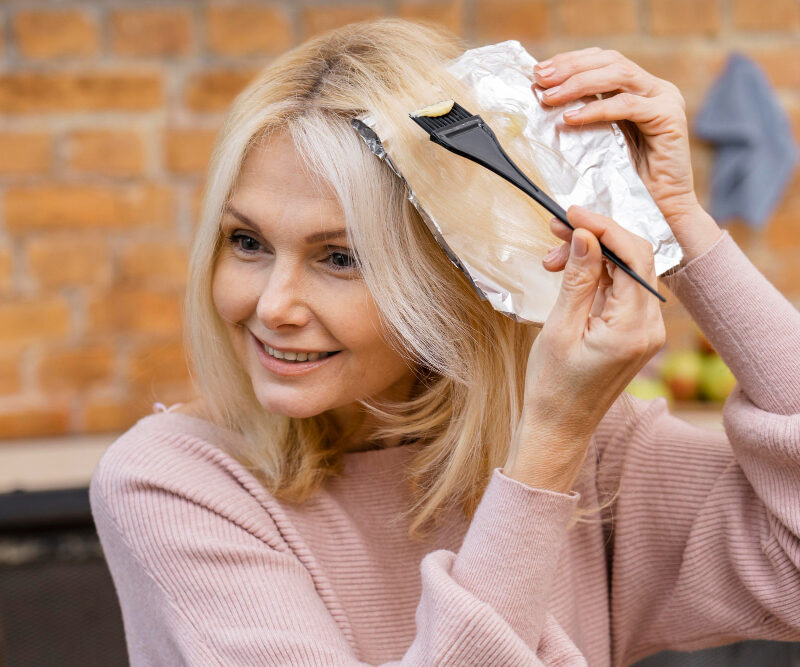
Step 3: Apply the Lightener
Wear gloves.
Use a tinting brush to pick thin strands. For a natural look, aim for random spacing.
Wrap each strand in foil to separate from untouched hair.
Step 4: Timing is Key
Follow kit instructions carefully. Don’t wing it.
Check strands every 5–10 minutes. Remember, your hair lightens faster than you think.
Step 5: Rinse & Condition
Rinse thoroughly with lukewarm water.
Use a deep conditioner to restore moisture. Bleach and lighteners are drying, so this step is crucial.
Pro tip: After the first attempt, don’t freak out if it looks a little uneven. Highlights often settle after washing and styling.
Maintaining Your DIY Highlights
Congrats, you now have highlights! But keeping them looking fab is another story. Here’s how I manage:
Use sulfate-free shampoo – Prevents color from fading too quickly.
Avoid excessive heat styling – Curling irons and flat irons accelerate fading.
Deep condition weekly – Keeps hair soft and prevents breakage.
Touch-ups – Natural methods can be repeated every 2–3 weeks; chemical highlights may need monthly touch-ups.
Common Mistakes to Avoid
Let me save you from some rookie pain points:
Highlighting too much hair – Less is more. Thin strands look natural.
Ignoring your hair type – Fine hair reacts faster than thick hair. Adjust timing.
Skipping the strand test – Never, ever skip this. Your hair color and texture will thank you.
Using harsh chemicals on damaged hair – This is basically a one-way ticket to crispy ends.
Trust me, I’ve learned all of these the hard way.
DIY Highlights vs. Salon Highlights
You might wonder, “Should I just go to a salon?” Here’s my honest take:
| Aspect | DIY Highlights | Salon Highlights |
|---|---|---|
| Cost | Low | High |
| Time | Flexible | Fixed appointment |
| Control | You pick placement & thickness | Stylists decide |
| Risk of mishap | Medium | Low |
| Chemical exposure | Can be natural or mild | Usually stronger |
IMO, DIY is perfect for subtle, natural looks. If you want a dramatic blonde transformation, a salon is safer.
Final Thoughts
At the end of the day, DIY hair highlights at home are about experimenting and having fun with your look. Whether you choose lemon juice, honey masks, or a full-on bleach kit, the key is patience and care.
Remember: less is more, protect your strands, and don’t panic if it’s not perfect on the first try. Hair grows back, highlights fade, and honestly, the process itself can be a blast.
So, ready to turn your hair into a sun-kissed masterpiece without leaving your house? Grab your supplies, set your playlist, and enjoy the ride. Your future self with effortlessly glowing strands will thank you.