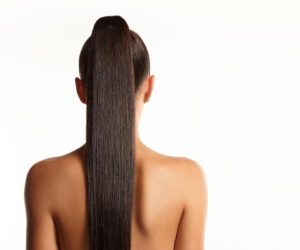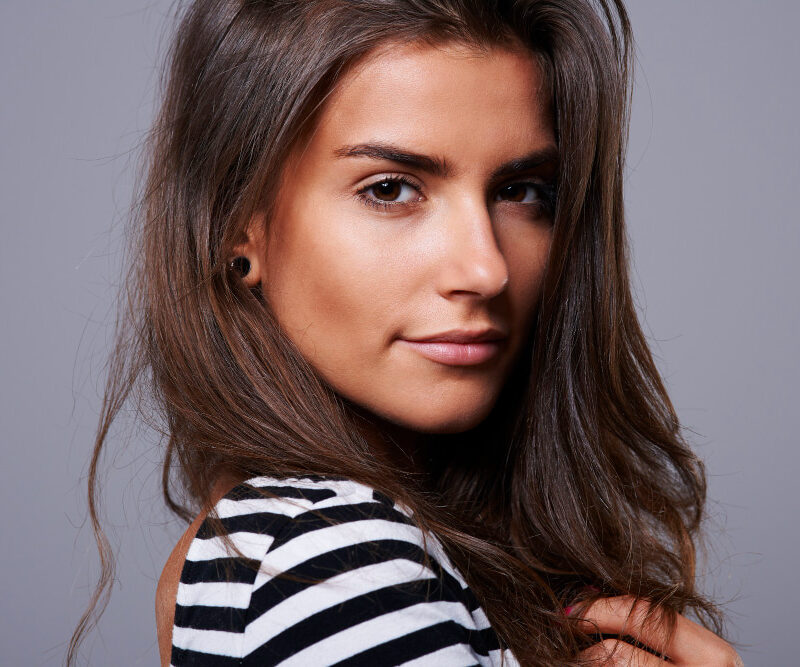
Hey, gorgeous! So, you’re thinking about switching up your brunette locks with some highlights, but the thought of booking a salon appointment—or, let’s be honest, paying a small fortune—makes you break into a cold sweat. I get it. Been there, done that, and yep, my wallet cried too.
The good news? You don’t need a fancy stylist to get sun-kissed strands or subtle pops of color. With a little patience, the right products, and some DIY magic, your hair can look like it just came out of a salon chair—without the anxiety or the bill. I’ve tried several methods over the years, and I’m spilling all the tea on 7 easy DIY hair highlights for brunettes at home. Grab your comb and a snack—this is going to be fun.
1. Classic Foil Highlights: Old School, But Gold
Alright, let’s start with a classic. Foil highlights might sound intimidating, but trust me, it’s doable.
Why I love it:
Gives precise, clean streaks.
Perfect for brunettes wanting natural-looking dimension.
Works well for both subtle and bold highlights.
How to Do It at Home
Section your hair: Clip the top layers out of the way so you can focus on small strands.
Mix your lightener: Follow the box instructions closely. FYI, a common mistake is using too much developer—it can fry your hair faster than you can say “oops.”
Wrap strands in foil: Pick thin sections, apply the lightener, and fold the foil neatly.
Check frequently: Keep an eye on your hair so you don’t accidentally bleach it to blonde Barbie levels.
Rinse and condition: Always finish with a deep conditioner. Your hair deserves it.
Pro tip: I usually highlight every 1–2 inches for a soft, sun-kissed effect. It’s like giving your hair tiny beams of light—so cute.
2. Balayage: The Trendy Freehand Approach
Ever wondered why everyone on Instagram suddenly looks like they just returned from a tropical vacay? Yep, balayage. It’s basically painting your hair with a brush—no foils required.
Why it works for brunettes:
Creates a natural, graduated look.
Low maintenance; roots grow out beautifully.
Can be subtle or dramatic, depending on your brush skills.
DIY Balayage at Home
Tools: A tint brush, lightener, gloves, and a bit of courage.
Technique: Pull small sections, paint the lightener on the mid-lengths and ends. Remember, start light and build gradually—nobody likes accidental streaks.
Timing: Check every 10 minutes. I always test a small section first—better safe than neon.
Finishing touch: Rinse and use a purple shampoo if your highlights are starting to look brassy.
IMO, balayage is perfect if you want that “I just woke up like this in the Caribbean” vibe without the hassle of constant touch-ups.
3. Lemon Juice: The Lazy Girl’s Sun-Kissed Trick
Not everyone wants to deal with chemicals, right? Sometimes, nature has your back. Lemon juice can subtly lighten your hair using—wait for it—sunshine.
Why I love it:
100% natural, chemical-free.
Gives soft, sun-kissed highlights over time.
Works especially well on medium to light brown hair.
How to Do It
Mix: Combine 2–3 tablespoons of lemon juice with equal parts water.
Spray: Lightly mist the mixture onto your hair, focusing on strands where you want highlights.
Sunlight: Sit in the sun for 30–60 minutes. Don’t forget sunscreen on your skin!
Rinse and condition: Lemon can be drying, so deep condition afterward.
Note: Results are gradual, so patience is key. Also, this method is perfect if you enjoy low-effort, natural highlights, because it’s like your hair is slowly telling summer secrets.
4. Honey and Cinnamon: Smells Good, Looks Even Better
Who knew your kitchen pantry could double as a beauty lab? Honey and cinnamon aren’t just for latte season—they can naturally brighten your hair.
Why I love it:
Mild and nourishing.
Adds warm, golden tones.
Great for brunettes who want soft highlights without harsh bleach.
DIY Recipe
Mix 2 tablespoons honey, 1 teaspoon cinnamon, and a little conditioner to make a spreadable paste.
Apply to selected strands and leave for 2–3 hours.
Rinse thoroughly and shampoo.
Fun fact: I tried this one day while binge-watching a show, and my hair ended up smelling like a cinnamon roll. Bonus points if you get hungry while applying.
5. Hair Chalk: Instant Fun Highlights
If commitment issues are your vibe (same), hair chalk is your BFF. It’s temporary, bold, and ridiculously fun.
Why it’s great:
Washes out easily—no regret here.
Perfect for experimenting with funky colors or subtle shades.
Works on both straight and wavy hair.
How to Use Hair Chalk
Prep: Dampen your hair slightly for better color pickup.
Apply: Rub chalk onto sections of hair. Twist or braid strands for blended effects.
Set: Seal with a flat iron (low heat) or hairspray.
Cleanup: Easy peasy, just wash it out when you’re done.
FYI, this is my go-to for weekend color experiments without risking permanent damage. Plus, it’s fun to watch your friends’ jaws drop.
6. Highlighting Spray: Quick Fix, Big Impact
If you’re like me and don’t want to spend hours with foils, try a highlighting spray. This one is practically a cheat code.
Why I love it:
Instant results.
Lightweight and adds shine.
Great for subtle summer highlights or boosting existing color.
How to Apply
Shake the bottle well.
Spray lightly onto sections of hair from mid-length to ends.
Comb through for even distribution.
Style as usual and voila! Instant glow.
Personally, I use this when I need a last-minute hair refresh before an event. It’s like magic in a bottle.
7. DIY Cap Highlights: The Beginner-Friendly Option
Let’s keep it simple. Cap highlighting uses a plastic cap with little holes, letting you pull strands through and apply lightener.
Why it’s great for beginners:
Reduces the risk of over-bleaching.
Works best for face-framing highlights.
Fun, hands-on approach without worrying about messy foils.
Step-by-Step
Put on the cap: Secure it snugly.
Pull strands through holes: Use a hook to grab small pieces.
Apply lightener: Brush it carefully over pulled strands.
Wait and rinse: Follow instructions and condition afterward.
I remember my first attempt—it looked a bit clownish at first, but after rinsing, the highlights were surprisingly flattering. Trust the process.
Extra Tips for Gorgeous DIY Highlights
Before you rush off to start foiling and brushing, a few golden nuggets of advice:
Don’t skip the deep conditioning: Bleach and even sun can dry your hair out. Keep it hydrated.
Strand test first: Always test your color on a small piece to avoid disasters.
Pick the right shade: Brighter highlights on dark brown hair can look harsh. Aim for warm, subtle tones for a natural look.
Time your application: If using chemical lighteners, don’t leave them on too long. Nobody wants orange tips unless that’s your vibe.
Protect your scalp: Vaseline around the hairline can save your forehead from a chemical sunburn.
Wrapping It Up: Your DIY Highlight Adventure Awaits
There you have it—7 tried-and-true DIY hair highlights for brunettes at home. From the classic foil method to experimenting with cinnamon and honey, there’s something here for every mood, skill level, and patience threshold.
Honestly, my favorite has to be balayage for that effortless, sun-kissed look, but sometimes I’m lazy and reach for lemon juice. It’s all about balance, experimentation, and having fun. And hey, if it goes a bit sideways, just grab a hat or braid—it’s called fashion, right?
The key takeaway? You can absolutely rock beautiful highlights without a salon visit. It might take some trial and error, but the satisfaction of DIY results is unmatched. So grab your favorite method, channel your inner stylist, and let those brunette strands shine. Who knows? Your next selfie might just break the internet.