Hey there! So, you’re ready to ditch those chemical-laden, store-bought lip glosses and whip up your very own all-natural, glossy goodness at home? Awesome choice. Honestly, making your own lip gloss is not only super fun, but it also gives you full control over what’s going on your lips (because, let’s be real, nobody wants a weird mystery chemical coating their pout ).
I’ll walk you through everything—from picking ingredients to mixing techniques—like I’m chatting with a friend over coffee. By the end of this, you’ll be rocking soft, shiny lips with gloss you can brag about.
Why Go Natural?
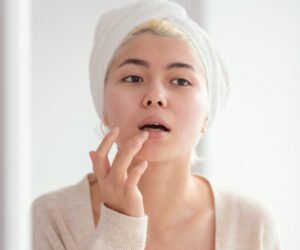
The Problem With Store-Bought Gloss
We’ve all bought those cute lip gloss tubes only to realize they’re basically a chemistry experiment in disguise. Many contain:
Petrochemicals – AKA slippery stuff that feels nice but doesn’t nourish your lips.
Synthetic fragrances – Sure, they smell like cupcakes, but they can irritate sensitive skin.
Preservatives and parabens – Not exactly what you want near your mouth.
Honestly, ever looked at an ingredient list and thought, “Do I even speak this language?” Yeah, me too.
Benefits of Natural Ingredients
Going natural isn’t just a trend—it’s a lifestyle. Using natural ingredients:
Moisturizes and protects your lips naturally.
Reduces irritation because there are no synthetic chemicals.
Lets you customize flavors, colors, and scents exactly how you like.
Plus, it’s kind of empowering, don’t you think? Knowing you just made something beautiful from stuff in your kitchen is a little victory dance moment.
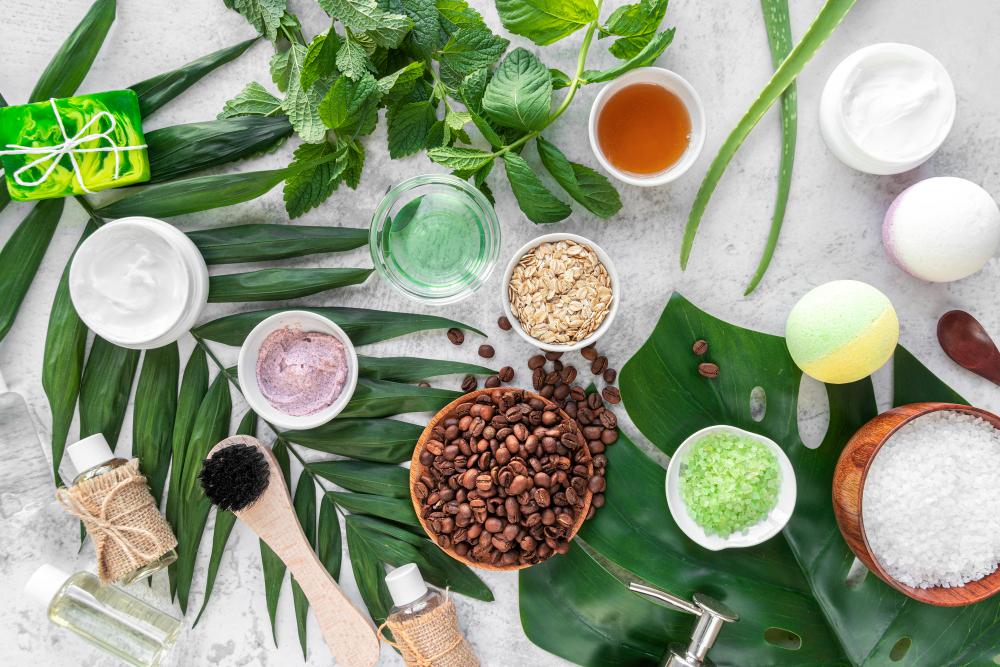
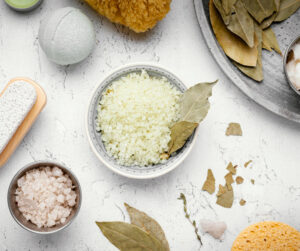
Must-Have Ingredients for DIY Lip Gloss
Before we jump into the mixing chaos (in the best way), let’s cover the essentials. Here’s what you need:
Base Oils
These are the heroes of hydration. My favorites:
Coconut oil – Softens lips and smells amazing.
Sweet almond oil – Lightweight and deeply moisturizing.
Jojoba oil – Super close to your skin’s natural oils, so it’s gentle and silky.
Pro tip: Mix two oils for balance. I usually do coconut + jojoba, and it feels divine.
Waxes
Waxes give your gloss structure so it’s not just a puddle in a jar. Options include:
Beeswax – The classic choice, natural and skin-friendly.
Candelilla wax – Perfect for vegan glosses.
FYI, a little goes a long way. Too much wax = crunchy lips, and nobody wants that.
Butter for Extra Creaminess
Lip gloss without butter is like toast without butter—possible but kinda sad. Try:
Shea butter – Super nourishing.
Cocoa butter – Adds a subtle chocolatey scent.
Optional But Fun Additions
This is where your creativity shines:
Honey – Natural humectant, keeps lips moist.
Vitamin E oil – Great for healing and shelf-life.
Natural colorants – Beetroot powder, cocoa powder, or mica for a little sparkle.
Honestly, the possibilities are endless, and this is the part I personally geek out on.
Tools You’ll Need
You don’t need a lab coat, but a few basic tools make life easier:
Small heatproof bowls or glass jars.
Double boiler or a makeshift one with a saucepan + heatproof bowl.
Mini spatula or spoon for mixing.
Lip gloss containers – Tiny jars or empty tubes.
Measuring spoons – Precision matters, trust me.
Pro tip: Keep everything clean—you don’t want oils going rancid because of a dirty tool.
Step-By-Step Guide: Making Your Own Lip Gloss
Okay, now the fun part. Ready to get your hands a little buttery? Let’s do this.
Step 1: Melt the Base
In a double boiler, combine:
1 teaspoon beeswax
1 teaspoon coconut oil
1 teaspoon shea butter
Heat gently until everything is melted. Don’t rush it—burnt lip gloss is a sad sight.
Step 2: Add Your Oils
Once melted, stir in 2–3 teaspoons of your chosen oil (jojoba or almond oil works great). This adds moisture and prevents the gloss from being too hard.
Step 3: Flavor & Extras
Here’s where you get fancy:
Vitamin E oil: 2–3 drops for healing.
Honey: ¼ teaspoon for stickiness and hydration.
Optional natural color: Sprinkle in beetroot powder or mica.
Pro tip: Start small—you can always add more color or honey, but you can’t take it out.
Step 4: Mix and Pour
Stir everything until smooth and pour into your containers. Be careful; it’s hot.
Step 5: Let It Set
Allow your gloss to cool at room temperature or in the fridge for faster results. Within 20–30 minutes, you’ll have a perfect glossy finish.
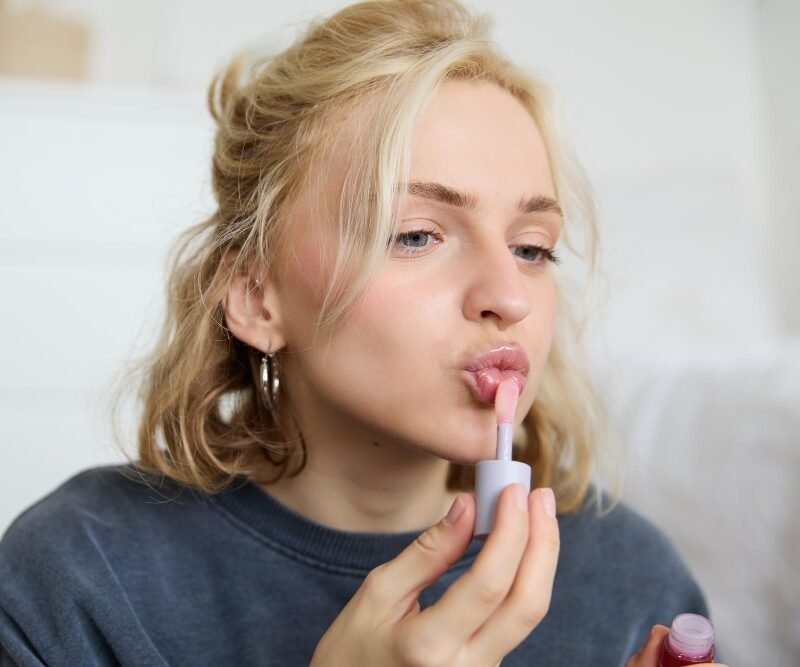
Step 6: Enjoy!
Swipe on your lips and admire the shine. Honestly, nothing beats that first glossy, natural swipe. You’ll feel fancy and eco-friendly at the same time.
Tips for Customizing Your Lip Gloss
Let’s talk making it truly yours. There’s no one-size-fits-all here.
Flavors
Want your lips to taste like dessert without the sugar crash? Try:
Peppermint essential oil – Fresh and tingly.
Vanilla extract – Sweet, classic, cozy.
Citrus zest – For a summery vibe.
FYI, a little goes a long way—start with 1–2 drops of essential oils.
Colors
You can keep it natural or spice it up a bit:
Beetroot powder – Gives a soft pink.
Cocoa powder – Subtle brown tint.
Mica powders – Sparkle lovers, this is your jam.
Honestly, experimenting is half the fun. I have a tiny collection of jars that look like a rainbow exploded in my kitchen.
Texture
Play with texture by adjusting the ratio of wax to oils:
More wax = thicker, long-lasting gloss.
More oil = softer, shinier, less sticky.
Personally, I go for soft and shiny because sticky gloss feels like glue on my lips. Anyone else?
Common Mistakes and How to Avoid Them
Even experienced DIYers slip up sometimes. Here’s what I’ve learned the hard way:
Overheating – Oils can burn. Low and slow, friends.
Too much wax – Your gloss can turn into lip armor.
Not stirring properly – Uneven gloss = weird chunks.
Pro tip: Always test a tiny batch first. It saves heartbreak later.
Storage and Shelf Life
You’ve made the gloss, now how do you keep it from going bad?
Store in a cool, dark place – Avoid direct sunlight.
Use clean tools to scoop out gloss.
Shelf life: 3–6 months depending on ingredients.
FYI, adding vitamin E oil can extend life slightly.
Why Making Your Own Gloss Rocks
Not to sound dramatic, but making your own lip gloss is kind of life-changing. Here’s why:
You know exactly what’s on your lips – No weird chemicals.
It’s affordable – Compare $2 worth of ingredients vs $15+ for store gloss.
Creative freedom – You can make colors, flavors, and textures that reflect your personality.
Perfect for gifts – Hand-made gloss = instant “wow, you’re thoughtful” points.
IMO, it’s a fun hobby that actually gives tangible results. I swear my friends now come to me for “special edition” gloss.
Quick Recap
Just to make sure you don’t get lost in the excitement:
Choose natural oils, butters, and waxes.
Melt, mix, and add flavor/color carefully.
Pour, cool, and store properly.
Experiment—this is where all the fun happens.
Your lips will thank you, and honestly, it’s kind of a flex to say, “I made this myself.”
Final Thoughts
So there you have it—a simple, fun, natural way to make your own lip gloss at home. No weird chemicals, no confusion, just soft, shiny lips that you can feel good about. And let’s be honest, there’s a certain pride in showing off your homemade gloss. People will notice, even if they’re too polite to say it.
If you remember one thing: start small, keep it natural, and play with it. Seriously, a little glitter, a touch of cocoa, or a drop of peppermint can turn a plain gloss into your signature statement.
Now grab those oils and waxes and get mixing—your lips deserve this. And hey, when someone asks where you got that gloss? You can casually say, “Oh, I made it myself.”