Hey there, soap enthusiast! Ever stared at those gorgeous handmade soaps online and thought, “I could totally make that… if I had, like, a year and a chemistry degree”? Well, good news: you don’t need a lab or a lifetime of patience to create stunning soaps. Enter: melt-and-pour soap. It’s basically the lazy genius version of soap-making—perfect for anyone who wants something handmade but hates waiting weeks for curing.
I’ve been dabbling in this for a while (yes, I may have a slightly embarrassing collection of soaps lying around my bathroom), and let me tell you: melt-and-pour is my jam. You get creative, add your favorite scents, and boom—instant soap gratification. Let’s chat about 5 super quick DIY recipes that anyone can whip up.
1. Classic Lavender Bliss
If you’re into that calm, spa-like vibe, lavender is your BFF. Seriously, one whiff and stress doesn’t stand a chance.
Ingredients:
1 lb clear glycerin soap base
1–2 tsp dried lavender buds
10–15 drops lavender essential oil
Soap mold of your choice
Steps:
Cut your soap base into cubes (trust me, smaller chunks melt faster).
Microwave in 20–30 second bursts until fully melted. Stir in between—don’t just walk away or you’ll end up with hot bubbles.
Add lavender buds and essential oil, then pour into your mold.
Let it set for about 1–2 hours at room temp, or pop it in the fridge if you’re impatient (like me).
Pop it out, admire your handiwork, and smell amazing.
Pro tip: Sprinkle a few buds on top after pouring for that Instagram-worthy effect.
Ever wonder why lavender is so universally loved? IMO, it’s that perfect balance of floral and calming—like a warm hug you can lather on.
2. Citrus Sunrise Energy Bar
Need a little pick-me-up in the morning? This soap smells like a sunbeam and almost makes you want to skip coffee. Almost.
Ingredients:
1 lb white melt-and-pour soap base
15 drops orange essential oil
5 drops lemon essential oil
Zest of half an orange (optional, but wow)
Soap mold
Steps:
Cube and melt the soap base in a microwave-safe bowl.
Stir in essential oils and zest. Yes, zest is optional, but trust me, it elevates your soap game.
Pour into molds and let them harden. Patience, grasshopper.
Once solid, pop out and admire your citrusy creation.
Why this works: Citrus oils are not only uplifting, but they help with oily skin, too. So, you’re basically giving yourself a mini spa treatment every morning. Who knew soap could double as therapy?
3. Chocolate Mint Indulgence
This one is for those days when you want your soap to smell like dessert without actually eating 500 calories.
Ingredients:
1 lb cocoa butter melt-and-pour base
1 tsp cocoa powder
10 drops peppermint essential oil
Soap mold
Steps:
Cut soap into cubes and melt gently. Don’t scorch it—burnt chocolate soap is a hard pass.
Stir in cocoa powder for that rich brown color and subtle chocolate aroma.
Add peppermint oil for freshness. FYI, it’s like brushing your teeth with dessert… in a good way.
Pour into molds, let solidify, and you’re done.
Extra tip: Swirl in a little white soap base for a candy-cane look. It’s fancy but not intimidating.
Ever noticed how chocolate and mint just click? Yeah, your shower routine just got a whole lot more indulgent.
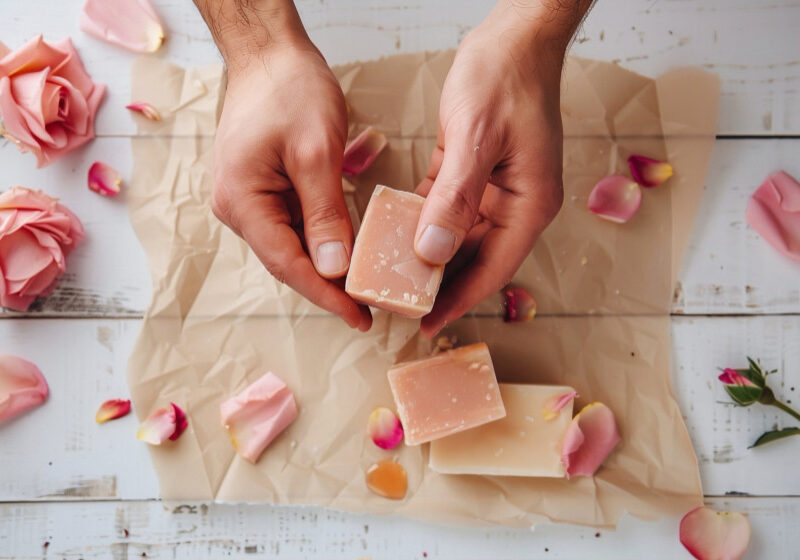
4. Oatmeal Honey Soother
Got dry or sensitive skin? This is your gentle giant. It’s like a soft blanket in soap form.
Ingredients:
1 lb goat milk soap base (super creamy)
2 tbsp ground oatmeal
1 tbsp honey
10 drops vanilla essential oil (optional)
Soap mold
Steps:
Melt your soap base carefully. Goat milk bases can scorch faster, so keep an eye on it.
Stir in oatmeal and honey. Yes, it looks sticky at first—but it sets beautifully.
Add a few drops of vanilla for that warm, comforting scent.
Pour into molds, wait, and voilà! Gentle, skin-loving soap ready to rock.
Why it’s awesome: Oatmeal gently exfoliates without irritation, and honey is naturally moisturizing. Honestly, my hands never felt softer after trying this one.
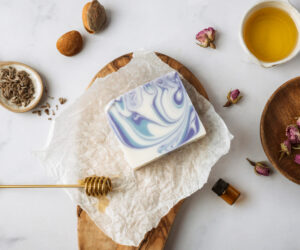
5. Colorful Fun Swirl
Sometimes, you just want soap to look as fun as it smells. This recipe is perfect for kids, gifts, or just flexing your creative muscles.
Ingredients:
1 lb clear soap base
Soap colorants (whatever shades you love)
Fragrance oils of your choice
Soap mold
Steps:
Melt your base and divide into separate bowls—one for each color.
Add colors and fragrances as desired. Warning: smells may become overwhelming if you go overboard (ask me how I know :/).
Pour layers or use a spoon to swirl colors together. Be artsy or chaotic—your choice.
Let them set completely, then pop out and admire your masterpiece.
Fun fact: Swirling is a judgment-free zone. You can totally embrace your inner toddler here.
Quick Melt-And-Pour Tips for Maximum Success
Before you dive in, let’s cover some general tips I wish someone told me the first time:
Cut your base into small cubes. It melts faster and more evenly—nobody likes half-melted lumps.
Stir gently. Vigorous stirring = bubbles everywhere. Trust me, bubbles are fun, but not on your final soap.
Add colors and scents at the right temp. Too hot = scent fades. Too cold = won’t mix. Goldilocks, baby.
Experiment. Don’t worry about perfect shapes. Some of my most gorgeous soaps were happy accidents.
Label your soaps. Sounds boring, but if you have 10 bars curing at once, you’ll thank me later.
Why Melt-And-Pour is My Go-To
Honestly, melt-and-pour soap is perfect for beginners and pros alike. Why?
Quick gratification: You can literally make soap in under an hour. Try doing that with traditional cold-process methods.
Safe and forgiving: No lye handling, no risk of “oops, chemical burn.”
Customizable: Colors, scents, textures—you name it. You can make it look and smell like your dream soap.
IMO, it’s the ultimate creative outlet with practically zero downside (unless you count my obsession with trying every possible scent combo).
Wrapping It Up
So, there you have it: five melt-and-pour soap recipes that are easy, fun, and totally customizable. Whether you’re going for relaxing lavender, zesty citrus, chocolate mint indulgence, oatmeal honey goodness, or a colorful swirl masterpiece, there’s something here for everyone.
Next time you’re bored or feeling crafty, grab some soap base, play with colors and scents, and see where your imagination takes you. FYI, these also make fantastic gifts—people love receiving handmade stuff more than they’ll admit.
Remember: soap-making is supposed to be fun, not stressful. Don’t worry about perfection. Some of my happiest soap moments came from “oops, I didn’t mean to pour it like that” situations.
So, what are you waiting for? Your bathroom deserves an upgrade, and your inner soap nerd will thank you. Go forth, melt, pour, and get bubbly!