Ever stare at your flat iron and think, “You and I could do more than just straighten”? Same. I spent years burning my fingers, creating weird dents, and accidentally inventing hairstyles that scared even me. Then I finally cracked the code. Curling hair with a straightener feels like a secret handshake—once you know it, you never go back.
I’ve curled my hair this way for weddings, lazy Sundays, and those “I need to look alive on Zoom” days. Let’s talk about what actually works, what wastes time, and how to get curls that look intentional instead of “oops.” Ready?
1. Choose the Right Straightener (This Matters More Than You Think)
Not every straightener plays nice with curls. I learned this the hard way after fighting a clunky iron that hated movement. Ever wondered why some curls fall flat instantly?
What to Look For
Rounded edges so the hair glides smoothly
Ceramic or titanium plates for even heat
Adjustable temperature control for different hair types
A chunky, square-edged straightener fights curls like it holds a grudge. A slim iron with rounded edges makes curling easier and faster. IMO, this single choice saves more frustration than any technique.
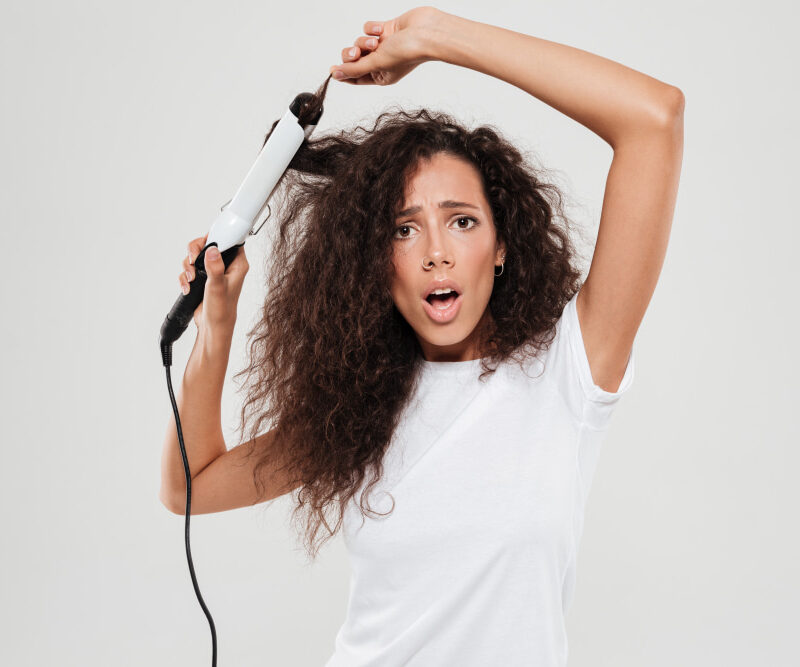
2. Start With Completely Dry Hair (No, Slightly Damp Doesn’t Count)
Water and hot tools never mix well. I once tried curling “almost dry” hair and created sad, frizzy bends instead of curls. Do you want curls or regret?
Why Dry Hair Wins
Prevents heat damage
Creates longer-lasting curls
Keeps hair smooth and shiny
Always blow-dry first, even if your hair air-dries straight. Dry hair gives you control, and control gives you cute curls.
3. Use Heat Protectant Like Your Hair Depends On It
Because it does. I used to skip this step and wondered why my ends looked fried. Spoiler: I caused the problem.
How I Apply It
Spray evenly from mid-lengths to ends
Comb through to distribute
Wait a few seconds before styling
Heat protectant reduces damage and boosts shine, so don’t skip it. Your future hair will thank you.
4. Pick the Right Temperature for Your Hair Type
Cranking the heat to max feels tempting. I get it. But more heat doesn’t mean better curls. Ever noticed curls dropping faster with super-high heat?
Quick Heat Guide
Fine hair: 300–330°F
Medium hair: 330–370°F
Thick or coarse hair: 370–400°F
Lower heat plus good technique beats scorching heat every time. FYI, healthy hair holds curls better.
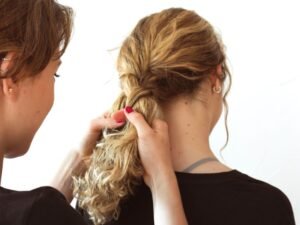
5. Section Your Hair Like a Pro (Or Fake It Well)
I used to curl randomly and wondered why my hair looked chaotic. Sections changed everything. Do you want polished curls or “I tried”?
My Go-To Sectioning Method
Divide hair into top and bottom layers
Clip the top out of the way
Work in 1-inch sections
Smaller sections give cleaner curls, while big chunks create loose waves. Choose your vibe and commit.
6. Master the Twist-and-Pull Technique
This step separates beginners from pros. Once you get this motion, curling hair with a straightener feels natural.
How It Works
Clamp the straightener near the roots
Rotate your wrist 180 degrees away from your face
Slowly pull down to the ends
Speed controls curl shape. Slow pull equals tighter curls, fast pull equals waves. Easy, right?
7. Alternate Curl Directions for Natural Movement
Perfectly uniform curls scream “styling attempt.” I prefer hair that looks effortless, even when I tried hard.
What I Do
Curl one section away from the face
Curl the next section toward the face
Alternating directions adds volume and realism. People will ask if your hair curls naturally. Smile and enjoy the lie.
8. Don’t Clamp Too Hard (Your Hair Isn’t a Panini)
Death-gripping the iron creates dents and weird kinks. I’ve seen those lines, and they haunt me.
Better Approach
Use light, steady pressure
Let the plates glide smoothly
Your straightener should guide the curl, not crush it. Gentle pressure keeps curls smooth and shiny.
9. Leave the Ends Out for Effortless Waves
Want that cool, undone look? Skip the ends. I swear this trick upgrades everything instantly.
How to Do It
Stop curling one inch before the ends
Let the tips stay straight
Straight ends make curls look modern, not pageant-y. Ever notice how influencers do this constantly?
10. Let Curls Cool Before Touching Them
I know the urge to rake fingers through curls feels strong. Resist it. I ruined many great curls by getting impatient.
Why Cooling Matters
Sets the curl shape
Extends hold
Reduces frizz
Wait a few minutes, then gently shake or separate. Cool curls last longer, period.
11. Finish With the Right Product (Less Is More)
Product can elevate curls or completely sabotage them. Heavy sprays killed my volume for years.
My Favorite Finishers
Light-hold hairspray for longevity
Texturizing spray for volume
Tiny drop of hair oil on ends
Use a light hand. Too much product weighs curls down and makes them sad.
12. Practice Until It Feels Boring
No one nails this on day one. I burned my fingers, twisted the wrong way, and created accidental zigzags. Sound familiar?
How to Improve Faster
Practice on low-stakes days
Watch your wrist angle in the mirror
Stick to one technique until it clicks
Muscle memory turns effort into ease. One day, you’ll curl your hair while half-asleep and still look good.
Common Mistakes That Kill Straightener Curls
Before we wrap up, let’s call out a few sneaky mistakes. Have you made any of these?
Using hair that’s too dirty or too clean
Curling giant sections and expecting definition
Rushing through each pass
Skipping heat protectant
Fix these, and your curls instantly improve.
Why Curling Hair With a Straightener Beats a Curling Iron
People ask me this all the time. Why bother?
More versatile styles
Looser, modern curls
One tool instead of two
A straightener creates curls, waves, and bends with personality. Once you learn it, you stop reaching for anything else.
Final Thoughts: You’ve Got This
Curling hair with a straightener looks intimidating, but it rewards patience and practice. The right tool, smart heat, and clean technique change everything. You don’t need magic hands—just a little know-how and confidence.
So grab your straightener, give yourself some grace, and experiment. Worst case, you tie your hair up and pretend it never happened. Best case? You unlock your new favorite styling trick and never look back.