This post contains affiliate links. If you click a link and make a purchase, I may earn a small commission at no extra cost to you. I only recommend products I genuinely believe in. Thank you for supporting Amoria Style!
There’s one thing that separates soap making from every other DIY beauty project: lye. Sodium hydroxide — NaOH for bar soap — is caustic. It causes chemical burns on contact with skin and eyes, and when you mix it with water, it releases significant heat. I’m not saying this to scare you off. I’m saying it because every guide that glosses over this part does you a disservice. Lye handled correctly is completely safe, every bar of commercial soap starts with it, and the people who get hurt are almost always the ones who skipped the chemistry education and went straight to the recipe. This guide won’t do that to you. We’ll cover exactly how lye behaves, exactly how to handle it, and then — with that foundation in place — six recipes that are genuinely different from each other in technique, oil profile, and purpose.
The Chemistry, Simplified but Accurate
The process that turns lye and oil into soap is called saponification. When sodium hydroxide meets a fat or oil, a chemical reaction transforms both of them entirely — what comes out the other side is soap and glycerin. The lye is consumed in the reaction. It ceases to exist as lye. This is why properly made cold process or hot process soap contains no lye, even though lye was essential to make it. The “lye-free soap” labels you see at the market are either marketing language (lye was used but is no longer present, which is true of literally all real soap) or they’re referring to melt-and-pour bases made from pre-saponified soap that someone else already reacted with lye upstream.
Understanding the three main methods helps you pick the right one for where you’re starting:
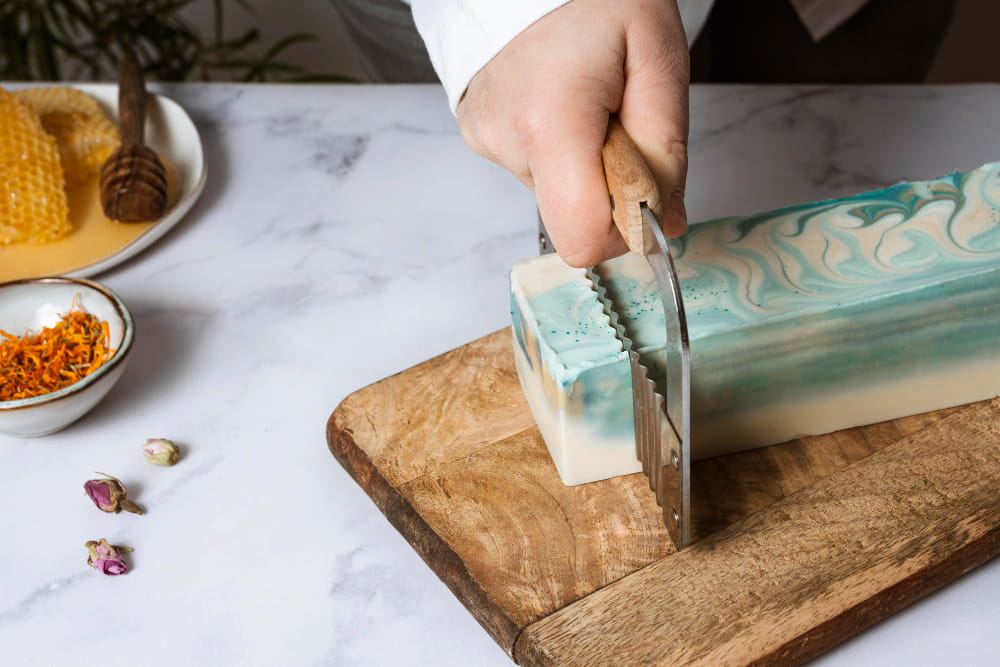
Cold process gives you the most control over the final bar — you can do swirls, layers, botanical embeds — but the saponification continues in the mold over 24-48 hours and the soap needs 4-6 weeks to cure. Because the reaction isn’t complete when you unmold, there’s a small theoretical window where a batch gone wrong could still be lye-heavy. This is why testing matters.
Hot process runs the soap through a slow cooker, which pushes the saponification to completion before you mold it. The bars look more rustic — that mashed-potato texture isn’t a bug — but you’re working with fully reacted soap. Better choice for your first few batches.
Melt and pour skips lye entirely on your end. You’re melting a pre-made base and adding fragrance, color, or botanicals. It’s accessible and genuinely fun, but you’re working within someone else’s formula. No real chemistry control.
Safety Equipment and Setup — Before Anything Else
Most beginner guides give this a bullet point. It deserves more.
Eye protection means chemical splash goggles, not glasses. Glasses have gaps. Lye splashes sideways. A single drop in the eye is an emergency room visit; goggles are four dollars.
Gloves should be nitrile, not latex. Sodium hydroxide degrades latex — you may not notice until there’s lye on your skin. Nitrile holds up.
Long sleeves and covered feet. Lye solution splashed on bare skin can cause burns before you notice the sensation. This is especially true because fresh lye solution doesn’t always sting immediately.
Mixing order is non-negotiable: always add lye to water, never water to lye. The reverse is called the “volcano” and it’s exactly what it sounds like — a violent, spattering eruption caused by the rapid exothermic heat release all at once. When you add lye to water slowly, the heat disperses into the larger volume of water. When you do it backwards, the small amount of water hits a concentrated pile of lye and flashes to steam instantly. The lye solution will reach 180-200°F (82-93°C) even done correctly — handle accordingly.
Ventilation matters. The fumes produced when mixing lye and water are caustic — don’t lean over the bowl and breathe them in. Mix near an open window or under a range hood.
Dedicated equipment that never returns to food use. Lye destroys aluminum — use stainless steel, silicone, or high-density polyethylene (HDPE) for everything. Wood and cast iron are also out. If your equipment touches lye, it lives in the soap-making cabinet permanently.
Temperature matching before you combine your lye solution and oils: both should be roughly the same temperature, typically 90-110°F (32-43°C). If they’re far apart, you risk uneven crystallization and separation. A digital thermometer is worth owning.
The Lye Calculator: Your Most Important Tool
Different oils saponify differently. Coconut oil requires a different amount of lye per gram than olive oil. Shea butter requires a different amount than lard. These are called saponification values (SAP values), and they mean you cannot simply swap one oil for another in a recipe without recalculating your lye amount. If you use too little lye, you get soft, greasy soap that won’t cure properly. If you use too much, your soap is caustic and will irritate or burn skin.
A lye calculator takes your specific oil blend and spits out the exact amount of sodium hydroxide required. Reliable ones: SoapCalc, Brambleberry’s lye calculator, and The Sage. Run every recipe through one — including the ones below — before you make it, and especially before you substitute any oils. This single habit eliminates the most common and most dangerous beginner mistake.
The Recipes
Recipe 1 — Basic Beginner Bar (Hot Process)
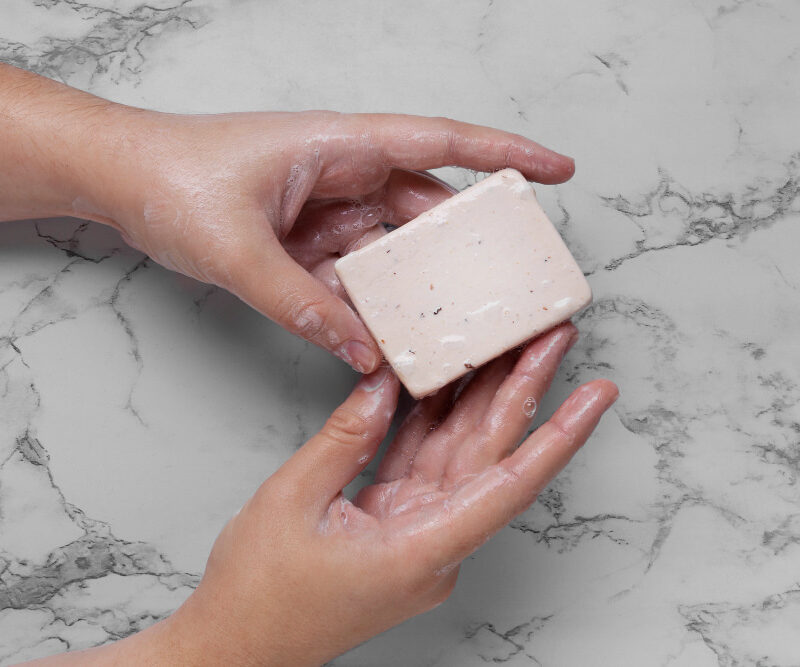
Hot process first, because it’s the most forgiving. The slow cooker drives saponification to completion, which means you can test the soap with pH strips before molding to confirm no free lye remains. A finished hot process soap reads 9-10 on pH strips — safe for skin. Much above that, set it aside and test again in a few days.
Oil blend (makes approximately 8-10 bars):
- Coconut oil: 250g — drives lather, adds hardness
- Olive oil: 200g — conditioning, skin-loving
- Castor oil: 50g — boosts bubble quality and lather stability
Lye (NaOH): 68g (calculated for this blend at 5% superfat — verify with your lye calculator before proceeding)
Distilled water: 150g
Melt your oils together in the slow cooker on low. In a separate heat-safe container and while wearing all your PPE, slowly add the lye to the water while stirring. Let the lye solution cool to 90-110°F, then check your oils are in the same range. Combine, and use a stick blender to bring to trace — that’s when the mixture thickens to a pudding-like consistency that holds a drizzle on the surface. Set the slow cooker to low with the lid on and check every 15-20 minutes. The soap will go through distinct stages: liquid, then applesauce, then mashed potato. That mashed potato texture with a waxy sheen is your signal it’s done. Press into your mold, smooth the top, and let it set for 24 hours. Cure on a rack with airflow for 2-4 weeks minimum.
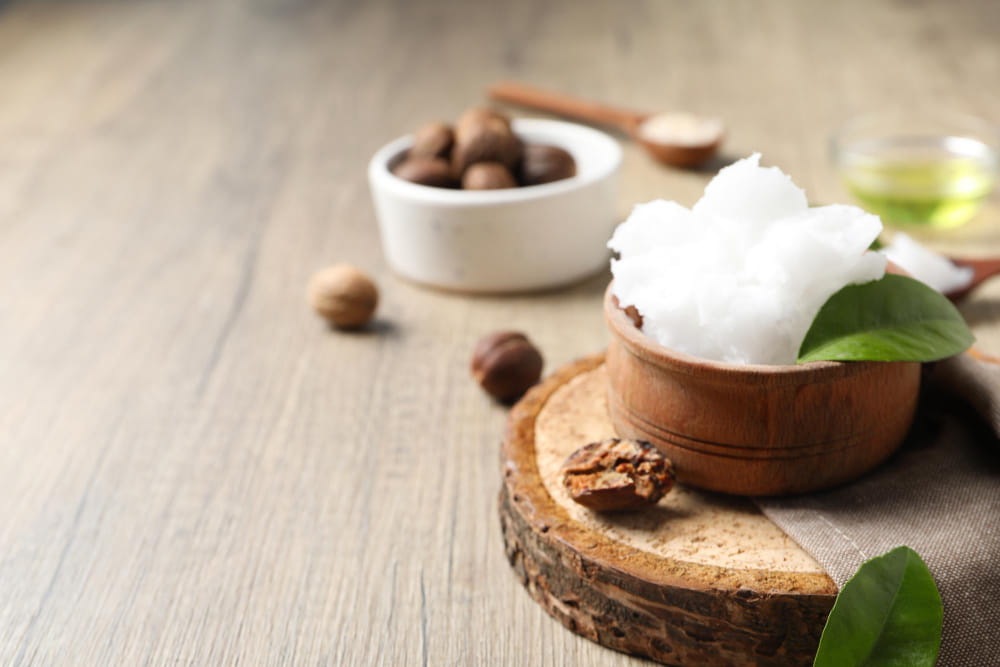
Recipe 2 — Luxurious Shea and Cocoa Butter Bar (Cold Process)
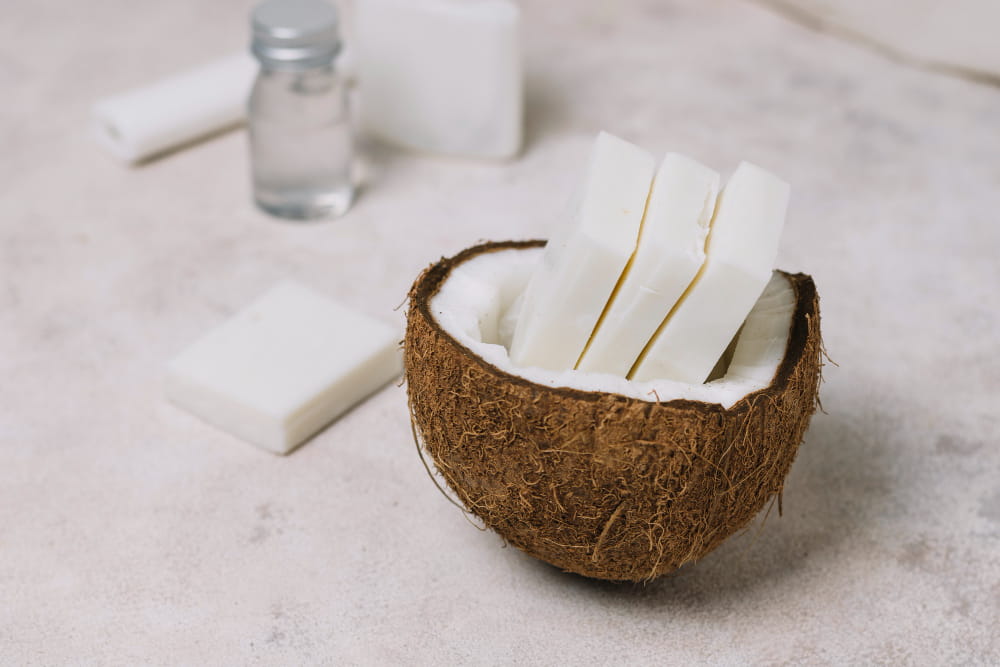
The technique that produces the smoothest bars and the most beautiful finished look. Cold process is worth learning, and once you’ve done one hot process batch to understand the chemistry, this is the natural next step.
Oil blend:
- Shea butter: 200g — creamy, nourishing
- Cocoa butter: 100g — hard bar, chocolatey skin feel
- Olive oil: 150g — conditioning
- Coconut oil: 50g — lather and hardness
Lye (NaOH): 67g (at 7% superfat — verify with your lye calculator)
Distilled water: 160g
The superfat concept is worth understanding here: by designing the formula with 7% of the oils unsaponified on purpose, you’re building moisturization into the soap itself. Those unreacted oils stay in the bar and condition your skin. Most soap recipes run 5-8% superfat; higher is more moisturizing but also softer and shorter-lived.
Cold process moves faster than hot process — once your oils and lye solution are temperature-matched and combined, you may have 20-30 minutes before the batter is too thick to pour. For a basic swirl: pour your soap batter into the mold, then drizzle a small amount of colored batter (separated before molding and mixed with a natural colorant like French green clay or madder root powder) across the top and drag a skewer through in a figure-eight. Even beginners can pull off a satisfying swirl on the first try.
Cover the mold with a board and a towel for 24-48 hours to hold the heat and allow the gel phase — that semi-translucent, almost glossy stage that makes for a harder final bar. Unmold, cut, and cure 4-6 weeks.
Recipe 3 — Charcoal and Tea Tree Clarifying Bar
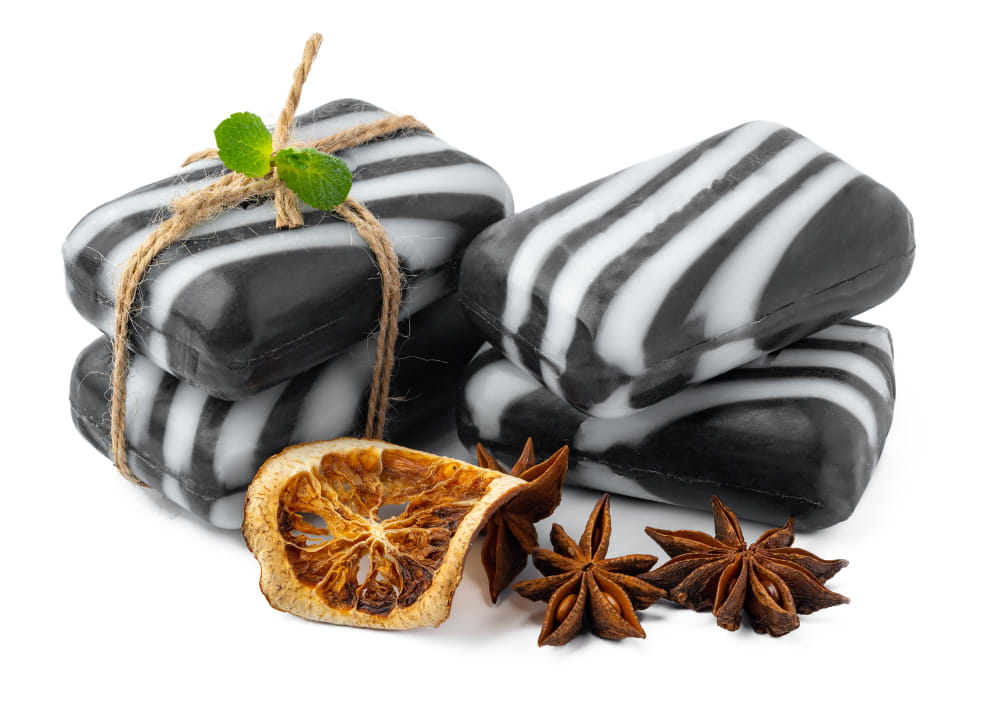
Designed for oily or acne-prone skin. Activated charcoal works through adsorption — it binds to impurities on the skin surface and carries them off in the rinse. It also turns the bar a dramatic matte black that looks intentional and striking.
Oil blend:
- Coconut oil: 280g — high lauric acid content for genuine cleansing
- Castor oil: 30g — lather
- Sweet almond oil: 90g — lighter than olive, less oleic acid (oleic-heavy soaps can feel heavy on oily skin)
- Shea butter: 50g
Lye (NaOH): 72g (at 5% superfat — verify)
Distilled water: 160g
Activated charcoal: 1 tablespoon, dispersed in 1 tablespoon of sweet almond oil before adding to batter
Tea tree essential oil: 9ml (approximately 1.5% of total oil weight — appropriate for a rinse-off product)
The dispersion technique for activated charcoal matters: add it dry directly to soap batter and you get black clumps. Mix it into a small amount of oil first until fully dispersed, then fold that mixture into the batter at trace. The color will be uniformly black and the texture clean.
Tea tree essential oil at 1-2% in rinse-off soap is the range where it contributes its antibacterial properties without being irritating. Don’t go higher — more is not better with essential oils in soap.
Cure 4-6 weeks. The bar will lighten slightly on the outside as it cures but stay dark inside.
Recipe 4 — Oat and Honey Sensitive Skin Bar
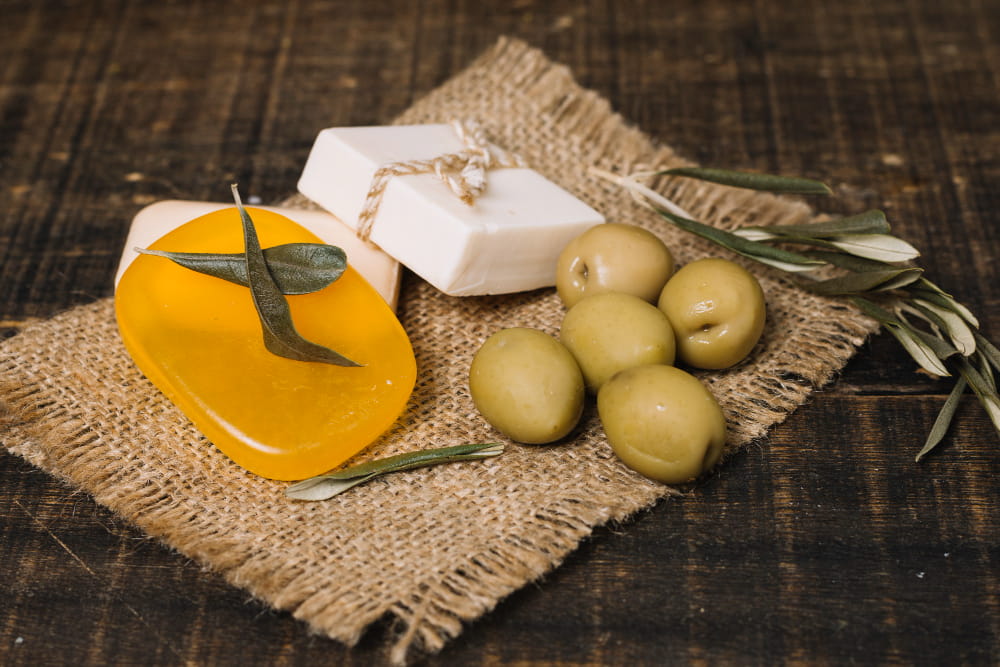
The most skin-gentle bar in this collection. Colloidal oat — oats ground to a fine powder and suspended in liquid — supports the skin barrier, reduces transepidermal water loss, and has a well-documented history in dermatology for sensitive and eczema-prone skin. You can make colloidal oat at home by blending rolled oats in a dry blender until powder-fine, then testing it in water: if it turns milky rather than gritty, it’s fine enough.
Oil blend:
- Olive oil: 250g — high oleic acid, very gentle
- Sweet almond oil: 100g — light, oleic-rich
- Avocado oil: 75g — penetrating, nourishing
- Cocoa butter: 75g — hardness
Lye (NaOH): 66g (at 7% superfat — verify)
Liquid: 150g distilled water, or replace part of it with oat milk or goat milk for a creamier bar (freeze the milk first and add lye to frozen milk to control the temperature)
Colloidal oat: 2 tablespoons, added at trace
Raw honey: 1 tablespoon, added at trace — warmed slightly so it pours
Honey is a humectant in soap, meaning it draws moisture to the skin. It also contains natural sugars that boost lather quality noticeably. What honey also does is accelerate trace — the batter will thicken faster after you add it. Add it at light trace, stir by hand (not stick blender), pour immediately. Don’t overthink the design on this one; the bar earns its keep through performance, not aesthetics.
Cure 4-6 weeks. The honey gives the finished bar a warm golden color.
Recipe 5 — Lavender and Poppyseed Exfoliating Bar
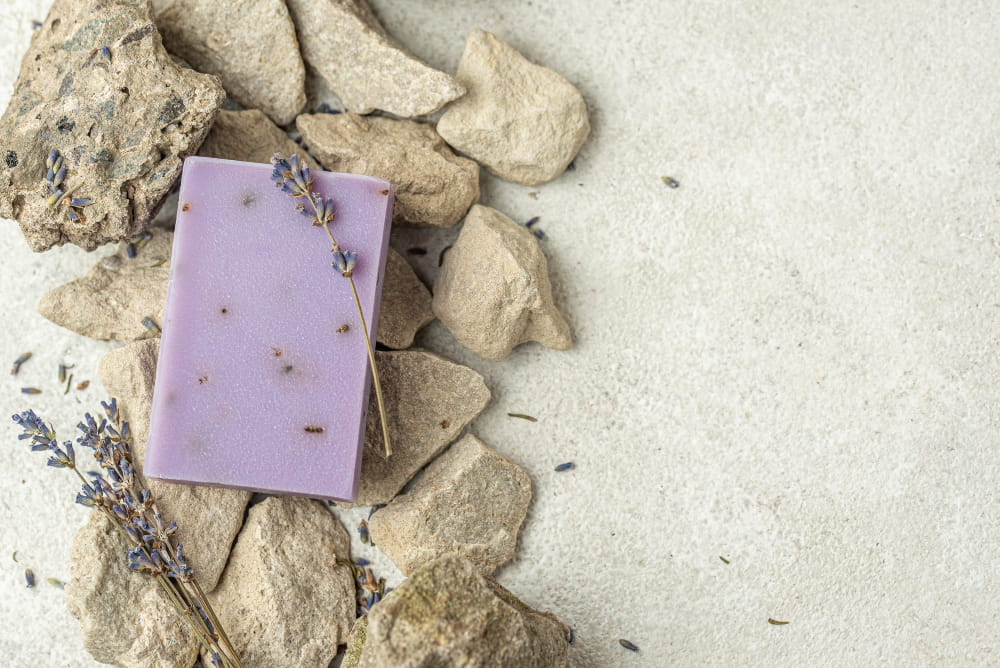
Particle shape matters more than people think in physical exfoliants. Walnut shell powder, peach pit powder, and similar ingredients have irregular, jagged edges that can create micro-tears in skin — they’re more abrasive than they appear. Poppyseeds are small, round, and smooth. They buff without scratching, which makes them genuinely suitable for face and body rather than just task-specific hand soap.
Oil blend:
- Coconut oil: 200g
- Olive oil: 200g
- Castor oil: 50g
- Shea butter: 50g
Lye (NaOH): 67g (at 5% superfat — verify)
Distilled water: 155g
Lavender essential oil: 12ml (approximately 2% of oil weight)
Poppyseeds: 3 tablespoons, added at trace
Kaolin clay (optional): 1 tablespoon, dispersed in a small amount of oil — adds slip and gentle secondary cleansing
A word on lavender and the seize risk: certain fragrance oils — not pure essential oils — cause immediate, irreversible trace seizure in soap batter, turning it to a thick, unworkable paste in seconds. Pure lavender essential oil is generally well-behaved in cold process. If you ever use fragrance oils instead of essential oils, test a small amount in your recipe first, and look up whether the specific fragrance is known to accelerate or seize. The soap community has documented this extensively.
The finished bar benefits from a spritz of isopropyl alcohol on top immediately after molding to prevent soda ash (the white powdery layer discussed in troubleshooting below). Cure 4-6 weeks.
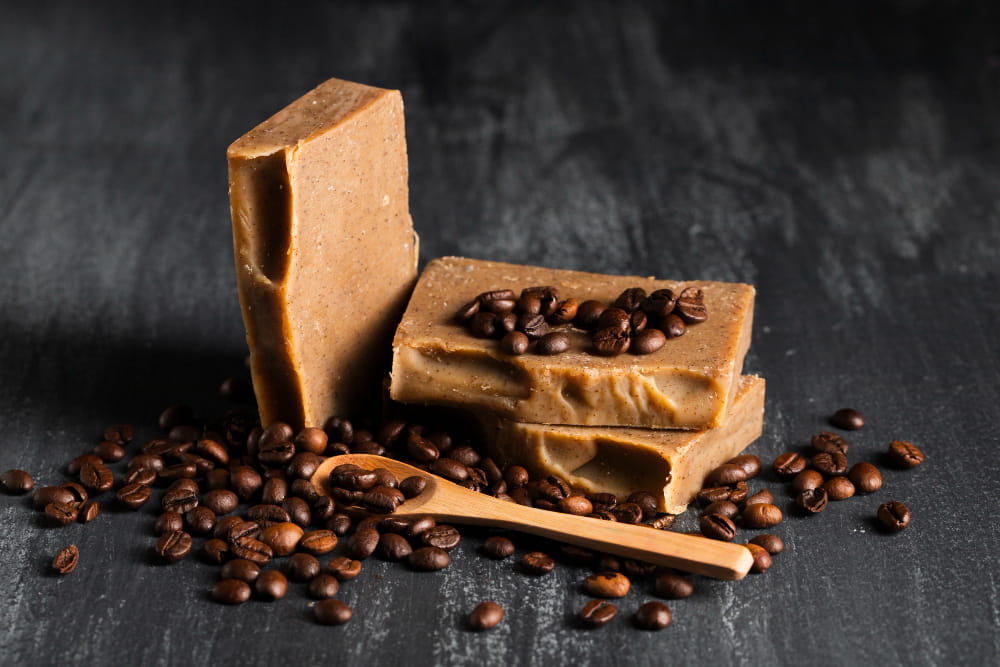
Recipe 6 — Coffee and Vanilla Kitchen Soap
This one is about function: removing strong kitchen smells from your hands. Coffee grounds adsorb odor molecules — the same chemistry that makes coffee grounds effective at absorbing refrigerator smells works on your skin. For maximum effect, infuse your carrier oil with coffee before making the soap: add ground coffee to warm oil, let it steep for a few hours (or a few days in a cool spot), then strain. This pulls the deodorizing compounds into the oil rather than just providing surface texture.
Oil blend:
- Coconut oil: 300g — higher proportion here for genuine cleaning power
- Olive oil (coffee-infused): 150g
- Castor oil: 50g
Lye (NaOH): 75g (at 5% superfat — verify)
Distilled water: 165g
Fine coffee grounds: 2 tablespoons, added at trace
Vanilla fragrance oil: 10ml
A note on the vanilla: it will turn your soap brown. Not a little brown — significantly brown, sometimes within 24 hours of pouring. This happens because vanillin, the primary aromatic compound in vanilla fragrance, reacts with the alkaline environment of fresh soap. It’s not spoilage, it’s not a failed batch — it’s chemistry. The soap performs exactly as intended; it just won’t stay cream-colored. If you want to lean into it, swirl a small amount of natural colorant in a lighter shade and let the vanilla darkening become part of the visual design. Cure 4-6 weeks.
Troubleshooting
Ricing — the mixture looks like cottage cheese or rice, with the oils and lye solution separating rather than combining. Usually caused by a temperature mismatch between the two or by certain fragrance oils. You can often rescue a riced batch by applying gentle heat (stick blending briefly, or putting the bowl in a warm water bath) and blending back to trace. If it comes together smoothly, proceed normally.
Seizing — the soap goes from pourable to a stiff, unworkable paste almost instantly. This is usually a fragrance oil interaction. You cannot undo a seized batch, but you can often salvage it: press the thick paste into the mold as best you can (it won’t be pretty) and let it sit. The bar may look rough but will often be usable soap. This is called “hand milling” after the fact.
Soda ash — a white powdery layer on the top surface of your bars, harmless and purely cosmetic. It’s caused by unsaponified oils in the soap surface reacting with carbon dioxide in the air. Prevention: cover your mold immediately after pouring and spritz the top with isopropyl alcohol. Removal after the fact: steam the bars briefly with a clothes steamer or plane the top off with a cheese grater.
Lye-heavy soap — this one is not cosmetic. If your pH strips read above 11-12 on a cured bar, or if the soap has a slippery, zappy sensation when touched to the tip of your tongue (the “zap test”), set the batch aside. Sometimes a lye-heavy bar simply needs more cure time; saponification can continue for weeks. Retest. If it remains lye-heavy after 6 weeks, do not use it on skin.
Partial gel — one section of the bar looks semi-translucent and darker than the rest. This is what happens when part of the soap went through gel phase and part didn’t, caused by uneven temperature in the mold. The two portions are both soap, both safe to use, just visually inconsistent. To get fully gelled bars consistently: insulate your mold well and keep it in a warm room for 24 hours after pouring.
Curing and Storage
Saponification doesn’t stop when you unmold the soap. The reaction continues for several weeks, water evaporates to make a harder and longer-lasting bar, and the pH drops from its initial high to a skin-safe level. Cure time is not optional — using soap before it’s cured can leave you with soft bars that dissolve quickly and, in the case of cold process especially, a higher-than-ideal pH.
Store curing bars somewhere cool and dry with good airflow between them — a wooden rack works well, a cardboard tray with gaps, even a spare shelf. Not a sealed container. Soap needs to breathe as it cures.
Once cured, soap stores well in a cool, dry spot. Avoid humidity. In the shower, keep soap on a draining dish so it’s not sitting in standing water between uses.
Soap making rewards patience. The chemistry phase is the steepest learning curve, and everything after that — the oil combinations, the colorants, the texture experiments — builds naturally on it. Start with the hot process batch to get the feel of trace and unmolding without worrying about whether saponification is complete. Then graduate to cold process when you want more creative control. The best batches are the ones where you actually understood what happened and why.
The information in this post is based on personal research and experience and is intended for educational purposes only. It is not a substitute for professional medical or dermatological advice, diagnosis, or treatment. Always consult a qualified healthcare provider before making changes to your skincare routine or health practices, especially if you have a medical condition or sensitivity.
