This post contains affiliate links. If you click a link and make a purchase, I may earn a small commission at no extra cost to you. I only recommend products I genuinely believe in. Thank you for supporting Amoria Style!
French tips look simple on paper: a soft nude base and a clean white edge. In reality, they’re one of the most revealing nail styles you can attempt at home — every small inconsistency in pressure, angle, or nail shape shows immediately in the final result.
A good French manicure comes down to control more than painting skill: how steady your hand is, how well you understand your own nail shape, and how you manage symmetry across both hands. Six methods exist for getting there, and which one suits you depends entirely on your tools, your patience, and your nail shape.
Before You Start: Nail Prep Matters More Than Technique
Most at-home French manicures fail before the polish is even applied. Surface preparation determines whether your result looks clean or slightly uneven.
Nail shape affects the final look
French tips adapt differently depending on shape:
- Squoval: most balanced and forgiving, ideal for beginners
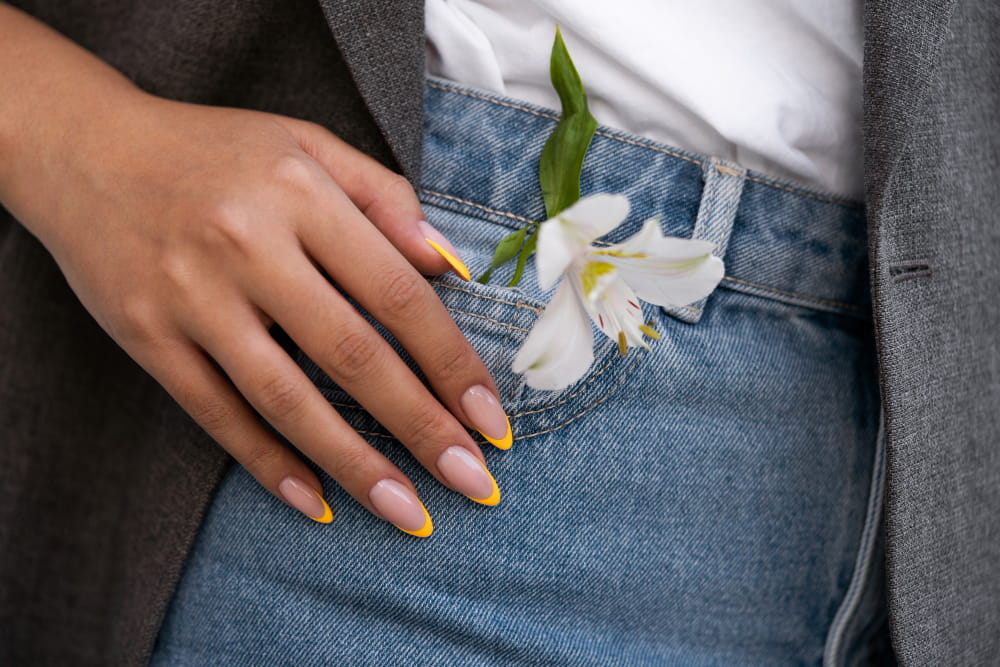
- Almond: elongates the hand and softens the smile line
- Square: bold and graphic, but less forgiving with uneven lines
If you are struggling with symmetry, nail shape is often the hidden cause.
Proper preparation steps
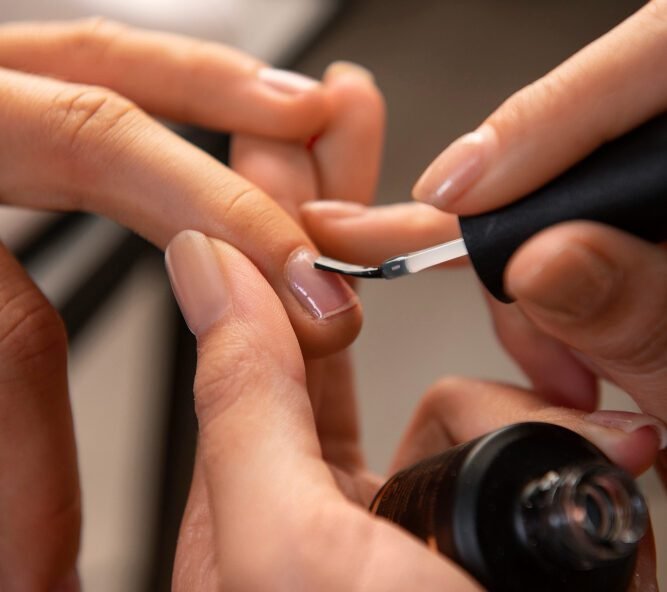
A clean base ensures the polish applies evenly and lasts longer.
- Lightly buff the nail surface to remove ridges
- Push back cuticles for a clean edge at the base
- Wipe nails with alcohol or nail cleanser to remove oils
- Apply a sheer nude or soft pink base coat instead of clear polish
The base tone is especially important. A nude base softens the contrast between the nail and the white tip, making imperfections less visible.
Method 1: Nail Guides (Best for Beginners)
Nail guides are the easiest way to create consistent French tips, but placement is what determines success.
Each nail has a slightly different natural curve. The guide should follow that curve rather than sitting straight across the nail. A straight placement often results in uneven or unnatural-looking tips.
How to use them properly
- Place the guide along your natural smile line
- Press edges firmly to prevent polish bleeding
- Apply two thin coats of white polish
- Remove the guide while polish is slightly tacky, not fully dry
Removing too late can lift parts of the polish and distort the edge.
Method 2: Free-Edge Dip Technique (Fast and Natural Look)
This method creates a softer, more organic French tip. It is less precise but often looks more natural than sticker-based methods.
Key technique points
- Slightly angle the nail at around 45 degrees
- Lightly press the tip into white polish
- Expect an uneven line initially — refinement comes after
The final shape is created during cleanup using a fine brush dipped in acetone, not during the dip itself. This is what separates a clean finish from a messy one.
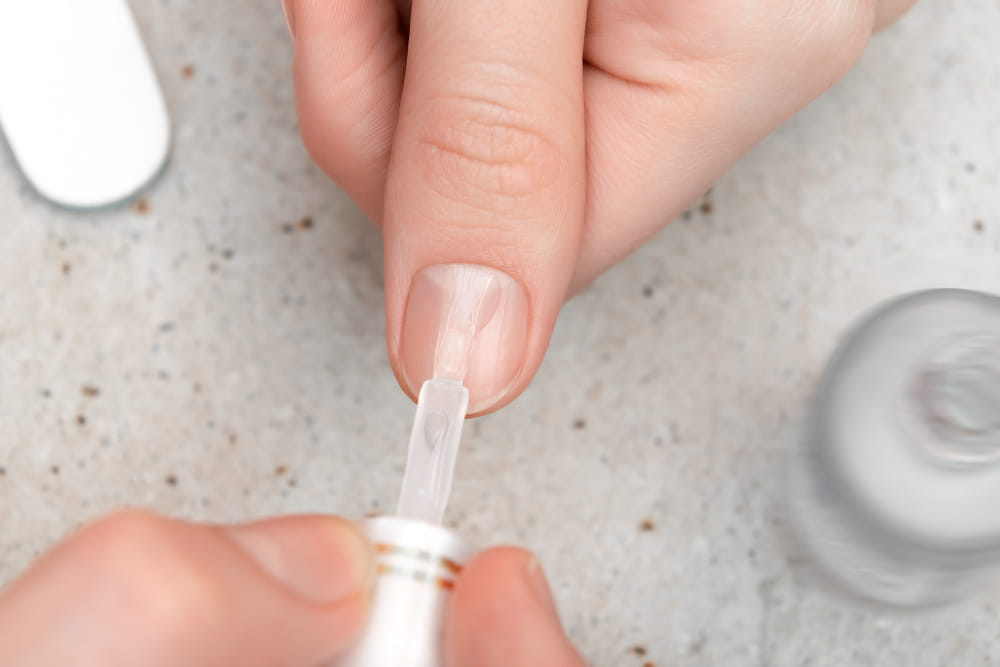
Method 3: Freehand Brush Method (Most Advanced Control)
This is the most precise method but requires practice and hand stability.
What matters most
- Use a thin liner brush, not a standard polish brush
- Keep your hand supported on a stable surface
- Use minimal polish on the brush to avoid flooding
Most mistakes happen when beginners try to draw the full curve in one motion. A more controlled approach is to build the line gradually, starting from the center or one corner and refining outward.
Cleanup with a small angled brush and acetone is part of the process, not optional.
Method 4: Tape Method (Flexible Alternative)
Tape works similarly to nail guides but allows adjustment before committing.
This is helpful if your smile line is difficult to match consistently across all nails.
Best practices
- Use nail-specific tape when possible for better flexibility
- Press edges down firmly before applying polish
- Remove tape while polish is still slightly tacky
Regular tape can work, but it may not conform well to curved nail shapes.
Method 5: Gel French Tips (Long-Lasting Finish)
Gel polish creates a more durable and polished result, typically lasting 2–3 weeks.
Unlike regular polish, gel is built in layers and cured under a lamp, which creates a smoother and more even finish.
Why gel behaves differently
- Self-leveling texture reduces brush marks
- Curing locks in the shape immediately
- Better resistance to chipping at the tip
The key to a professional result is thin, even layers and proper curing time between steps.

Method 6: Acrylic French Tips (Advanced Structure)
Acrylic French tips involve building the nail extension itself, making them more complex but also more durable.
This method is best left for experienced users or salon application, as it requires fast working time and precise shaping before the material sets.
Unlike polish-based methods, the white tip is physically built into the nail structure rather than painted on top.
Why French Tips Go Wrong at Home
Most beginner issues come from a few predictable mistakes:
- Uneven pressure between hands
- Too much polish on the brush
- Removing guides too late or too early
- Ignoring nail shape when choosing a method
French tips amplify small errors, which is why they often look inconsistent even when the technique is correct.
Common Problems and Fixes
Uneven smile line
Your brush control is inconsistent — slow down and reduce pressure.
Polish bleeding under guides
Edges were not sealed properly before application.
Uneven results between hands
You are copying motion instead of adjusting hand angle individually.
Chipping at the tip
The free edge was not sealed with top coat.
How to Make French Tips Last Longer
The most important step is sealing the free edge with top coat. This prevents early chipping, which usually starts at the tip.
For regular polish:
- Reapply top coat every 2–3 days
- Avoid water exposure immediately after application
- Use gloves during cleaning tasks
For gel:
- Ensure full curing time under lamp
- Avoid thick layers that cure unevenly
Final Thought
French tips are often seen as a beginner-friendly nail style, but in practice they reward precision more than complexity. Once you understand how shape, pressure, and timing interact, the result becomes far more predictable.
The goal is not perfection on the first try — it is consistency across both hands. That is what makes the difference between an at-home attempt and a professional-looking finish.
