This post contains affiliate links. If you click a link and make a purchase, I may earn a small commission at no extra cost to you. I only recommend products I genuinely believe in. Thank you for supporting Amoria Style!
Here’s something I’ve noticed after spending an embarrassing amount of time researching nail art: the ideas that look simplest on social media are almost never the easiest to execute at home. A seamless sheer nude with a perfectly clean edge takes more control than it looks. A single floating white line on a blush base requires a steadier hand than most people have on a Tuesday evening. Meanwhile, the techniques that reliably produce polished results — the ones that actually look finished in real life — are rarely the ones going viral, because they don’t have enough drama to stop the scroll.
What makes a manicure look good in real life isn’t complexity. It’s finish, proportion, and color logic. This guide is organized around what you can realistically do at home, not around what gets the most saves. I’ve broken it into three tiers by skill and time investment, because reading a list of twenty disconnected ideas and trying to figure out which ones you can actually pull off is its own kind of exhausting.
Section 1: Zero Skill Required (But Looks Like You Have Some)
The Single-Color Manicure, Done Right
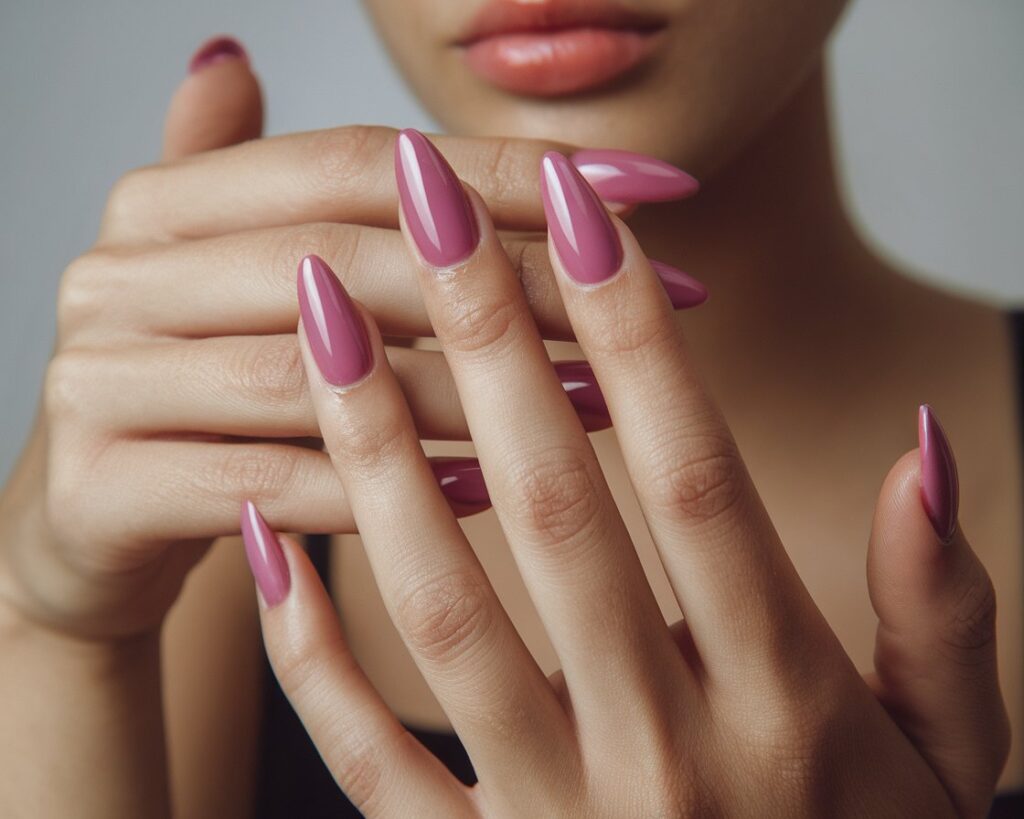
The boring-sounding option is often the best one — but only when you understand that finish does more work than color. This is the thing most people get wrong: they focus on the shade and ignore the formula, then wonder why their nails look flat despite the beautiful color.
For summer specifically, the finish hierarchy matters more than usual because heat and light change how polish reads. A cream finish — opaque, with a slight natural sheen — is the most forgiving and the most versatile. It covers unevenness in one or two coats and reads cleanly both in photos and in person. A glossy finish pushes everything brighter and more reflective, which is stunning on longer nails but unforgiving on shorter ones because it highlights every imperfection in the nail bed. A sheer finish is the most sophisticated of the three on short nails; it suggests color rather than asserting it, which paradoxically reads as more intentional and more expensive.
If your nails are at or below the fingertip, sheer and cream are your allies. Glossy works best when nails have some length and a consistent shape, because the reflective surface acts almost like a magnifying lens. This single decision — which finish — changes the entire register of the same color.
French Tips in 2026
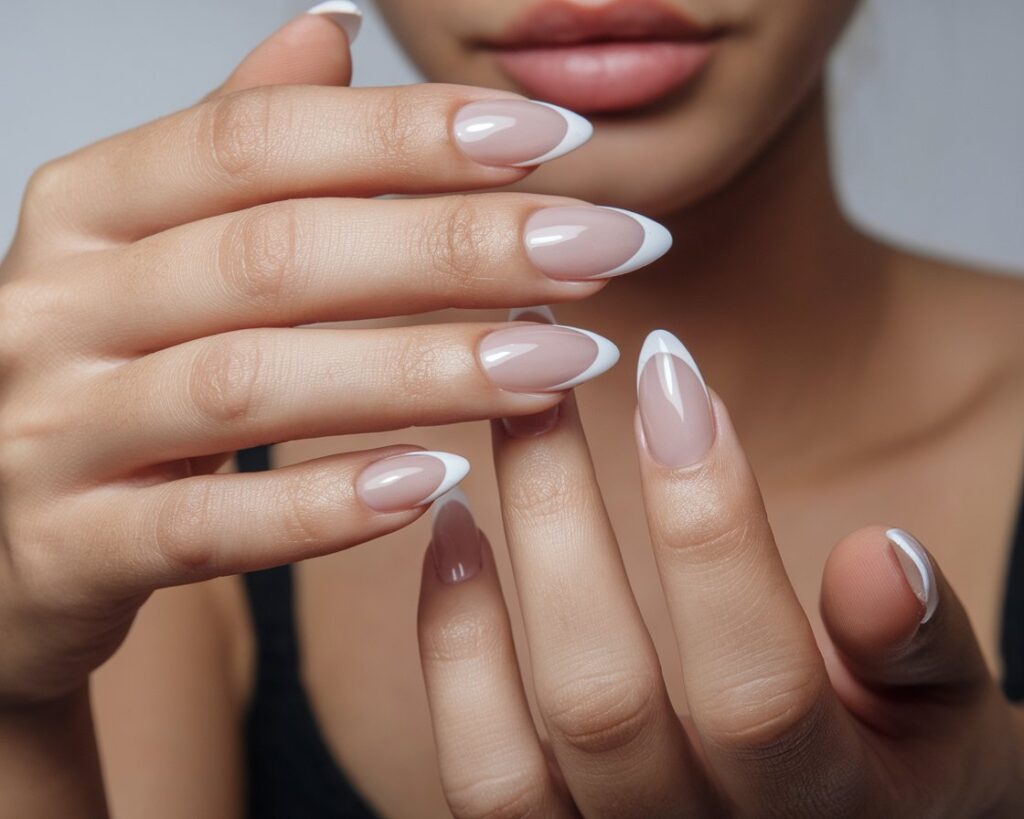
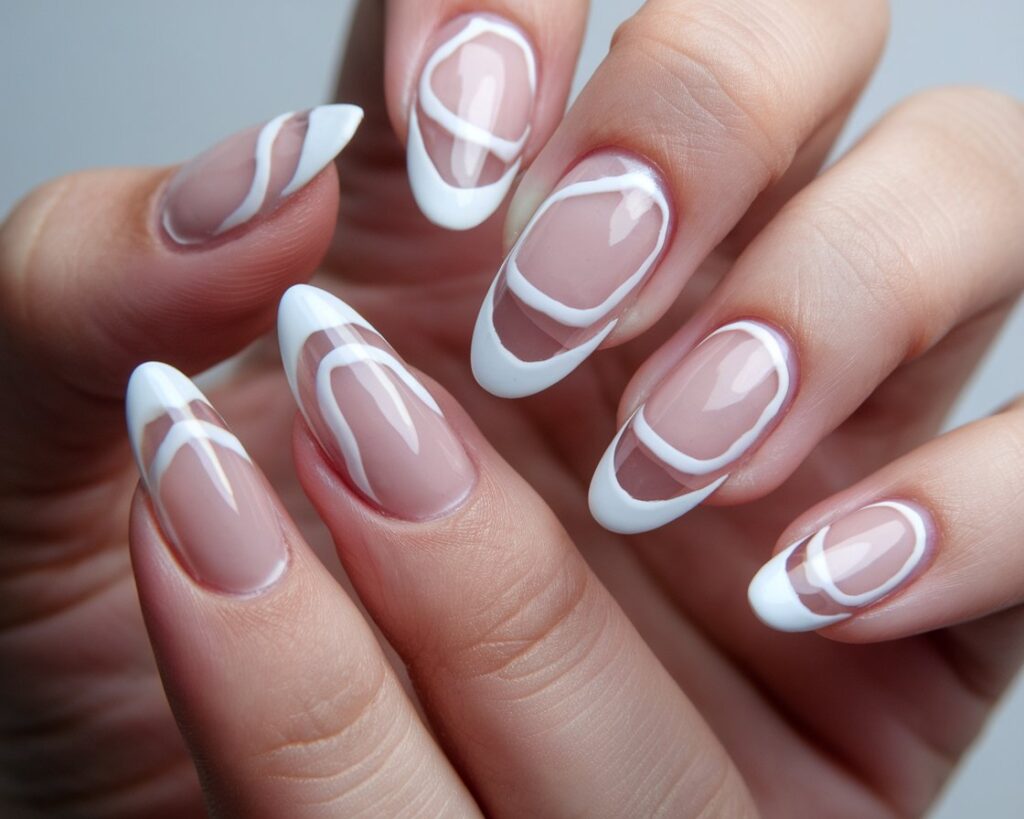
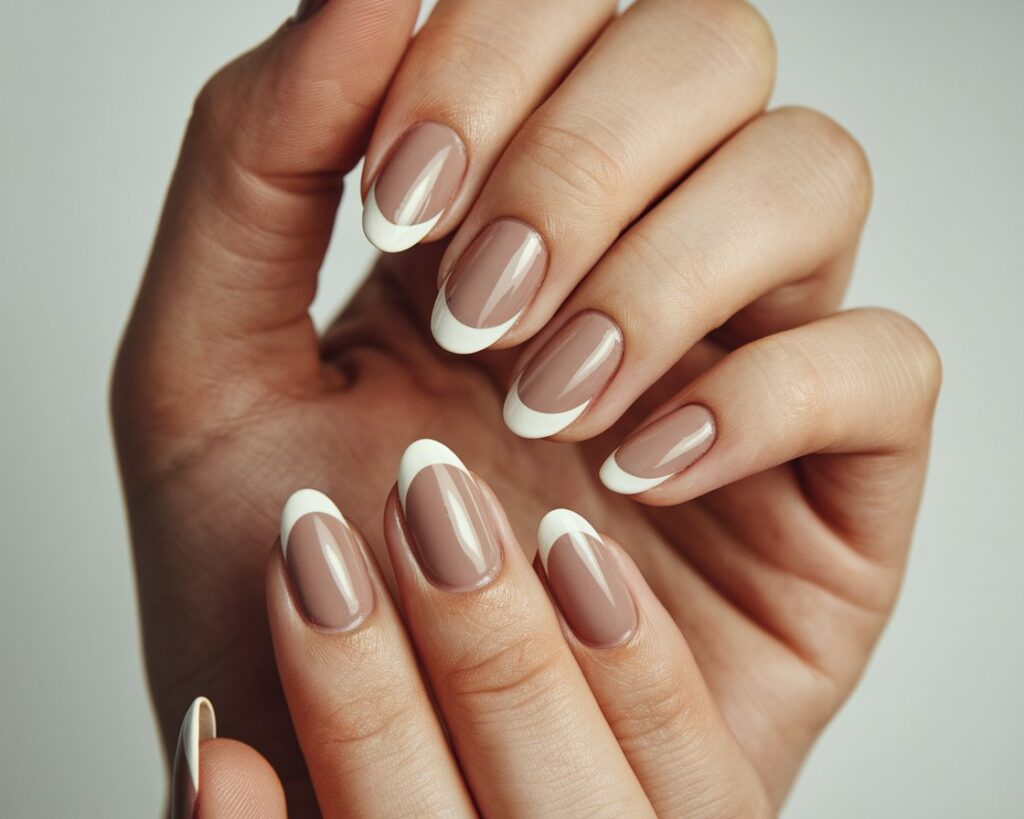
The French tip has gone through several reinventions, and where it’s landed for 2026 is sleeker and more minimal than anything in recent memory. The thick white band of the nineties — the kind that looked like a paintbrush dipped in correction fluid — is finished. What’s replaced it is a line: thin, precise, and often in off-white or ecru rather than stark white. Some versions replace the white tip with sheer champagne or pale pink, making the French effect almost subliminal.
The reason thick tips fell out of favor isn’t just aesthetic — it’s proportional. A wide white band visually shortens the nail and breaks the finger at the wrong point. A thin line extends the silhouette and makes even short nails look elongated.
At home, the tool that makes this achievable is nail guide tape. Applied just below where you want the line, the tape creates a clean edge that no freehand brush can reliably replicate. The technique: apply your base color, let it cure fully, apply the tape, paint your tip, wait thirty seconds, and then peel the tape at an angle rather than straight up. The angle matters — pulling straight up risks lifting the edge of your tip color with it.
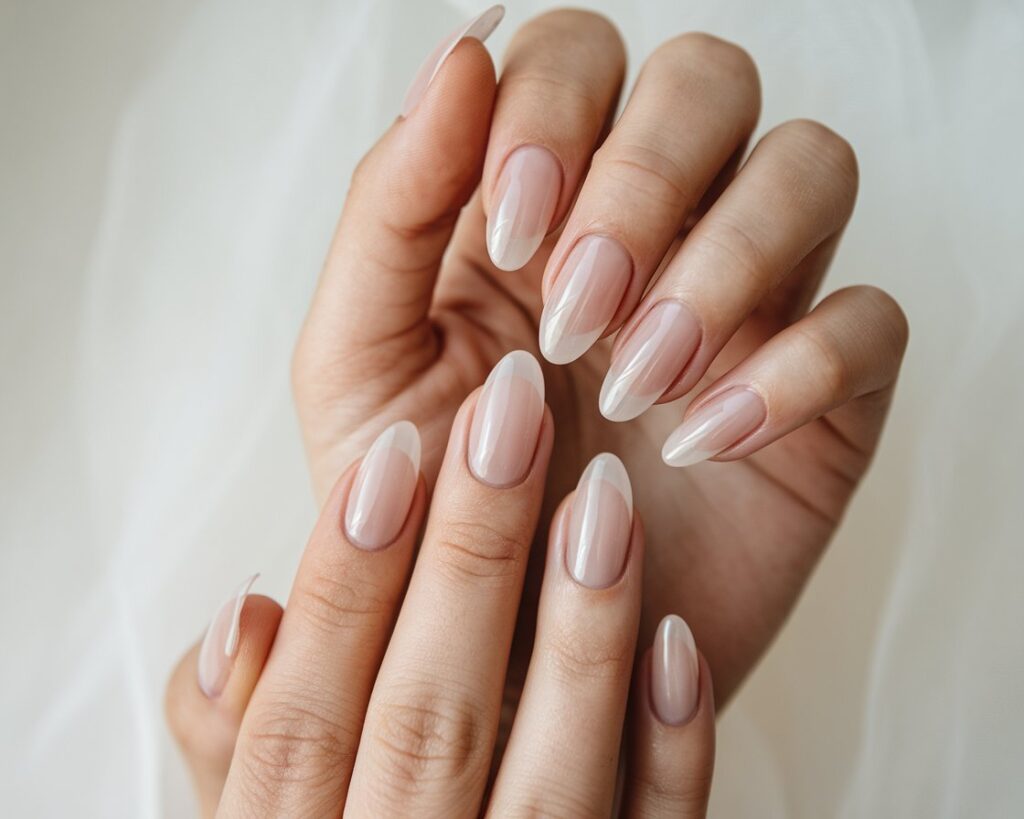
The Sheer Nail
Sheer pink or sheer peach on a well-groomed short nail is one of the most consistently polished looks you can produce without any particular skill. It reads as effortless, which means it reads as considered. The problem most people encounter is streaking — sheer formulas are thin, and thin formulas show every brushstroke.
The fix is in the application method. Start with a very thin base coat and let it dry fully. Then apply your sheer color in three strokes — one down the center, one on each side — without going back over areas you’ve already painted. Sheer polish self-levels to an unusual degree if you leave it alone; the streaks you see wet often disappear by the time it dries. A second coat applied the same way adds depth without adding opacity. Resist the urge to fix things mid-coat. With sheer polish, the second coat corrects what the first coat didn’t.
Color Blocking with Two Colors
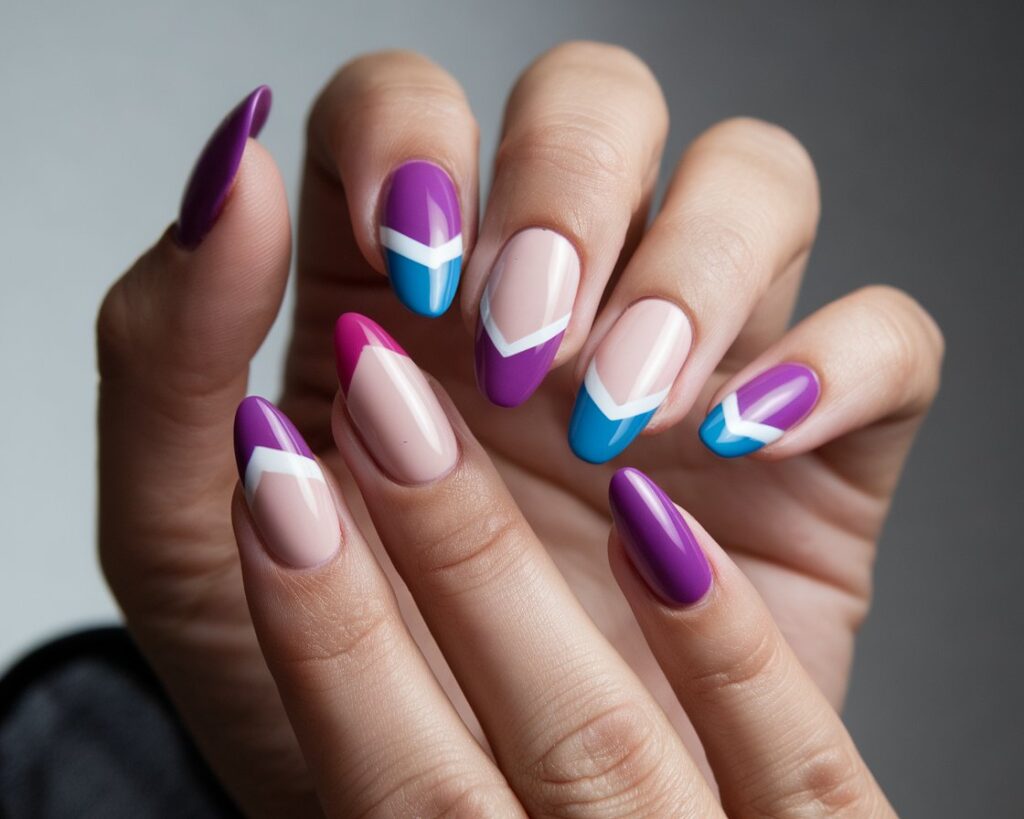
The combinations that work best for summer 2026 lean into contrast without tension: butter yellow and white, coral and cream, sky blue and nude. These pairs work because one color is assertive and the other recedes — the eye has a place to rest.
Where most people go wrong is alternating colors across all ten fingers. It looks playful for five minutes and then reads as restless. What works better — and what you’ll see on anyone whose hands actually photograph well — is using one color on nine nails and reserving one accent nail for the second color. The ring finger is traditional; the index finger reads as more current. One nail with a different color signals intention. All ten alternating signals indecision.
The technique requires only a steady hand and two bottles of polish. The sophistication is entirely in the color selection.
The Negative Space Manicure
Using the natural nail as part of the design sounds advanced but is actually more forgiving than a fully opaque manicure, because you don’t need complete coverage. The idea is to leave a section of bare nail visible — usually at the base or along one side — which creates a graphic effect without requiring you to fill every millimeter.
The reason this works technically is that your precision can be loose. A slightly uneven edge where painted meets unpainted reads as deliberate asymmetry rather than amateur sloppiness. The most wearable version for summer is a diagonal band of color starting from the lower corner of the nail, leaving the upper portion bare. Use a nail guide for the line if you want it sharp, or freehand it slightly imprecise if you want it modern.
Section 2: 20 Minutes and Basic Tools
Minimalist Line Art
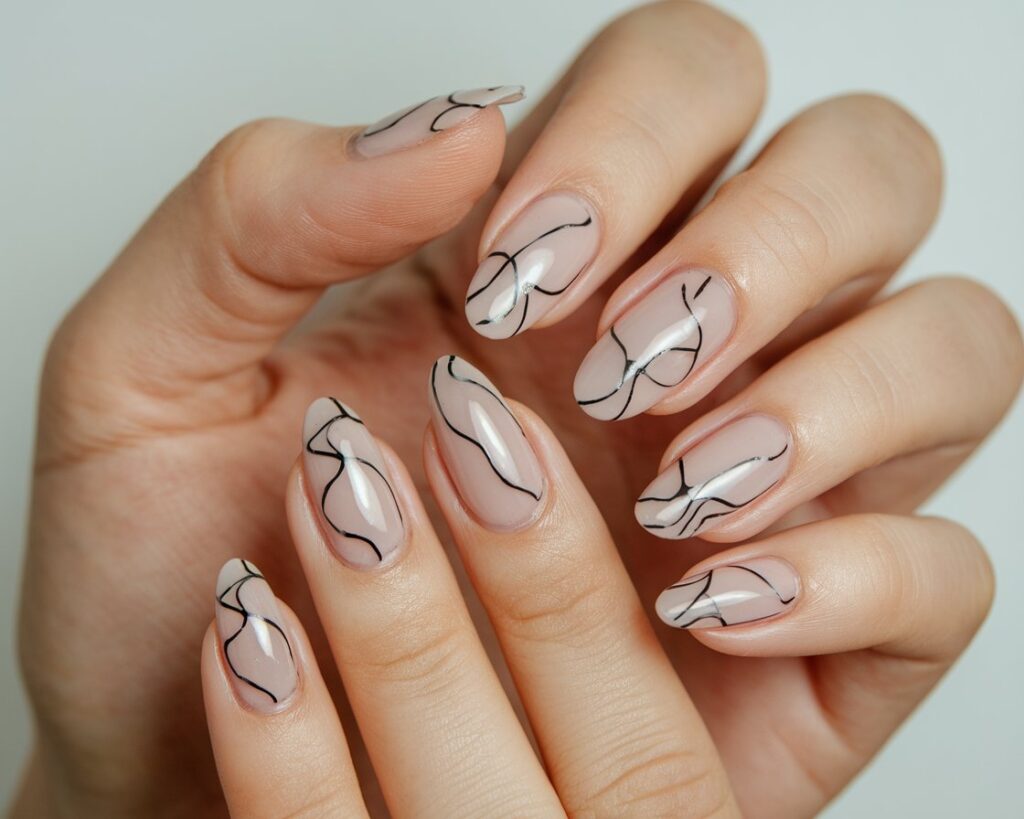
A single thin line down the center of the nail, or two parallel lines at the tip, is the nail art equivalent of a well-placed seam — it structures the whole thing without announcing itself. The reason thin lines read as sophisticated rather than amateur comes down to confidence: a thin line says the person who drew it knew exactly what they were doing. A wobbling thick line says the opposite.
The tool that makes this achievable is a striping brush, which costs almost nothing and changes everything. Load it sparingly — too much polish and the line bleeds. Practice one stroke on paper before touching your nail. For the most consistent weight, keep your elbow anchored on the table and move only your wrist. One stroke, no going back over it. The imperfections are what make it look hand-done rather than like a sticker.
Simple Dot Art
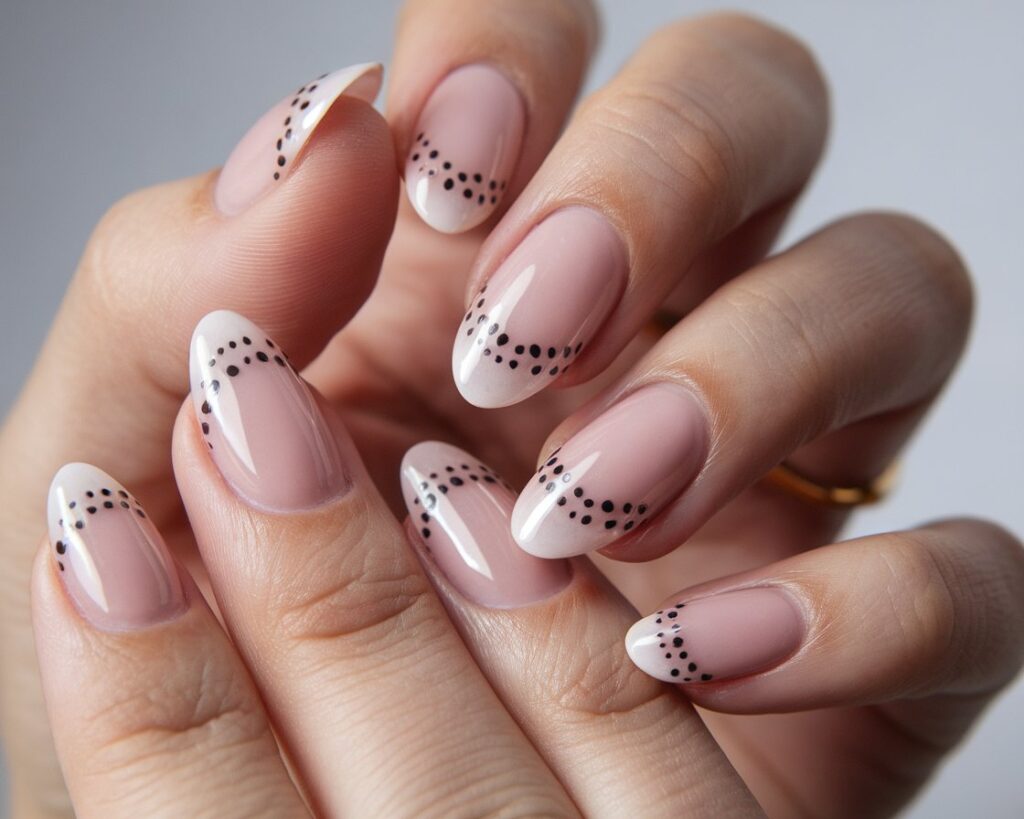
Dots placed at the cuticle area — a small cluster of three or five at the base of the nail — or scattered diagonally across the surface in descending size read as deliberately composed rather than random. The spacing is what makes the difference between intentional and scattered: dots that are evenly spaced look geometric and clean; dots that vary in grouping and spacing look like they were placed by someone who studied the nail before touching it.
The proper tool is a dotting tool, which has a small ball tip that deposits a consistent drop of polish. If you don’t have one, the flat end of a bobby pin works almost as well. Dip, don’t drag. Let each dot sit without touching it. The worst thing you can do to dot art is try to neaten it — the moment you touch a fresh dot, it smears.
The Half-Moon Manicure
The half-moon (or lunula) manicure places a curved line at the base of the nail, leaving the crescent of the nail bed in a contrasting color or bare. It’s a cleaner, more structural look than it sounds, and it pairs particularly well with darker accent colors on a nude or white base.
The guide method: use small circular reinforcement stickers — the kind for hole-punched paper — placed at the base of the nail to mask the crescent. Paint your accent color over the exposed nail, wait thirty seconds, then peel. The curve of the sticker creates the arc. The consistency across all ten nails comes from using the same size sticker on each, rather than trying to freehand a matching curve ten times.
Gradient Nails with a Sponge
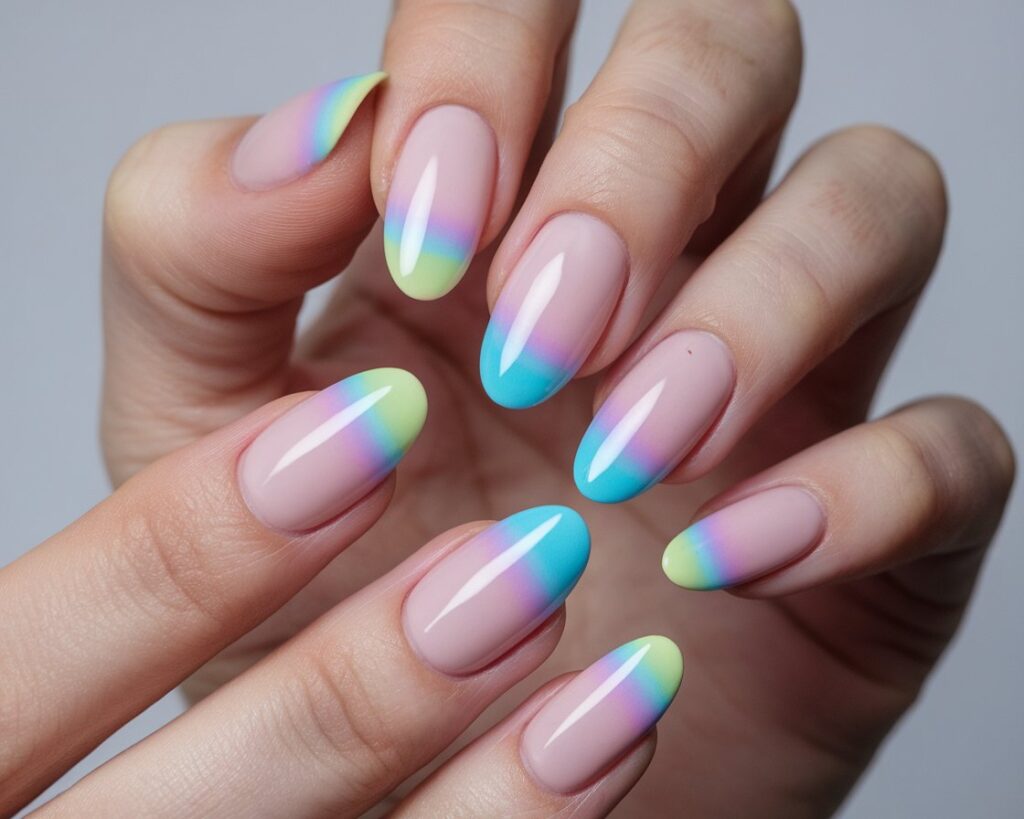
The sponge gradient works by applying two colors side-by-side on a makeup sponge and then dabbing — not wiping — onto the nail. The dabbing motion deposits color in a diffused, overlapping way that blends at the edges without hard lines.
A few things that determine whether this works or looks muddy: your colors should be close enough in value to blend (a light coral and a warm peach will blur beautifully; a dark navy and a pale yellow will fight), your sponge should be slightly damp before use to prevent it absorbing too much polish, and you need to work quickly before the sponge portion dries. Clean up the skin around your nails after with a small brush dipped in acetone — gradients are inherently messy at the edges, and that cleanup is what separates the polished result from the craft-project result.
On short nails, keep the gradient subtle: one color at the base shifting gently toward the second at the tip. On longer nails, you have more canvas and can let the shift be more dramatic.
Stamped Floral Details
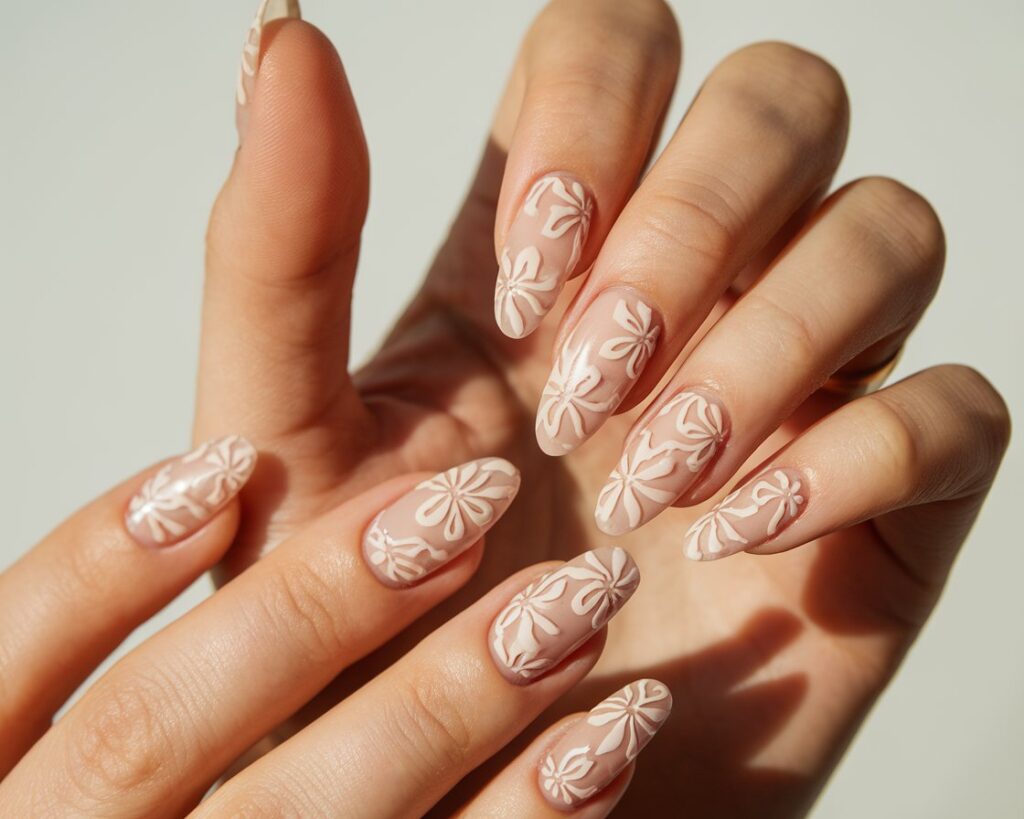
Nail stamping uses an engraved metal plate, a stamper, and a scraper to transfer designs onto the nail in one motion. The learning curve is about fifteen minutes of practice; after that, it’s faster than any freehand technique.
For summer 2026 specifically, the floral stamps trending now are small, single-bloom designs — a ranunculus outline, a simple poppy, a sparse botanical sprig — rather than the dense all-over florals that dominated a few years ago. One stamp on the ring finger nail over a solid base is more current than stamped designs on all ten. Use a stamping polish specifically (regular polish dries too fast on the plate and transfers patchy), and scrape the plate at a 45-degree angle rather than flat.
Section 3: Worth the Extra Effort
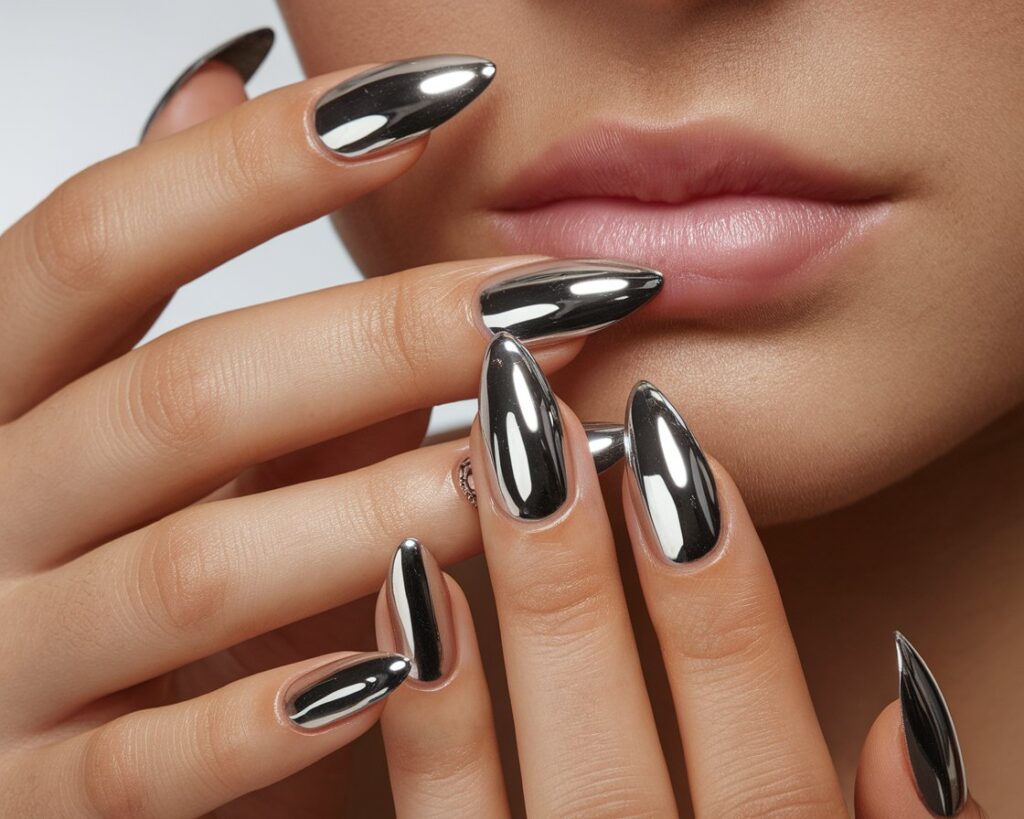
Chrome Powder
Chrome powder applied over gel produces a finish that looks impossible to achieve at home — a mirror-like, dimensional metallic that shifts with the light. The key technical requirement is that it needs a sticky (uncured) gel layer to adhere to. Apply your gel color, cure it, then apply a thin gel top coat and don’t cure it. Rub the chrome powder over the tacky surface with a silicone applicator or even your fingertip, then cure the whole thing.
What most people don’t realize: chrome looks completely different depending on the base color. Over nude or blush gel, it produces a rose gold effect. Over black, it gives true mirror-chrome. Over deep blue, it shifts green. Over white, it stays silver. The base is half the result, so choose it intentionally.
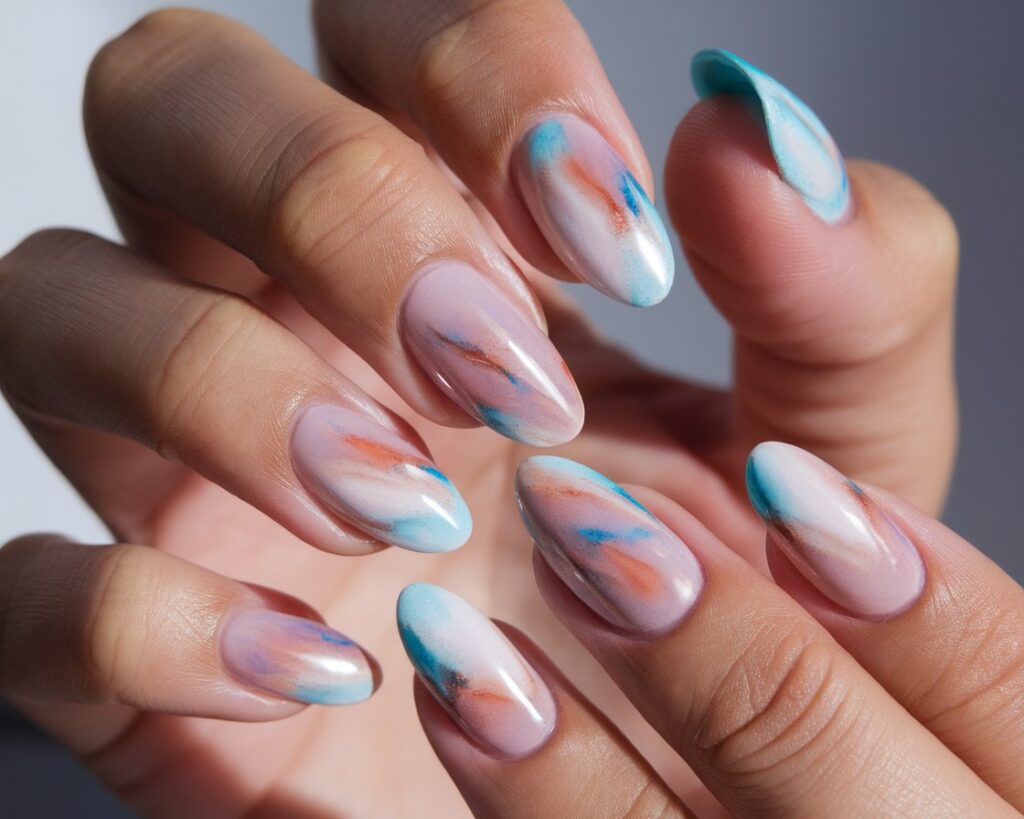
Watercolor Effect with Gel
The watercolor gel technique uses a highly diluted gel polish — thinned with gel medium or a clear base — applied in thin, uneven washes that allow light to pass through. The effect mimics actual watercolor painting: pools of color that are deeper at the edges, lighter in the center, with the nail’s natural translucency providing the luminosity that makes the look work.
The technique requires building in layers. Apply a very thin wash of diluted color, cure, and repeat two or three times, varying where you place the color each time. Where layers overlap, the color deepens. Where you leave gaps, the natural nail shows through. Don’t try to cover the nail evenly — the variation is the point. Finish with a gel top coat that has enough depth to let the layers beneath breathe visually.
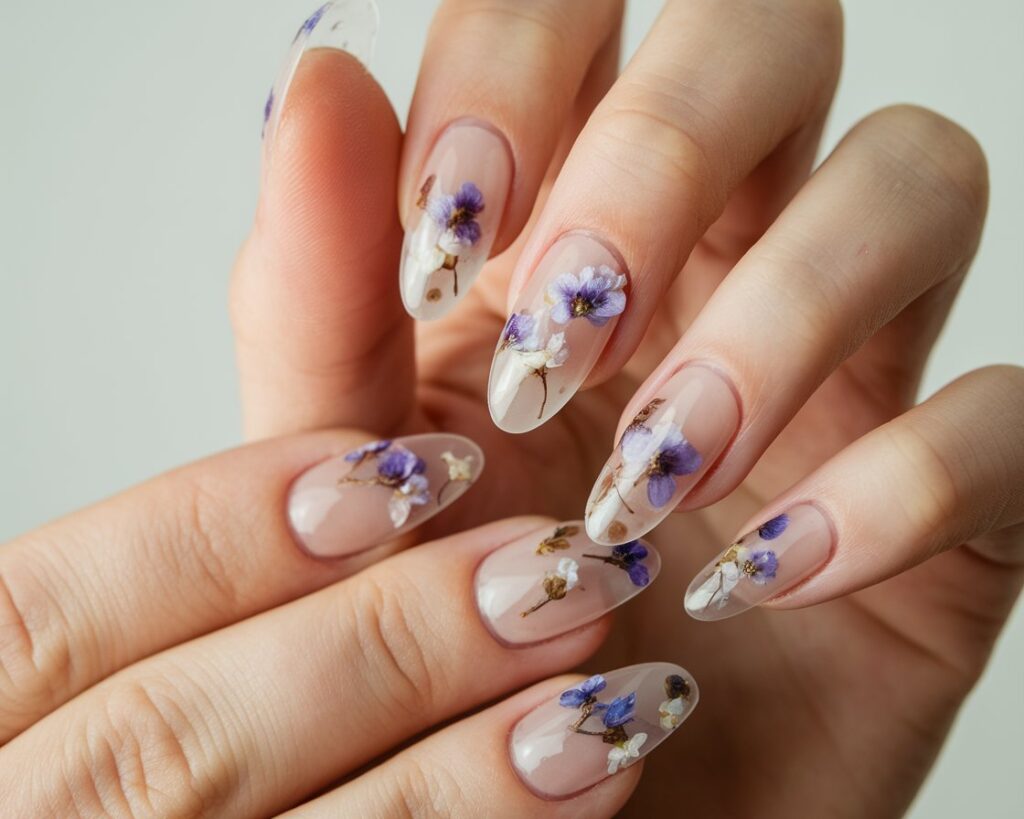
Pressed Flower Nails
The process starts before you sit down to do your nails: sourcing dried flowers small enough to fit a nail surface. Pansy petals, forget-me-nots, and delicate fern fronds work well; thicker petals create a lumpy surface that’s hard to top-coat smoothly. You can press and dry your own flowers over two weeks between book pages, or buy pre-pressed botanicals from craft suppliers.
The application technique: apply your base color and let it dry completely. Apply a layer of gel top coat or strong adhesive top coat, place the dried flower while it’s still wet, and press it flat with a soft tool. Once dry, apply two or three thin layers of top coat over the flower, curing between each if using gel. The layering is what protects the delicate flower from peeling and gives the finished surface a smooth, glassy feel. Don’t rush the top coat layers — one thick coat tends to bubble around the flower’s edges.
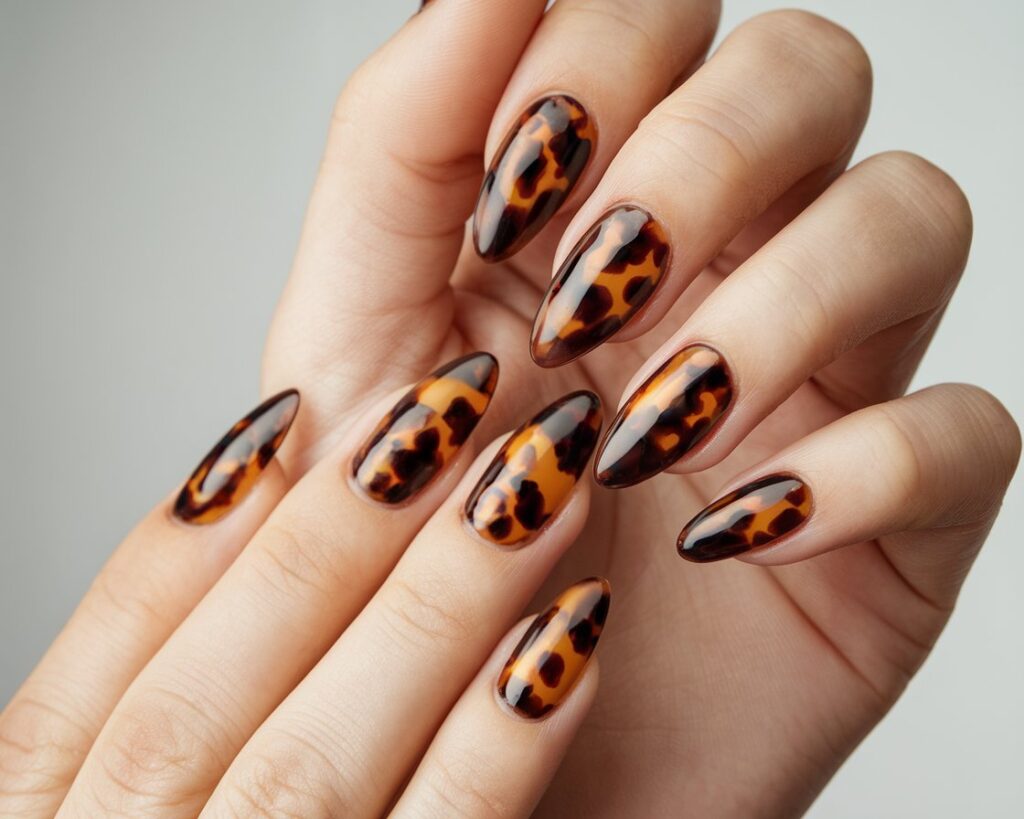
Tortoiseshell
The tortoiseshell effect starts with a warm nude or honey base. While the base is fully dry, drop small irregular spots of amber, burnt sienna, and near-black onto the nail — use the end of a thin brush or a dotting tool, and make the spots asymmetric. Before those spots dry completely, use the clean end of a thin brush or a toothpick to drag the edges of each spot outward, pulling them into the surrounding base color. The drag direction matters: move outward from the center of each spot in one direction rather than swirling. Tortoiseshell has a grain — look at a reference photo before you start.
The finish is a high-gloss top coat, applied generously. The gloss is what transforms the painted effect into something that reads as resin or shell rather than painted polish.
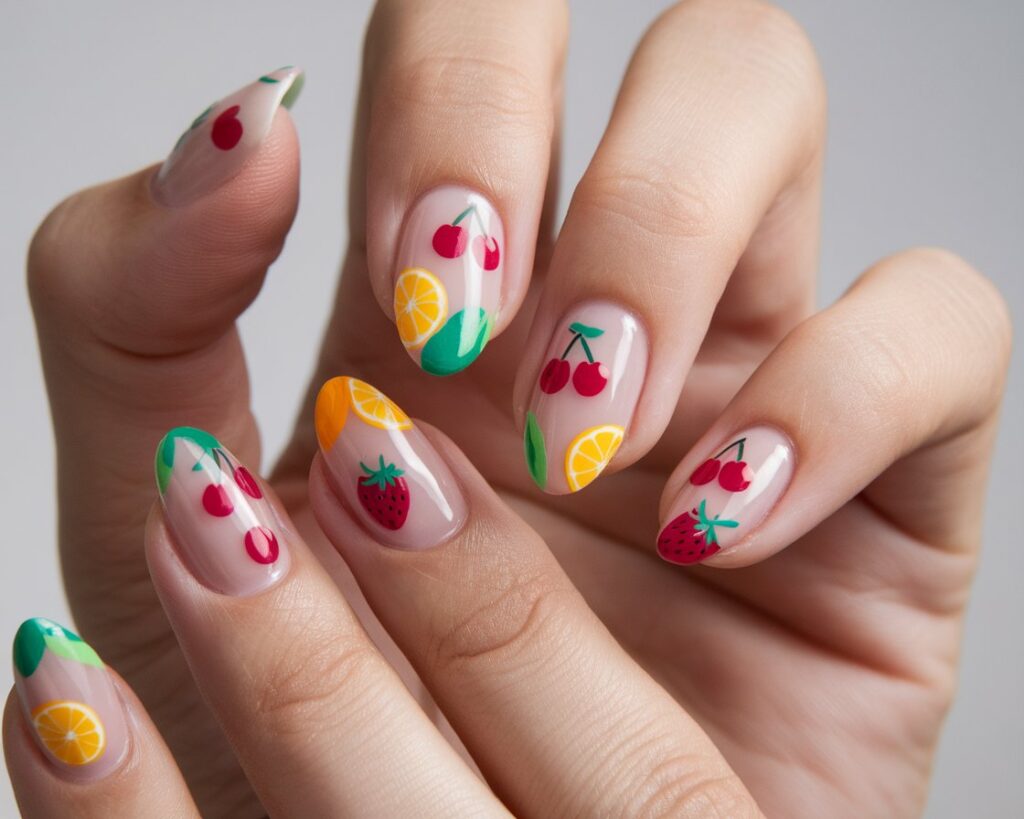
Summer Fruit Nail Art
Honest assessment first: some fruit designs are achievable at home, and some are not. Lemon slice nails are achievable. Apply yellow polish, add a thin white crescent on one side, draw spokes from a small white oval in the center using a striping brush, and top-coat. From any normal viewing distance, it reads clearly. Watermelon nails are achievable on longer nails with a flat brush: deep red base, white stripe at the tip, tiny black seeds dotted in. Cherry nails — two red dots with a thin green stem between them — are achievable with a dotting tool and a striping brush.
Strawberry nails with realistic seeds and shading are not beginner-achievable. Realistic orange slices with visible segment detail are not beginner-achievable. The fruit art that works at home simplifies the subject to its three or four most identifiable features and trusts the viewer to fill in the rest.
Summer 2026 Color Palette Guide
Color trends in nails move faster than almost anything else in beauty, but the families that are consistently landing well this summer are specific enough to be useful.
Butter yellows sit in the warm, creamy range — not the cool, acidic yellow of the early 2020s, but a richer, more golden tone. Think unsalted butter, warm parchment. These read beautifully on longer almond or oval shapes; on very short nails they can read slightly overwhelming, so go sheer if your nails are short.
Earthy corals have replaced the bright orangey-corals of a few summers ago. The current tones lean warm and slightly muted — terracotta-adjacent, the kind of color that looks like it might belong in a desert or a pottery studio. These are remarkably flattering across skin tones and work particularly well in cream finishes on square or squoval shapes.
Ice blues are pale, almost icy, with cool undertones — think the inside of a glacier or a midwinter sky. These look expensive in a cream finish and playful in a jelly or sheer finish. They suit shorter nails well because the coolness of the color keeps the overall look light.
Warm whites have replaced the clean stark white that dominated for the past few years. The current iteration has a very slight cream or beige lean — still reads as white, but warmer. This is the most versatile nail color of the summer for layering under chrome, pairing with skin tones across the spectrum, and working across all nail lengths and shapes.
Transparent and sheer finishes function almost as their own color family. A sheer mauve, a sheer peach, a barely-there pink that reads almost like your skin but slightly better — these are the nails that make people say “your nails look so nice” without being able to explain why. They work because they make the hand look groomed without making the nail the focus. On short, well-shaped nails with clean cuticles, a sheer finish is the single most reliable polished result available.
The One Thing That Changes Everything
No matter which idea you try, the finishing difference between “done” and “polished” comes down to three preparation steps that most people skip:
Base coat. Not optional, not negotiable. A good base coat prevents staining, gives the polish something to grip, and extends wear by days. Apply it thin — one coat, let it dry fully before touching color.
Top coat. This is where most at-home manicures fall apart. Quick-dry top coats are convenient but they flatten everything — the finish is slightly dull, slightly plastic, and they chip faster than proper top coats. A quality glassy top coat (Seche Vite, HK Girl, anything that markets itself as “glass finish” or “diamond finish”) adds refractive depth that makes color look three-dimensional. Apply it slowly, seal the edge of the nail by running the brush across the tip, and let it dry undisturbed for at least ten minutes.
Cuticle care before you start. Push cuticles back gently with a rubber-tipped tool after a warm shower when skin is soft. Don’t cut them unless you know what you’re doing — pushing is enough. Then apply a drop of cuticle oil, let it absorb for a minute, and wipe it away completely before you pick up any polish. Oil and polish do not coexist, and if there’s any residue on the nail plate, your polish will lift at the base within two days.
The color you choose matters. The design matters. But nails that last, nails that look finished from across a table — that’s all base coat, top coat, and twenty seconds of cuticle attention before you start.
