This post contains affiliate links. If you click a link and make a purchase, I may earn a small commission at no extra cost to you. I only recommend products I genuinely believe in. Thank you for supporting Amoria Style!
Most scrub guides open with the recipes. I want to start somewhere different — with the one principle that determines whether a salt scrub improves your skin or quietly damages it over time.
Particle size, shape, and hardness relative to the skin being scrubbed. That’s it. That’s the thing.
Skin is not uniform. The epidermis on your face is thin, reactive, and already taking daily punishment from UV exposure, pollution, and product layering. The skin on the bottom of your heels was built for friction — it’s a completely different material. Running the same scrub across both areas isn’t just ineffective, it’s counterproductive. On the face especially, coarse particles create microtears that don’t show up as immediate redness but accumulate as chronic low-grade inflammation — the kind that eventually shows up as sensitization and hyperpigmentation. Skin that looks worse, not better, and you don’t connect it to the scrub because the damage is slow.
This is also why walnut shell powder is worth avoiding. Under a microscope, walnut shell particles have jagged, irregular edges — shards, essentially, not smooth crystals. The FDA has issued warning letters to cosmetic companies using it because of microtear risk. Salt crystals are harder than sugar but have a meaningful advantage: they dissolve. As you work a salt scrub into wet skin, the edges soften and round off. The oil in the formula slows this dissolution, which is part of why oil ratio matters — it’s regulating how aggressive the exfoliation is at any given moment.
Salt versus Sugar, and Why It Matters in Practice
Physical exfoliation works by mechanically removing dead skin cells. Chemical exfoliation dissolves the bonds holding them together — acids, enzymes. This guide is entirely about physical, specifically salt.
Sugar dissolves fast. Within seconds of hitting wet skin, a sugar scrub starts losing its texture and transitioning into something softer and slippier. Salt takes longer, maintaining consistent abrasion through the whole application. Neither is objectively better; they do different things. Sugar front-loads the exfoliation and gentles out. Salt stays steady. Recipe 5 here uses both deliberately — the sugar dissolves first, the salt takes over, two textures in one product.
Particle size maps to skin location: fine salt for the face and neck (and only fine — nothing coarser), medium grain for the body generally, coarse for knees, elbows, and feet. There’s one more category beyond coarse, and that’s what the foot recipe uses.
Where not to use a physical scrub at all: active acne, rosacea flare-ups, eczema, sunburned skin, broken skin. On acne, scrubbing spreads bacteria and worsens inflammation. On rosacea and eczema, it strips an already-compromised barrier. When skin is having a hard week, a scrub is not the answer.
How Oil Changes What a Scrub Does
Most DIY recipes treat oil as a binder — something that holds the salt together. It does more than that. The oil you choose changes the product’s skin feel, its shelf life, who it’s appropriate for, and sometimes its texture.
Coconut oil is antibacterial and has a very distinct, heavy skin feel that people tend to have strong opinions about. It’s solid below roughly 24°C, so a coconut oil scrub behaves differently depending on whether your bathroom is cold or warm — firm and waxy on a cool morning, softer and oilier on a hot day. High in lauric acid, it’s also slightly comedogenic, which matters if you’re using a scrub on your chest or back, where folliculitis (those small, acne-adjacent bumps) is common. Excellent for feet and dry legs, worth rethinking for follicle-prone areas.
Sweet almond oil is probably the most versatile carrier for body scrubs — light, quick to absorb, high in oleic acid, suits almost everyone, and rinses without leaving a heavy film on skin or shower floor.
Jojoba oil is technically a liquid wax, not an oil, which is why it doesn’t go rancid and has the longest shelf life of anything on this list. Its structure is close enough to human sebum that it’s exceptionally well-tolerated by reactive and sensitive skin.
Argan oil is expensive but justifiably good in scrubs for dry or mature skin. The vitamin E and squalene content gives it real emollient value and a silkier finish on skin than most plant oils.
Grapeseed oil is the lightest option here — very high in linoleic acid, rinses almost completely clean, and is the right choice for oily or acne-prone areas of the body where you want the scrub without added heaviness.
The ratio matters too. More oil means a wetter, more spreadable scrub that’s gentler and rinses clean. Less oil means more drag and more aggressive exfoliation — better for targeted work than large body areas.
Recipe 1 — Fine Dead Sea Salt Face Scrub
This is the only face-appropriate salt scrub in the guide, and “face scrub” gets applied too loosely to products that have no business going near facial skin. The specificity here matters.
Dead Sea salt has a finer crystal than regular sea salt — smaller than standard sea salt, not just labeled differently. That crystal size is the reason it’s the right choice, not the mineral marketing. Dead Sea salt does have a higher mineral content (magnesium, calcium, potassium) than standard sea salt, and there’s documented evidence linking Dead Sea bathing to improved outcomes for conditions like psoriasis. Whether those minerals make a meaningful difference in a rinse-off scrub is a harder question — probably not dramatically, if we’re being honest. The crystal size is the non-negotiable part.
What you need: 2 tablespoons fine Dead Sea salt, 1 tablespoon jojoba oil, ½ teaspoon kaolin clay.
Kaolin clay is the mildest clay available — appropriate even for sensitive skin — and it adds gentle cleansing and a pasty texture that helps the scrub cling to facial contours rather than sliding off immediately.
Use it once a week, maximum. Apply with fingertips using very light circular movements — no pressure, no dragging. Let the crystals do the work. Keep it away from the eye area entirely and rinse with lukewarm water. If your skin feels tight afterward, either the formula is too much for your skin type or the frequency is too high. Smooth and lightly glowing is the right result; tight and red is not.
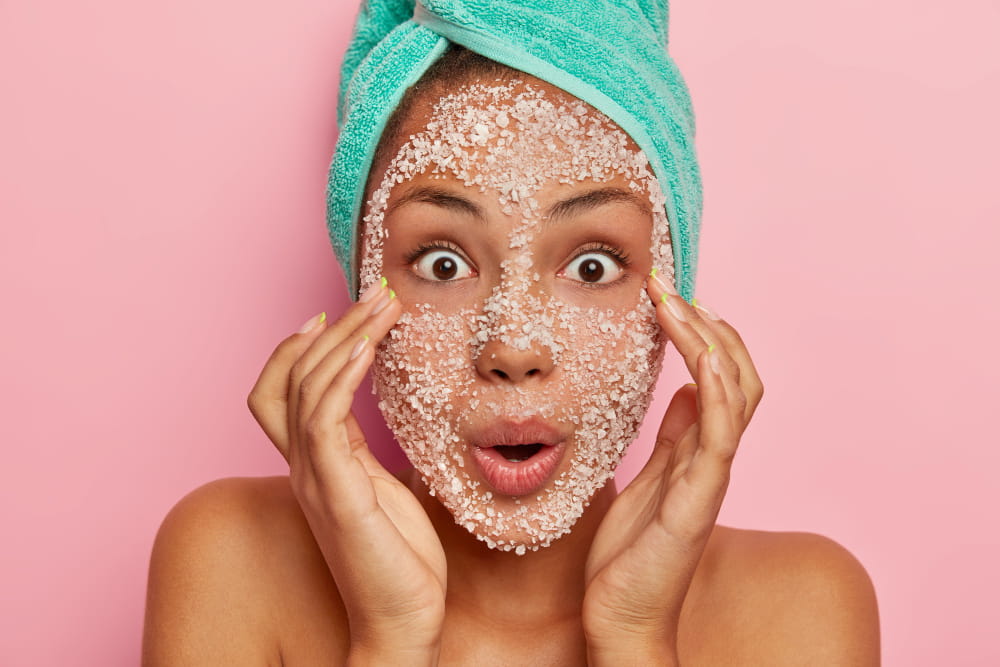
Recipe 2 — Energizing Peppermint and Himalayan Pink Salt Body Scrub
This one is for the morning shower. Peppermint essential oil has a real physiological effect — it’s a mild vasodilator that increases blood flow to the skin surface while menthol activates cold receptors. The cooling sensation isn’t just sensory; it genuinely increases circulation and wakes you up. That same property is why this scrub is wrong before bed. Peppermint is stimulating, not relaxing, and using it in an evening shower will work against you.
Himalayan pink salt gets its color from trace amounts of iron oxide. You’ll sometimes see significant claims made about its mineral advantage over regular sea salt — the honest version is that trace minerals in a rinse-off product probably aren’t doing much to your skin. The visual appeal of the pink color in a homemade scrub is real, though, and medium-grain Himalayan salt has excellent texture for body use.
What you need: ½ cup medium Himalayan pink salt, 3 tablespoons grapeseed oil, 10 drops peppermint essential oil.
Grapeseed is the right carrier here because peppermint is already a strong sensory experience — you don’t want a heavy oil dulling it. The lightness of grapeseed lets the peppermint read clearly.
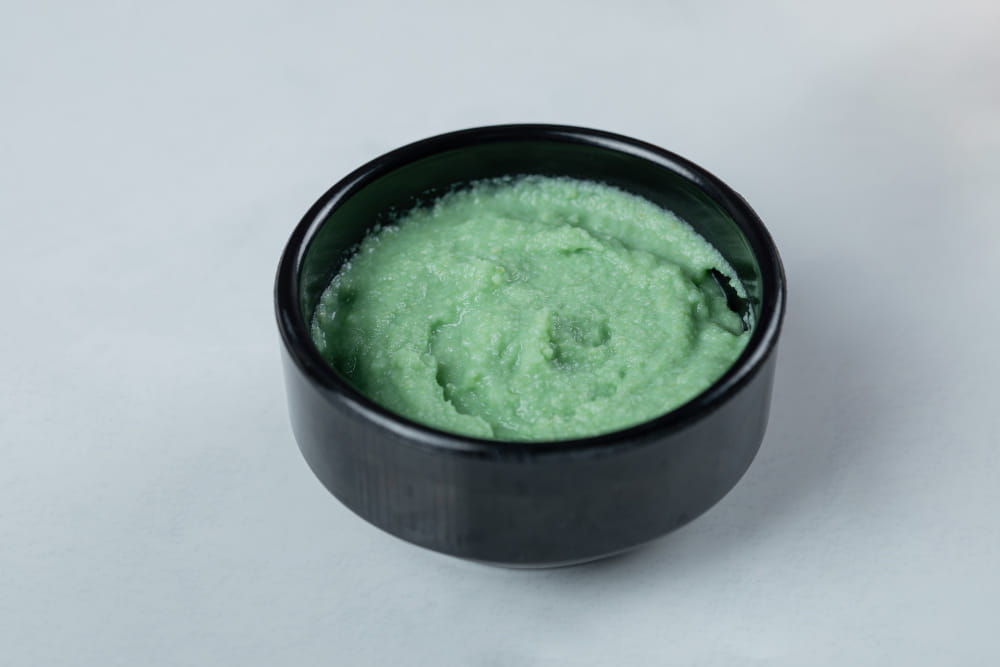
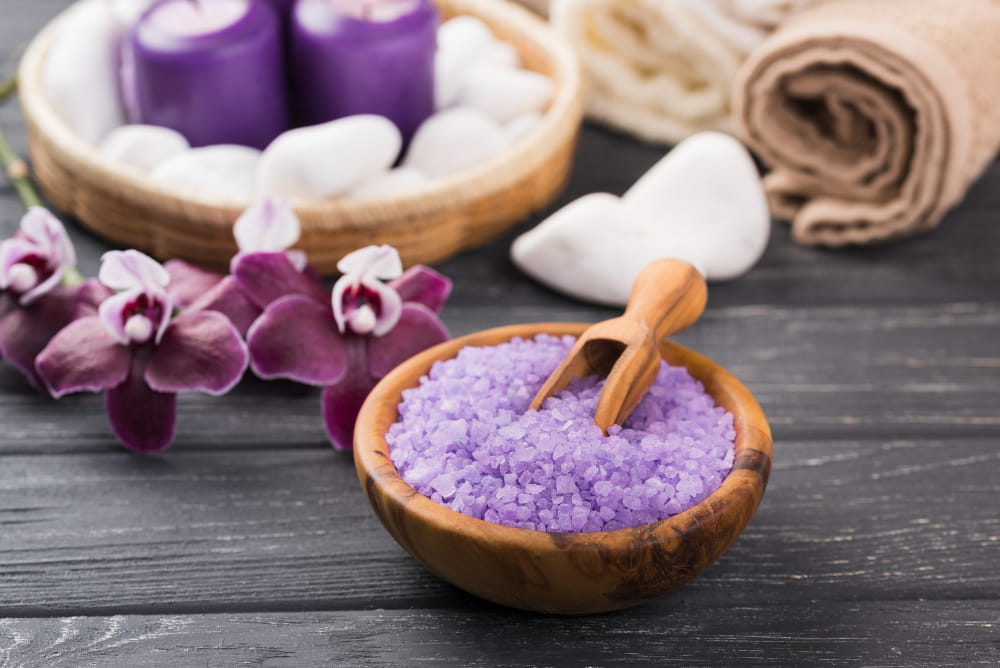
Recipe 3 — Calming Lavender and Fine Sea Salt Soak-Scrub
The texture of this one is different from everything else in the guide because of the shea butter. Rather than a loose, gritty scrub, this is a balmy, whipped consistency — closer to a body butter that exfoliates than a traditional scrub. On wet skin, the fine sea salt partially dissolves during use, which gives a gradual transition: starts with more exfoliation, finishes as a rich moisturizing treatment as the salt dissolves away.
What you need: ¼ cup fine sea salt, 3 tablespoons shea butter (raw or refined), 1 tablespoon jojoba oil, 12 drops lavender essential oil.
Melt the shea butter gently — a few seconds in a microwave or a small bowl over hot water — then let it cool until soft but not liquid. Beat it with a fork or small whisk with the jojoba until slightly fluffy, then fold in the salt and lavender. Let it solidify completely before using.
Water-free formulations have a practical advantage: without water, bacteria have nothing to grow in. No preservative needed. This only holds as long as you keep water out of the jar during use — a wet hand or wet spoon introduces water and changes everything. Keep a dry spatula beside it and use that.
Lavender is the right choice for an evening ritual. Its mild sedative effect via aromatherapy is backed by solid research, not placebo — it interacts with the autonomic nervous system in a measurable way. An evening shower with lavender, followed by the skin warmth and slight temperature drop that comes after, is genuinely conducive to sleep. Timing with fragrance-forward products is worth thinking about.
Recipe 4 — Coffee and Coarse Sea Salt Body Scrub
Before anything else about this recipe: no topical product removes cellulite. Cellulite is structural — fat deposits beneath connective tissue — and it’s governed by genetics, hormones, and body composition in ways that a scrub cannot reach. Anyone selling a permanent cellulite solution in a jar is overselling.
What this scrub actually does is meaningful, just different. The vigorous circular massage required to apply it stimulates circulation and lymphatic drainage, temporarily reducing fluid retention. Caffeine from coffee grounds temporarily constricts blood vessels and tightens the skin surface, which reduces the visual appearance of dimpling. The coarse sea salt provides the most aggressive physical exfoliation of any recipe here, removing the dull outer layer and making skin look noticeably smoother. The effect is real — it just lasts hours, not weeks.
What you need: ¼ cup coarse sea salt, ¼ cup fresh coffee grounds (used grounds from your morning coffee work fine), 3 tablespoons sweet almond oil.
The application technique is doing as much work as the formula. Firm, circular movements on target areas for 2-3 minutes — you’re trying to stimulate circulation, not just coat the skin. Rinse the shower floor immediately after; coffee grounds stain grout.

Recipe 5 — Vanilla and Brown Sugar Salt Scrub
This is the one where I’ll acknowledge outright that sometimes a scrub’s most important job is to feel indulgent and smell extraordinary. This one does.
Brown sugar and salt together create a two-phase exfoliation. Sugar has a softer crystal structure than salt and dissolves quickly in water — in the first moments on wet skin, the sugar provides gentle initial exfoliation, then dissolves, leaving the salt to continue with more sustained abrasion. You get two textures sequentially in one product. Dark brown sugar has a warm, almost caramel-adjacent scent of its own that pairs with vanilla better than light brown would.
What you need: ⅓ cup fine sea salt, ⅓ cup dark brown sugar, 4 tablespoons coconut oil, 1 teaspoon pure vanilla extract or 8 drops vanilla fragrance oil.
Coconut oil will make this scrub firm in a cool bathroom and softer in a warm one. That’s fine — it softens almost immediately with the warmth of the shower. Scoop from the jar with a dry spoon, apply to wet skin, and don’t rush it. This is a slow Saturday scrub.

Recipe 6 — Citrus and Sea Salt Brightening Scrub
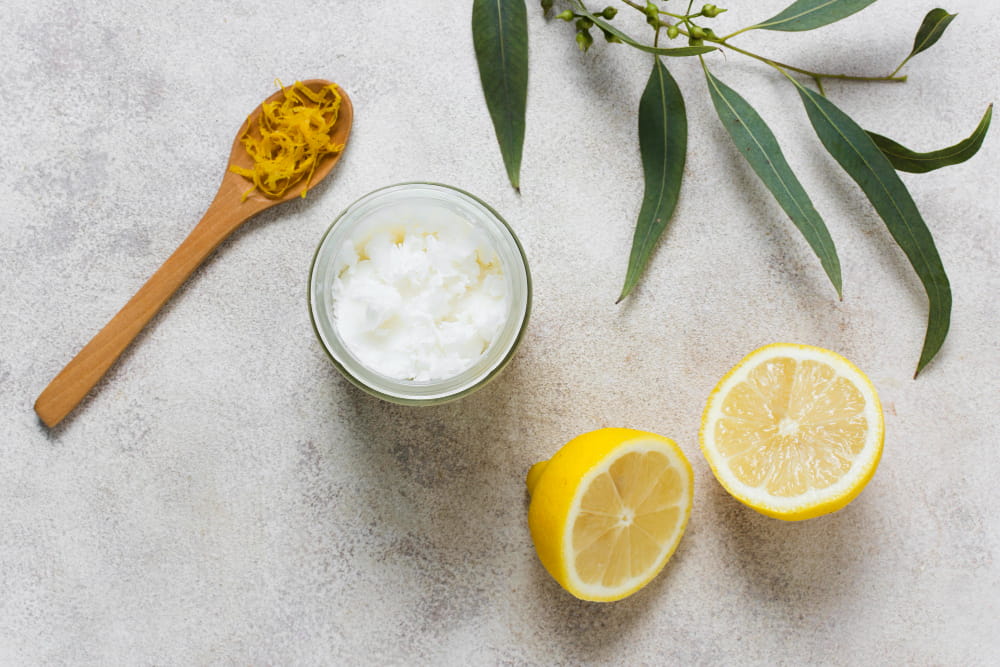
Citrus essential oils carry a photosensitivity warning that’s worth understanding properly rather than just flagging and moving on. The concern is real in leave-on products — certain compounds in cold-pressed citrus oils (furocoumarins) react with UV light and can cause burns and lasting hyperpigmentation on sun-exposed skin. This is documented and serious in a leave-on context.
In a rinse-off scrub, the exposure time is short and rinsing removes most of the oil. The risk is meaningfully lower — but not zero, which is why thorough rinsing matters, and avoiding direct sun on the scrubbed areas for the rest of the same day is sensible. If you use this regularly in summer, look for steam-distilled lemon or orange essential oil rather than cold-pressed; the photosensitizing compounds are largely removed in steam distillation.
What you need: ½ cup medium sea salt, 3 tablespoons grapeseed oil, 8 drops lemon essential oil, 6 drops sweet orange essential oil.
The brightening effect has two sources: physical exfoliation removing the dead cell layer that makes skin look flat and dull, plus the antioxidant activity of vitamin C compounds in citrus oils. The visual result is real even if the mechanism is mostly the exfoliation.
Recipe 7 — Foot and Heel Coarse Salt Scrub
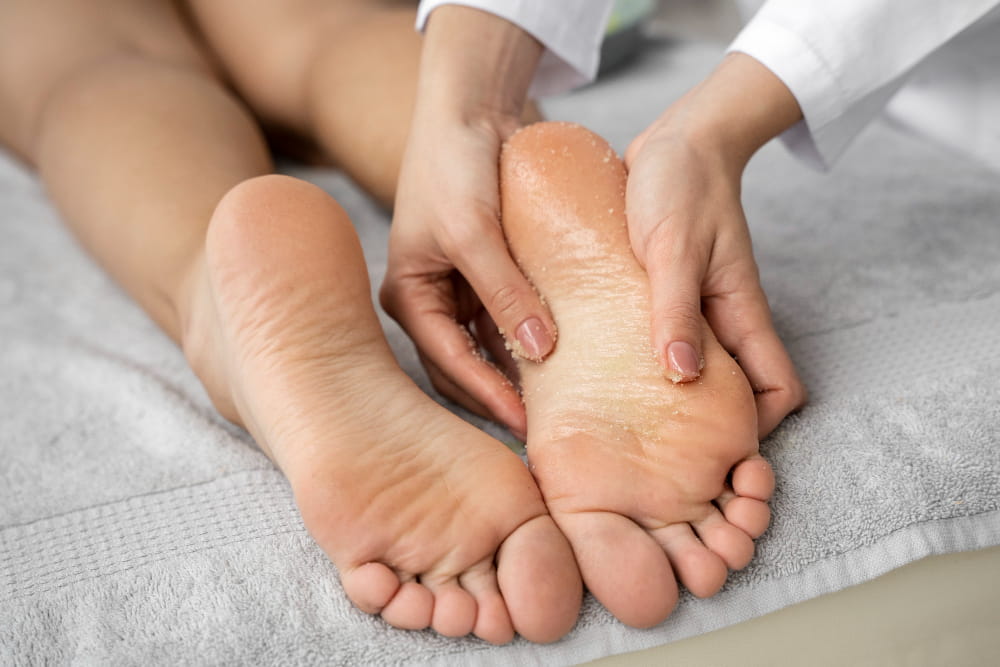
Feet are the one place on the body where genuinely aggressive exfoliation is appropriate. The skin on heels and the balls of feet was built for friction and load-bearing — it’s thick, callused, and barely comparable to skin anywhere else. Left alone, heavily callused skin becomes cracked and uncomfortable. This recipe doesn’t ask you to be gentle.
What you need: ½ cup coarse kosher salt or Epsom salt, 4 tablespoons coconut oil, 10 drops peppermint essential oil, 8 drops tea tree essential oil.
A note on the salts: Epsom salt contains magnesium sulfate with mild anti-inflammatory properties, and dissolves slightly more slowly than kosher salt. Both work. Coconut oil’s thickness is an asset here — you want the scrub to stay on the foot, not slide off it.
Tea tree oil is genuinely antifungal. This isn’t marketing language — it’s a documented antimicrobial property, and it belongs in a foot scrub where fungal issues are a real concern.
For maximum effect, combine the scrub with a pumice stone in sequence. Wet the feet, apply the scrub and work it in for a minute or two, then use the pumice stone on the now-softened skin before it dries, then apply the scrub again for a final pass. The scrub softens the callused skin; the pumice does the heavy mechanical work; the second scrub removes the loosened debris.
Set realistic expectations: meaningful callus reduction takes weekly consistency over months, not a single session. One treatment makes a visible difference. The real transformation comes from making this a habit.
How Long These Last
All seven recipes are water-free, which means no preservative needed and a decent shelf life — though this varies by oil.
Jojoba-based scrubs last the longest, up to six months, because jojoba doesn’t oxidize the way plant oils do. Almond oil has the shortest shelf life of anything here — three to four months before you’ll notice a rancid smell developing. Coconut oil falls in the middle, around four to five months. These estimates assume dry, room-temperature storage away from direct light.
The coffee scrub is the exception. Coffee oxidizes quickly, and grounds in a scrub go stale faster than you’d expect. Make small batches and use within four to six weeks.
Store everything in wide-mouth glass jars — easy to access, don’t absorb odors, and you can see what’s left. The rule that applies to every single recipe: never put a wet hand or wet utensil into the jar. Water in an oil-based formula creates the exact conditions bacteria need. Keep a dry spoon or spatula next to each one.
The information in this post is based on personal research and experience and is intended for educational purposes only. It is not a substitute for professional medical or dermatological advice, diagnosis, or treatment. Always consult a qualified healthcare provider before making changes to your skincare routine or health practices, especially if you have a medical condition or sensitivity.
