This post contains affiliate links. If you click a link and make a purchase, I may earn a small commission at no extra cost to you. I only recommend products I genuinely believe in. Thank you for supporting Amoria Style!
There’s a version of this article I could write that would take ten minutes and disappoint you completely. It would have a recipe with coconut oil, beeswax, and some water, call it “homemade lotion,” and send you off to make something that separates into greasy liquid in two days. That version is everywhere online. This isn’t that.
What I want to do here is teach you something more useful: what lotion actually is, why it behaves the way it does, and how to make six genuinely different formulas that work the way a properly-made lotion should. This required some research on my part — emulsion chemistry isn’t exactly light reading — but once it clicked, it changed how I look at every moisturizer on my shelf.
The Thing That Separates Lotion From Everything Else
If you’ve read anything else on this site, you know I’ve covered body butters, body oils, and tallow lotion. Those are all what cosmetic chemists call anhydrous products — they contain zero water. They work by forming a barrier over the skin, slowing down moisture loss (called transepidermal water loss, if you want the technical term). They’re genuinely effective. But they’re not lotion.
Real lotion is an emulsion: a stable combination of water and oil. And the reason that distinction matters isn’t pedantic — it’s functional. An emulsion delivers moisture in two ways simultaneously. The water phase hydrates the skin directly. The oil phase seals that moisture in. This is why a well-formulated lotion outperforms either a pure oil or a pure water-based product for most skin types. You’re getting both mechanisms in a single application.
The catch is that oil and water do not want to be together. Left to their own devices, they separate — oil floats, water sinks, ordered by density and driven apart by the fact that water molecules are polar (they have charged ends) and oil molecules are not. To hold them together, you need an emulsifier.
An emulsifier is a molecule with a split personality: one end is hydrophilic (attracted to water) and the other is lipophilic (attracted to oil). It positions itself at the boundary between oil droplets and water, essentially wrapping each droplet and preventing it from finding and merging with its own kind. The result is a stable suspension — tiny droplets of one liquid permanently dispersed through the other.
Without a real emulsifier, you don’t have lotion. You have oil and water that will separate overnight.
This is why I need to be direct about one of the most common misconceptions in DIY beauty: beeswax is not an emulsifier. Neither is shea butter. Neither is coconut oil. These are all wonderful ingredients, but they contribute to texture and richness — they cannot hold an oil-water emulsion stable. Recipes that instruct you to melt beeswax into water and call it lotion are producing something that will separate within 24 to 48 hours, and which may grow bacteria in the meantime. More on that shortly.
Oil-in-Water vs. Water-in-Oil: Why It Matters
There are two types of emulsions and they feel completely different on skin.
In an oil-in-water (O/W) emulsion, tiny oil droplets are dispersed through a continuous water phase. This is most light lotions — they feel light because the first thing your skin contacts is water, not oil. They absorb quickly, don’t leave a greasy residue, and are generally preferred for warmer weather or oily/combination skin.
In a water-in-oil (W/O) emulsion, water droplets are suspended in a continuous oil phase. Your skin feels oil first, which is why these feel richer and slower to absorb. Heavy night creams and barrier repair formulas tend to be W/O. They’re more occlusive and better suited to severely dry or compromised skin.
The recipes in this guide are all O/W, which is the beginner-friendly starting point — easier to formulate stable, better suited to body application, and more versatile across skin types.
Emulsifiers You Can Actually Buy
For home formulation, three emulsifiers are worth knowing:
Emulsifying Wax NF is the most common and easiest to find. It’s a blend of cetearyl alcohol and polysorbate 60, it’s neutral, and it produces reliable O/W emulsions. If you’re making your first lotion, start here.
BTMS-50 is a cationic (positively charged) emulsifier you might recognize from conditioner recipes. On skin, it gives a notably luxurious, silky feel. It’s excellent for richer body lotions and is worth the slightly harder sourcing.
Olivem 1000 is derived from olive oil and is the gentlest of the three. It’s the go-to for sensitive skin formulations, and it naturally produces a more moisturizing emulsion because of its olive-derived fatty acid profile. I use it in the sensitive skin recipe below.

Preservation Is Not Optional
Here’s the part of DIY lotion-making that people most often want to skip, and the part I’m most insistent about: any product containing water must be preserved.
Water supports microbial life. Bacteria, mold, and fungi can begin growing in an unpreserved emulsion within days — and they usually do so without any visible sign. The product looks fine. It smells fine. And it’s potentially spreading contamination every time you apply it. This is not a hypothetical concern; it’s basic microbiology.
The good news is that home-accessible preservatives are easy to use and required in small amounts — typically 0.5–1% of your total formula weight.
Optiphen is oil-soluble, paraben-free, and works well in the cool-down phase of formulation. It’s effective at the pH ranges typical of most lotions (around 4–6).
Leucidal Liquid is ferment-based and markets itself as “natural” — it’s derived from radishes fermented with Leuconostoc kimchii bacteria. It works reasonably well at 2–4% usage rates, though it’s less broadly antimicrobial than synthetic options and should be combined with a chelator like sodium gluconate for best results.
Germaben II is a broad-spectrum option that’s been used in professional formulation for decades. It’s highly reliable and works across a wide pH range.
One more thing to clarify while we’re here: vitamin E and rosemary extract are antioxidants, not preservatives. They prevent your oils from going rancid (oxidizing). They do nothing against bacteria or mold. Using them as a substitute for a real preservative is a meaningful formulation error.
Equipment and Process
The process of making lotion is more precise than making a body butter, but not complicated once you understand why each step exists.
You need a double boiler setup (or two heat-safe containers set over a pot of simmering water). You’ll heat your oil phase (emulsifier, butters, oils, waxes) in one container and your water phase (distilled water, glycerin, water-soluble actives) in another. Both phases need to reach the same temperature — typically 70–75°C — before you combine them. This matters because a significant temperature difference can cause the emulsion to fail immediately or produce an unstable, grainy result.
Once both phases are at temperature, you pour the water phase into the oil phase while mixing with a stick blender or hand blender. High shear mixing is what actually creates the emulsion — a spoon won’t cut it. The blender breaks everything into fine droplets and the emulsifier locks them in place.
Then you cool while continuing to mix. Some formulators use an ice bath to accelerate this. Once the lotion drops below 40°C, you add your cool-down phase: preservative, fragrance, and any heat-sensitive actives like certain vitamin C derivatives or niacinamide. Adding these while the lotion is still hot degrades them.
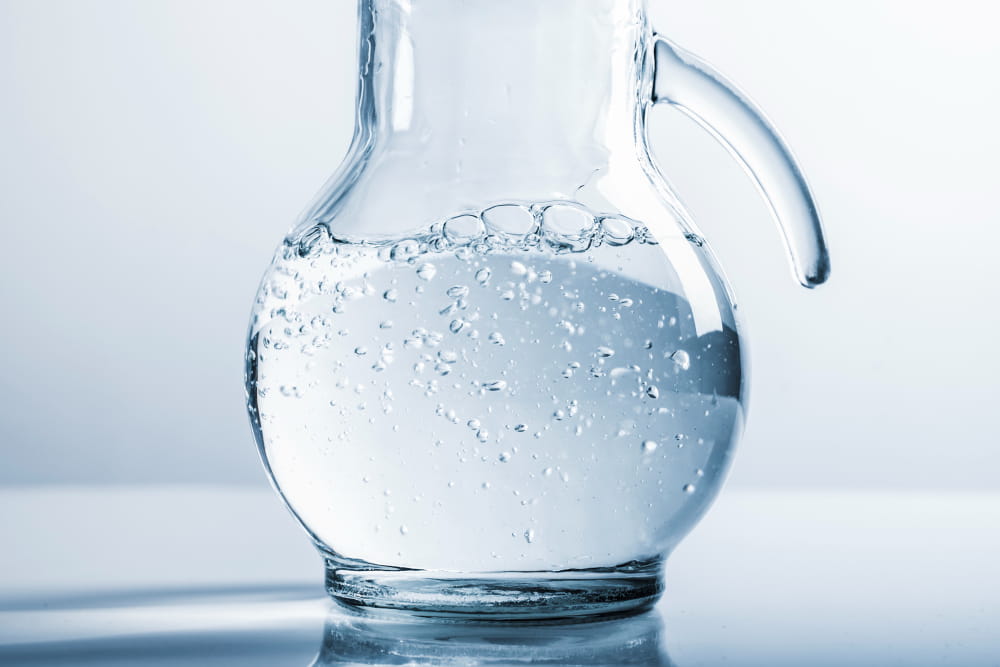
Always use distilled water, not tap. Tap water contains minerals and microorganisms that can destabilize your emulsion and feed microbial growth.
Work in clean, sanitized equipment. Spray everything with 70% isopropyl alcohol before you start.
The Formulas
These are written as percentages, which is the correct way to formulate. Percentages let you scale any batch size while keeping the formula balanced. To calculate grams: multiply the percentage by your total batch weight. A 200g batch at 72% water phase means 144g of distilled water.
Recipe 1 — Basic Everyday Body Lotion
This is the one to make first. Master this before varying anything.
Oil Phase (25%)
- Emulsifying Wax NF: 6%
- Cetyl alcohol: 2%
- Sweet almond oil: 10%
- Jojoba oil: 7%
Water Phase (73%)
- Distilled water: 70%
- Glycerin: 3%
Cool-Down Phase (2%)
- Preservative (Optiphen): 1%
- Fragrance or essential oil: 1%
The logic here: emulsifying wax does the structural work of holding oil and water together. Cetyl alcohol is a fatty alcohol — not a drying alcohol — that thickens the lotion and gives it a smooth skin feel without greasiness. Sweet almond oil absorbs reasonably quickly and has a good fatty acid profile for most skin types. Jojoba is technically a liquid wax and mimics skin’s own sebum, making it well-tolerated across skin types including sensitive.
Glycerin is a humectant — it draws moisture from the environment into the skin. At 3%, it adds noticeable hydration without making the formula sticky. Above 5–6%, glycerin can start to feel slightly tacky.
The result is a medium-weight lotion that works for most people, most of the time.
Recipe 2 — Intensive Dry Skin Body Lotion
This is heavier, slower to absorb, and genuinely effective on rough, scaly skin. Best applied at night, or specifically to problem areas like elbows, heels, and knees.
Oil Phase (32%)
- Emulsifying Wax NF: 7%
- Cetyl alcohol: 3%
- Shea butter: 8%
- Mango butter: 5%
- Sweet almond oil: 9%
Water Phase (66%)
- Distilled water: 58%
- Glycerin: 3%
- Urea (10%): 5%
Cool-Down Phase (2%)
- Preservative: 1%
- Fragrance: 1%
The higher oil phase (32%) produces a noticeably richer texture. Shea and mango butter both add slow-absorbing occlusion, which is exactly what severely dry skin needs.
The star ingredient here is urea. It does two things at once: as a humectant, it pulls moisture into the skin cells; as a keratolytic, it gently breaks down the bonds between dead skin cells, helping them shed. At concentrations of 5–10%, urea dramatically improves the texture of rough, thickened skin over days to weeks. It has decades of clinical evidence behind it and it’s vastly underrated in consumer skincare. It has a faint ammonia-like smell in its raw form — this is normal and largely undetectable once the lotion is finished.
Recipe 3 — Lightweight Summer Lotion for Oily or Combination Skin
The opposite end of the spectrum. This one is formulated to disappear into skin in seconds.
Oil Phase (17%)
- Emulsifying Wax NF: 5%
- Squalane: 8%
- Caprylic/capric triglyceride (fractionated coconut oil): 4%
Water Phase (79%)
- Distilled water: 73%
- Glycerin: 2%
- Niacinamide: 4%
Cool-Down Phase (4%)
- Preservative: 1%
- Allantoin: 0.2%
- Fragrance: 0.8%
- pH adjuster as needed: 2%
Squalane is a game-changer for oily skin formulations. It’s a stable, lightweight oil derived from sugarcane (or olive oil) that genuinely does not feel oily. Fractionated coconut oil (which is different from regular coconut oil — it’s liquid, odorless, and doesn’t solidify) has a very similar fast-absorbing profile.
Niacinamide at 4% is where this formula earns its place. Niacinamide (vitamin B3) at 2–5% has solid clinical backing for pore minimization, sebum regulation, skin-barrier improvement, and brightening. It needs to be used at pH 5–7 to remain stable and effective. At higher pH, or in combination with pure ascorbic acid, it can form a yellow compound called nicotinic acid — which is why the brightening recipe below uses a stable vitamin C derivative rather than pure ascorbic acid.
Recipe 4 — Sensitive Skin Lotion with Oat and Allantoin
No fragrance. No essential oils. Nothing that pokes at reactive skin. This one is for eczema-prone, post-procedure, or generally temperamental skin.
Oil Phase (22%)
- Olivem 1000: 6%
- Cetyl alcohol: 1%
- Sunflower oil: 10%
- Evening primrose oil: 5%
Water Phase (76%)
- Distilled water: 65%
- Colloidal oat: 5%
- Glycerin: 3%
- Aloe vera juice: 3%
Cool-Down Phase (2%)
- Leucidal Liquid: 2%
- Allantoin: 0.3%
Olivem 1000 is the right emulsifier choice here — it’s gentler than standard emulsifying wax and has a naturally higher biocompatibility with sensitive skin due to its olive-derived fatty acid profile.
Colloidal oat needs to be handled carefully in emulsions. It must be pre-dispersed in the water phase (not added dry to the hot water — it clumps) and the particle size matters. Properly dispersed colloidal oat creates a film on the skin that reduces itch and inflammation, and it’s one of the few ingredients with FDA-approved over-the-counter status as a skin protectant.
Allantoin at 0.1–0.5% is a genuinely useful soothing agent. It promotes cell turnover, reduces irritation, and accelerates wound healing. It’s found naturally in comfrey root and is well tolerated even on the most reactive skin.
Evening primrose oil is high in gamma-linolenic acid (GLA), a fatty acid that supports the skin barrier — particularly useful in eczema-prone skin, which has compromised barrier function.
Recipe 5 — Brightening Body Lotion with Vitamin C
This recipe requires a small but important detour into vitamin C chemistry.
Pure ascorbic acid (L-ascorbic acid, the form most people mean when they say “vitamin C”) is notoriously unstable in emulsions. It oxidizes rapidly — you’ll see the lotion turn orange or brown — and the degradation products are photocarcinogenic. It’s also highly acidic, pulling the pH of your emulsion well below 3.5, which affects the stability of almost everything else in the formula.
For DIY emulsions, use ascorbyl glucoside or sodium ascorbyl phosphate instead. These are stable derivatives that convert to active ascorbic acid on the skin. They work at a much wider pH range (4.5–7), are compatible with niacinamide, and won’t turn your lotion brown.
Oil Phase (25%)
- BTMS-50: 7%
- Cetyl alcohol: 2%
- Rosehip seed oil: 10%
- Jojoba oil: 6%
Water Phase (73%)
- Distilled water: 61%
- Glycerin: 3%
- Niacinamide: 2%
- Sodium ascorbyl phosphate: 5%
- Alpha-arbutin: 0.5%
- Sodium gluconate (chelator): 0.1%
Cool-Down Phase (2%)
- Preservative: 1%
- Fragrance: 1%
Alpha-arbutin at 0.5–1% inhibits tyrosinase, the enzyme responsible for melanin production. It’s one of the best-evidenced brightening ingredients available to DIY formulators — more stable and better tolerated than kojic acid, more consistently effective than bearberry extract. Combine it with the sodium ascorbyl phosphate and niacinamide and you have a genuinely well-rounded brightening formula.
Apply in the morning and follow with SPF. Brightening ingredients slow melanin production; UV exposure undoes that work in real time.
Recipe 6 — After-Sun Cooling Lotion
The highest water phase of any recipe here, because cooling and quick absorption are the whole point.
Oil Phase (15%)
- Emulsifying Wax NF: 5%
- Cyclopentasiloxane-free dimethicone alternative: 5%
- Fractionated coconut oil: 4%
- Menthol crystals: 1%
Water Phase (83%)
- Distilled water: 30%
- Aloe vera juice: 40%
- Peppermint hydrosol: 13%
Cool-Down Phase (2%)
- Preservative: 1%
- Fragrance (optional): 1%
A note on aloe: aloe vera juice (10x concentration diluted to use concentration) is not the same as aloe vera gel. The gel is thickened with carbomer or other gelling agents and doesn’t incorporate well into emulsions — it can make them stringy and unstable. The juice is clarified, fluid, and behaves much like water in the formulation process. It penetrates the skin more readily and delivers aloe’s soothing compounds — polysaccharides, acemannan — more effectively in an emulsion context.
Peppermint hydrosol replaces part of the water phase for gentle cooling. It’s less intense than peppermint essential oil, which can be sensitizing on sun-damaged skin.
Menthol crystals at 1% are dissolved in the oil phase (they’re lipid-soluble). Menthol produces cooling by activating TRPM8 receptors — transient receptor potential melastatin 8 channels — which are the same nerve receptors activated by actual cold temperatures. The brain receives a cold signal without any actual temperature drop. At 1% in the finished formula (about 0.06–0.08% when diluted by the large water phase), the effect is noticeable but not overwhelming. For extra effect: store the finished lotion in the refrigerator and apply cold.
When Things Go Wrong
Separation — the most common failure. Usually caused by insufficient emulsifier (increase by 1–2%), inadequate mixing (you need high shear, not gentle stirring), or too large a temperature difference between phases when you combine them. If it separates in the jar over days, your emulsifier amount is likely fine but your preservative may have disrupted the pH enough to destabilize the emulsion.
Graininess — typically a shea butter or cocoa butter problem. These butters contain a mix of fatty acids with different melting points; if they cool too quickly, certain fatty acids recrystallize into visible grains. The fix is tempering: when your lotion reaches about 40°C during cooling, hold it at that temperature for 20 minutes before continuing to cool. This gives the butters time to form stable crystal structures.
Too thick — reduce cetyl alcohol by 0.5–1% increments, or reduce the emulsifier slightly.
Too thin — increase emulsifier by 1%, or add cetyl alcohol in 0.5% increments.
The lotion turns white during cooling — this is normal and good. A freshly combined emulsion often looks somewhat translucent. As it cools, the oil droplets solidify slightly and light scatters differently, making it appear opaque white. This is the emulsion setting properly.
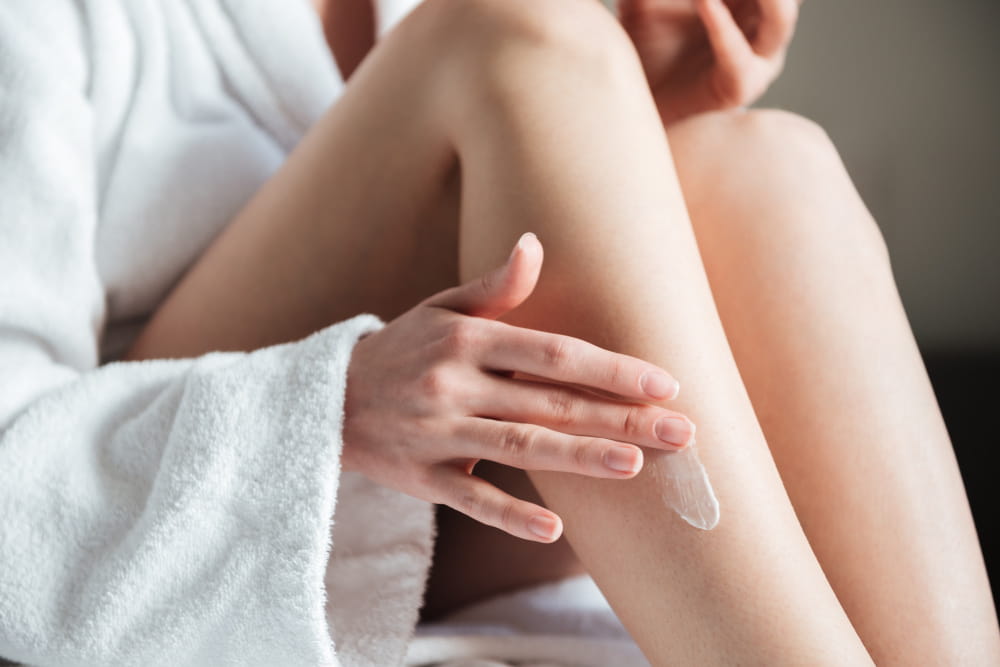
Making real lotion is one of those things that seems complicated until you understand the chemistry behind it, and then it becomes logical. An emulsifier is just a molecular bridge. Preservation is just acknowledging that water supports life. The two-phase heating process is just ensuring the emulsion forms properly. Once you’ve made the basic formula and watched it come together under the blender, the rest is variation.
Start with Recipe 1. Get comfortable with the process. Then pick whichever formula matches your skin’s actual needs and work from there.
The information in this post is based on personal research and experience and is intended for educational purposes only. It is not a substitute for professional medical or dermatological advice, diagnosis, or treatment. Always consult a qualified healthcare provider before making changes to your skincare routine or health practices, especially if you have a medical condition or sensitivity.
