This post contains affiliate links. If you click a link and make a purchase, I may earn a small commission at no extra cost to you. I only recommend products I genuinely believe in. Thank you for supporting Amoria Style!
Here’s the thing that most hair mask guides get wrong: they treat “damaged hair” as a single condition. It isn’t. The word “damaged” is doing enormous work — covering everything from heat-fried ends to chemically weakened bleached hair to protein-overloaded strands that got too much of a “good” thing. The mask that genuinely helps one type of damage can make another significantly worse.
That gap between treatment and diagnosis is why so many DIY hair masks disappoint people. The egg-and-yogurt mask that helped your friend’s heat-damaged hair? Applied to protein-overloaded hair, it’ll make it snap like dry spaghetti. The deep moisture treatment perfect for bleached hair? Poured over hair that needs protein reconstruction, you’re going to end up with limp, mushy strands with zero structure.
This guide starts with diagnosis. Once you understand what your hair is actually dealing with, the right mask becomes obvious.
How to Actually Diagnose Your Hair Damage
Heat Damage
Heat damage has a distinct signature once you know what to look for. The most obvious sign is straight sections that simply refuse to curl — not because the curl pattern is loosening with age, but because the protein structure of those specific strands has been denatured by sustained high temperatures. If you’ve ever blow-dried on high heat repeatedly or used a flat iron on the same sections daily, you’ve likely experienced this as patches that just don’t respond to styling anymore.
Under high magnification (a jeweler’s loupe or even a close-up phone photo of a single strand in good lighting), heat-damaged hair sometimes shows bubble-like irregularities along the shaft — a phenomenon caused by water vapor expanding inside the cuticle when heat is applied to wet or even damp hair. The texture is the other giveaway: heat-damaged hair feels rough, almost straw-like, because the cuticle scales have been disrupted and don’t lie flat anymore.
What’s happening underneath is protein disruption. Hair is primarily made of keratin — a fibrous protein held together by hydrogen bonds, salt bonds, and disulfide bonds. Sustained heat (particularly above 230°C / 450°F, though damage begins lower) breaks hydrogen bonds and can permanently alter the protein structure. This is why treatment must include a protein component: the damage is structural at the molecular level. The approach is protein-and-moisture in balance, and total avoidance of high heat during recovery.
Bleach Damage
Bleach damage is porosity damage. The bleaching process doesn’t just lift color — it oxidizes the melanin pigment by disrupting the cuticle, which leaves the hair shaft looking a bit like a pine cone that’s been pried open. High porosity is the result: hair that absorbs product immediately (almost greedily), dries surprisingly fast, and loses color rapidly.
You can test for high porosity with the water bowl method — drop a clean, product-free strand into a bowl of room-temperature water. If it sinks quickly, porosity is high. Low-porosity hair floats for a long time.
The other characteristic of bleach damage is high elasticity combined with weakness. Stretch a wet strand between two fingers. Healthy hair stretches about 30% before returning to its shape. Bleach-damaged hair often stretches significantly further — which sounds impressive, but it’s not. The disulfide bonds that give hair its snap and resilience have been compromised. The hair stretches because it’s lost the structural tension that should bring it back. Eventually, it just snaps instead of returning.
Treatment priority for bleached hair: moisture over protein. This surprises people, but the porosity means protein treatments can actually cause protein overload more quickly in bleached hair. Bond-building is what genuinely moves the needle here — and we’ll get to that.
Relaxer and Perm Damage
Often grouped with bleach damage but meaningfully different. Bleach disrupts the hair oxidatively; relaxers and perms work by breaking and reforming disulfide bonds chemically (through reduction rather than oxidation). The practical difference is in the texture changes and treatment response.
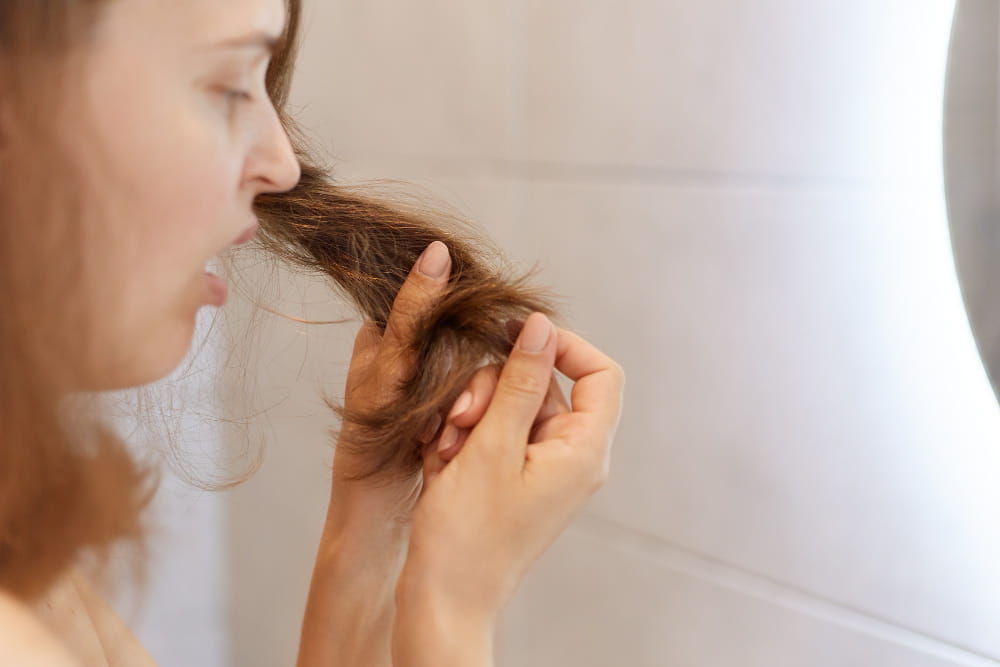
Relaxer-damaged hair often feels softer and more fragile than bleached hair — less rough, but with a kind of structural limpness. It may feel fine when dry and then reveal its weakness when wet: excessive stretch, slow return, or no return at all. Perm-damaged hair can present similarly, often with additional cuticle damage from the processing.
Treatment approach: moisture-focused, gentle handling, and particular attention to the bond-building category since disulfide bond disruption is the mechanism here.
Mechanical Damage
This is the physical category — split ends from scissors, breakage from aggressive brushing, friction damage from tight ponytail elastics worn daily, or the abrasion caused by sleeping on rough cotton pillowcases. Unlike chemical damage, which affects the entire hair shaft uniformly, mechanical damage tends to cluster at points of repeated stress: the ends, the hairline (from tight styles), and the mid-shaft (from hair ties).
The key distinction is that mechanical damage doesn’t cause the same kind of internal structural weakness as chemical damage. The hair fiber itself may be intact, but the ends are physically split and the cuticle at stress points is physically worn. You can’t repair a split end — the only permanent solution is cutting it. What you can do is temporarily seal it with heavy, occlusive ingredients while it grows out, and protect the rest of the hair from developing the same problem.
Treatment focus here is on sealing and protecting, not protein reconstruction.
Protein Overload
This one is included because it’s frequently misdiagnosed as damage, and treating it like damage makes it dramatically worse. Protein overload happens when hair has received too many protein treatments in too short a period — or when someone reaches for protein masks every week because they read that protein strengthens hair (it does, in appropriate amounts, with intervals for the hair to process it).
The symptoms: hair that feels stiff and brittle, not soft and pliable. Hair that snaps cleanly and sharply rather than stretching. Hair that doesn’t soften with conditioner the way it used to. Hair that feels almost crunchy when dry.
If you put protein-overloaded hair through a protein mask, you will make it worse. The treatment here is moisture, and only moisture, until balance is restored — and importantly, that means avoiding anything protein-rich: eggs, yogurt, mayonnaise, gelatin, even some conditioners that contain hydrolyzed protein in the first few ingredients.
The 9 Masks
1. Protein Reconstruction Mask for Heat Damage
Ingredients: 1 whole egg, 3 tablespoons Greek yogurt, 1 tablespoon coconut oil
Egg protein — primarily albumin — has a molecular structure that allows it to temporarily fill the gaps and cracks in a disrupted hair cuticle. It’s not a permanent repair, but it significantly improves the texture and manageability of heat-damaged hair while the hair grows out and recovers. The Greek yogurt adds lactic acid (a mild AHA that gently smooths the cuticle) along with additional protein and fat. Coconut oil provides moisture and helps the protein penetrate rather than just sitting on the surface.
Whisk everything together into a smooth consistency and apply to damp, not soaking wet, hair from root to tip. Cover with a shower cap and leave for 30 minutes — not longer, because egg protein sitting on hair for extended periods can actually start to denature in the heat and become harder to rinse. Rinse with cool water (never hot — you’re trying to avoid cooking the egg), then shampoo and condition normally.
Use once a week during recovery, alternating with a moisture-only mask the following week. The protein-moisture balance matters.
2. Bond-Building Mask for Bleach Damage
Ingredients: 1 teaspoon maleic acid (food-grade or cosmetic-grade, available from DIY cosmetic suppliers or online), dissolved in 200ml warm water, with 1 tablespoon of a neutral, fragrance-free conditioner mixed in
This one requires a bit more sourcing effort, but it’s worth understanding why. Commercial bond-building treatments like Olaplex work by targeting the disulfide bonds in the hair — specifically, they use small molecules that can slip between the compromised bonds and help reform them. Maleic acid isn’t identical to Olaplex’s proprietary compound (bis-aminopropyl diglycol dimaleate), but research has shown it acts on similar mechanisms and provides genuine bond-building benefit.
A conditioning mask will smooth the surface and make bleached hair feel better temporarily. Maleic acid actually works on the structural damage. The difference shows up over weeks of use, not after a single application.
Mix the maleic acid into the warm water first — it needs to dissolve completely. Add the conditioner as a carrier and to improve application. Apply to clean, damp hair, work through from root to tip, cover, and leave for 20-30 minutes before rinsing thoroughly. Use every two to three weeks alongside regular deep conditioning.
3. Deep Moisture Mask for Chemically Processed Hair
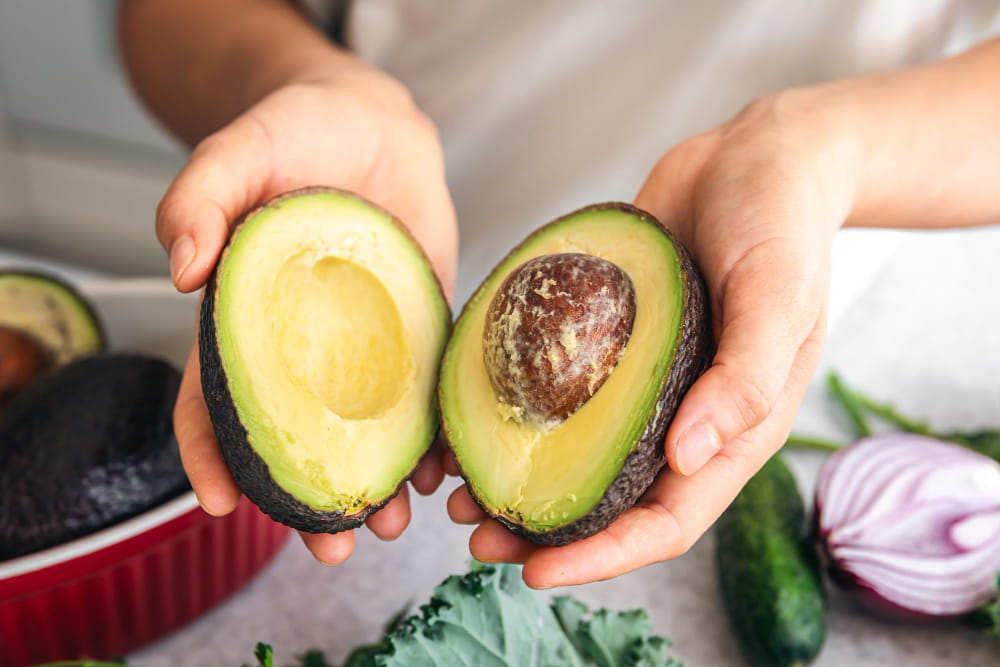
Ingredients: Half a ripe avocado, 2 tablespoons shea butter (gently melted), 1 tablespoon raw honey
Chemically processed hair — the category that includes relaxed, permed, and highlighted hair — generally needs moisture prioritized over protein because the processing has compromised the hair’s ability to retain it. High porosity means moisture goes in easily but also escapes easily.
Avocado is genuinely excellent for this purpose, and not just because it feels luxurious. It contains oleic acid and linoleic acid — fatty acids whose molecular size allows partial penetration into the hair cortex rather than just coating the surface. For high-porosity hair, ingredients that can penetrate and then sit inside the hair shaft, helping slow moisture loss, are more useful than those that only coat the outside.
Shea butter provides a rich emollient layer that helps seal the cuticle after the avocado’s fatty acids have done their work, and honey is a humectant — it draws moisture from the air and helps bind it to the hair shaft.
Mash the avocado thoroughly before combining (lumps are incredibly difficult to rinse out of hair), blend in the melted shea butter and honey, and apply generously to damp hair. Leave on for 45 minutes under a shower cap with gentle heat if possible — a warm towel over the cap works. Rinse well.
4. Sealing Mask for Mechanical Damage and Split Ends
Ingredients: 2 tablespoons castor oil, 2 tablespoons sweet almond oil, a pea-sized amount of beeswax (melted)
Let me be direct about what this mask does and doesn’t do: it cannot repair split ends. No mask can. The only way to truly resolve split ends is to cut them. What this mask can do is temporarily seal the split, reducing the snag-and-tangle cycle that causes the split to migrate further up the shaft before your next trim.
Castor oil is one of the heaviest plant oils available — its viscosity comes from its high ricinoleic acid content, and that thickness is exactly what you need to physically coat a damaged cuticle. Sweet almond oil adds slip and lighter moisture. The beeswax, used sparingly, provides the occlusive seal that makes the whole thing stick.
Melt the beeswax carefully (microwave in 15-second bursts or use a double boiler), then blend with the oils. Apply primarily to the ends and mid-lengths of damp hair — roots don’t need sealing. Leave on for 30-60 minutes, then shampoo out thoroughly. This one requires a proper shampoo to remove; it won’t rinse out with conditioner alone.
5. Moisture-Only Mask for Protein-Overloaded Hair
Ingredients: 3 tablespoons pure aloe vera gel (check that the label shows no protein additives), 1 tablespoon glycerin, 2 tablespoons water
The cardinal rule of protein overload recovery is simple: zero protein until balance is restored. That means reading ingredient labels carefully, because proteins hide under names like “hydrolyzed keratin,” “hydrolyzed silk,” “hydrolyzed wheat protein,” and dozens of similar variations.
This mask is deliberately simple because the goal is moisture-only. Aloe vera gel provides water-based hydration and contains a handful of compounds that condition without adding protein. Glycerin is a humectant — it draws and holds moisture. Together, they replenish the moisture component that got crowded out by excessive protein treatments.
Apply to clean, damp hair and leave for 30 minutes. No heat needed. Rinse with cool water. Repeat weekly until the hair regains its flexibility and stops snapping at the slightest tension. The recovery timeline for protein overload is typically two to four weeks of consistent moisture-only care.
6. Pre-Shampoo Treatment for Overall Damage
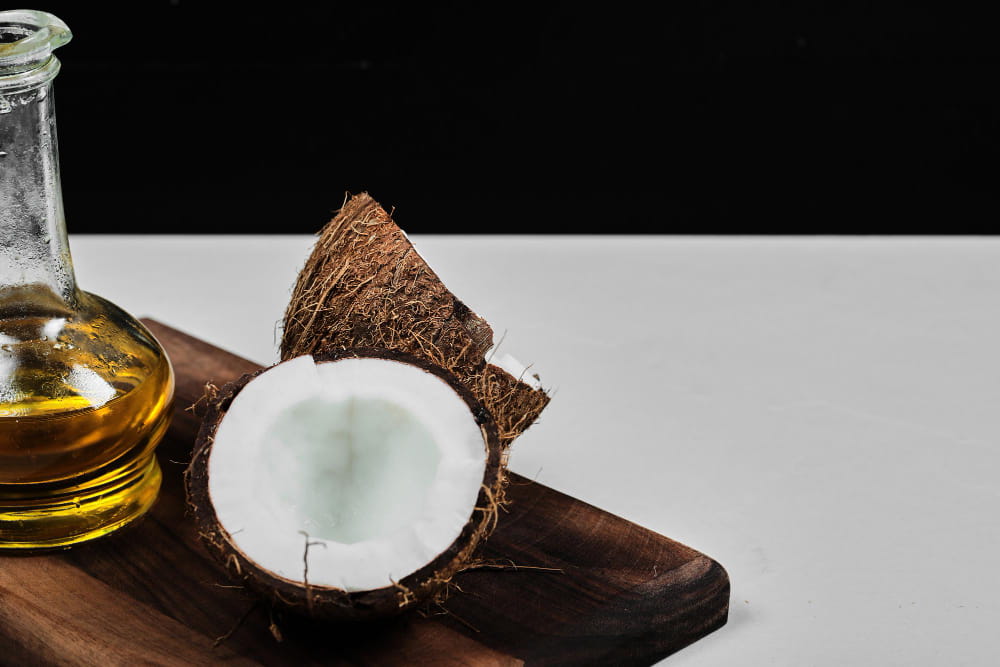
Ingredients: Pure coconut oil (enough to coat your hair generously — roughly 2-4 tablespoons depending on length and thickness)
The pre-shampoo treatment — sometimes called a “pre-poo” — deserves its own section in the damage-recovery protocol because it protects hair during one of its most vulnerable moments: shampooing.
Shampoo is necessary but inherently damaging in one specific way — it causes hygral fatigue, the swelling and contracting of the hair shaft as it rapidly absorbs water. Wet hair is also significantly weaker than dry hair (up to 30% weaker in terms of tensile strength), which is why breakage during washing is common.
Coconut oil is the only common plant oil that has been shown in research to actually penetrate the hair cortex rather than just coating the surface — because its lauric acid has a high affinity for hair protein and a molecular structure small enough to slip past the cuticle. Applied before shampooing, it essentially pre-saturates the hair, reducing the amount of water absorbed during washing and limiting the hygral fatigue cycle.
Apply generously to dry hair the night before (or at minimum, an hour before washing). Cover with a shower cap or wrap in cling film to encourage absorption. When you shampoo, use slightly less pressure than usual and focus the shampoo on the scalp rather than roughly working it through the lengths. The lengths will clean as the shampoo rinses through. Follow with conditioner as normal.
7. Rice Water Treatment for Strengthening
Ingredients: 100g uncooked white rice, 500ml water, 1-2 drops of an essential oil if desired (to address the fermentation smell)
Rice water has an unusually robust evidence base compared to most DIY hair treatments, largely because of one compound: inositol. Unlike most large-molecule nutrients, inositol can penetrate the hair shaft and — critically — has been shown to remain in the hair after rinsing, providing a degree of ongoing protection against damage from combing and tension.
The fermented version amplifies this. Wash the rice briefly to remove surface dust, soak in the water for 24-48 hours at room temperature (covered loosely — not airtight, as CO2 is produced). The liquid will start to smell sour. That’s correct. Strain out the rice, store the liquid in the fridge (it keeps for about a week), and dilute it roughly 1:1 with fresh water before use. The fermentation process lowers the pH of the water and increases the concentration of the beneficial compounds.
Apply to clean, damp hair after shampooing and before conditioning. Leave on for 20-30 minutes — some people find that leaving it longer causes protein-like effects (stiffness), so start at the lower end. Rinse thoroughly, then apply your regular conditioner. Use once a week. Don’t expect overnight transformation; the research supports gradual strengthening over months of consistent use.
8. Ceramide Mask for Porosity Repair
Ingredients: 2 tablespoons sunflower seed oil, 2 tablespoons rice bran oil, 1 tablespoon of a lightweight conditioner as a carrier
Ceramides are the lipid molecules that form a significant part of the hair cuticle structure — think of them as the mortar between the cuticle “bricks.” Damaged hair, particularly high-porosity hair, has depleted ceramide content, which is part of why the cuticle doesn’t lie flat and why moisture retention is so poor.
You can buy ceramide-containing hair serums, but you can also work with ingredients that are naturally rich in ceramide-like lipids. Sunflower seed oil and rice bran oil both have high ceramide content compared to other plant oils, and their fatty acid profiles are well-suited to mimicking the lipid composition of a healthy hair cuticle.
Combine the oils with a small amount of conditioner to create an emulsion that distributes more evenly through the hair (straight oil can be difficult to apply without over-saturating some sections). Apply to clean, damp hair, focusing on the lengths and ends, and leave on for 30-45 minutes before rinsing. The effect is cumulative — repeated use over several weeks gradually improves the cuticle’s ability to close and retain moisture.
9. Strengthening Glossing Treatment for All Damage Types
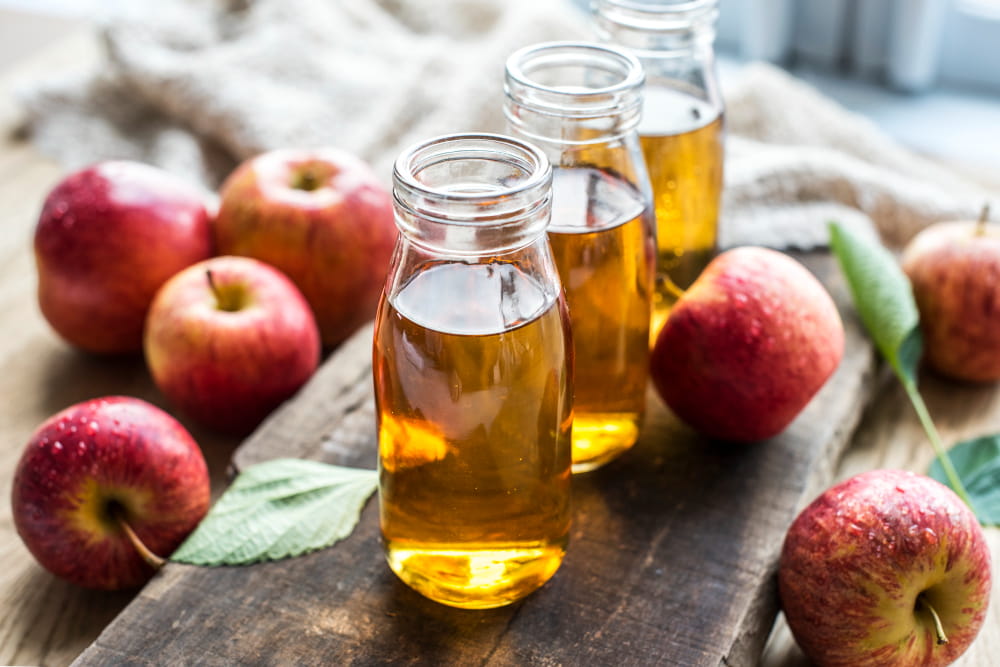
Ingredients: 1 tablespoon apple cider vinegar (raw, with the mother), 500ml water, followed by a lightweight conditioner
This final treatment works differently from the others — it works through pH chemistry rather than through ingredient penetration.
Healthy hair has an isoelectric point around pH 3.67 and functions best at a slightly acidic pH, roughly 4.5-5.5. Most shampoos are more alkaline (pH 6-8), which causes the cuticle to swell and lift. The cuticle stays lifted and the hair looks dull, feels rough, and tangles more easily.
Apple cider vinegar, diluted correctly, lowers the hair’s surface pH back toward its natural acidic state. A closed, flat cuticle reflects light like a mirror rather than scattering it — which is where the glossiness comes from. It’s not a cosmetic trick; it’s a structural change (temporary, but achievable repeatedly).
The dilution ratio matters. Too concentrated (straight ACV or even a 1:1 ratio) and you’ll strip the cuticle rather than smooth it. The right ratio is roughly 1-2 tablespoons of ACV per 500ml of water. Pour it through your hair after shampooing and conditioning as a final rinse. Leave it on for 2-3 minutes, then rinse with cool water. The vinegar smell dissipates as the hair dries.
Recovery: What to Actually Expect
Hair recovery is measured in months, not weeks. This is because the treatments above work to improve the condition of the hair you currently have, but the most damaged sections — particularly ends — will need to be cut away progressively as new, healthier growth comes in. If you have significant heat or chemical damage, there’s no mask protocol that will restore those strands to their original state. What you’re doing is managing the existing damage, preventing further damage, and allowing the healthy growth cycle to gradually replace what’s been compromised.
Signs that you’re moving in the right direction: improved elasticity (wet hair stretches and returns rather than just stretching and snapping), reduced shedding and breakage on the shower floor and on your brush, better moisture retention (your hair doesn’t feel dry again an hour after conditioning), and improved shine.
The lifestyle factors are non-negotiable. A mask applied once a week cannot compensate for daily heat tool use on the same sections, a diet significantly deficient in protein (keratin is a protein — it requires dietary protein to synthesize), or mechanical stress from aggressive brushing, tight hairstyles worn daily, or rough towel-drying. Protein, iron, zinc, and biotin deficiencies all manifest in hair quality. If your diet is strong and your styling habits are gentle, masks accelerate recovery. If those fundamentals are off, masks are managing a situation that keeps being made worse.
Reduce heat as much as you can — ideally eliminate it during the recovery period. When you must use heat tools, apply a heat protectant first and use the lowest effective temperature. Sleep on a silk or satin pillowcase; it reduces the friction that causes cuticle damage overnight. Protect your ends when wearing your hair down in dry, windy conditions.
The process is slow, unglamorous, and requires consistency. But the hair that grows in with proper nutritional support and minimal mechanical stress genuinely is stronger and healthier — and once the damaged sections have been gradually trimmed away, the difference is visible.
Be patient with it.
The information in this post is based on personal research and experience and is intended for educational purposes only. It is not a substitute for professional medical or dermatological advice, diagnosis, or treatment. Always consult a qualified healthcare provider before making changes to your skincare routine or health practices, especially if you have a medical condition or sensitivity.
