
This post contains affiliate links. If you click a link and make a purchase, I may earn a small commission at no extra cost to you. I only recommend products I genuinely believe in. Thank you for supporting Amoria Style!
If you’ve ever stood in front of the mirror thinking “so, are we doing cute or chaotic today?” — half-up, half-down is your answer to both. It’s the hairstyle that looks like you made a decision without requiring you to fully commit to one. Down feels too undone. Full updo feels too formal. Half-up sits exactly in the middle and somehow manages to work for brunch, a work call, a date, and running errands on the same day.
The reason I keep coming back to this style family is simple: it’s forgiving. It works on straight hair, wavy hair, curly hair, freshly washed and three-days-dirty. It scales from five minutes to thirty depending on how much you want to do with it. And in 2026, the variations are genuinely interesting — not just the same basic half-ponytail from ten years ago.
Here are 11 versions worth knowing, with actual instructions so you can do them rather than just look at them.
What You'll Need for Most of These Styles
Before getting into the styles, a quick tool list that covers most of what’s below:
- Hair ties — clear elastics for styles where you don’t want the tie visible, regular ties for everything else
- Bobby pins — the more the better; buy a bulk pack and you’ll never run out at the wrong moment
- A tail comb — for clean sections and parting. A regular comb works but a tail comb gives you more control
- Texturizing spray or dry shampoo — adds grip and texture, which makes most of these styles hold better and look less flat
- Hairspray — for anything you want to last through a full day
One honest note: most half-up styles hold better on second or third-day hair than freshly washed. If you’re planning to do one of these for an event, wash your hair the night before.
1. Half-Up Half-Down With a Twist
The most versatile style on this list. Two front sections twisted back and pinned — it takes under five minutes, works on every hair texture, and manages to look like you thought about it even when you didn’t.
How to do it:
- Part your hair where you normally do — center or side, either works
- Take a section from one side of your face, roughly the width of two fingers from your hairline
- Twist it back toward the center of your head, keeping the twist tight
- Secure with two or three bobby pins in an X formation so they hold
- Repeat on the other side, twisting in the same direction
- Pull the two sections together at the center back and secure with a small elastic or extra pins
- Gently loosen the twists slightly with your fingertips for a softer look
Works on: Straight, wavy, curly — genuinely all textures Takes: 3-5 minutes Best for: Every day, work, Zoom calls, casual outings

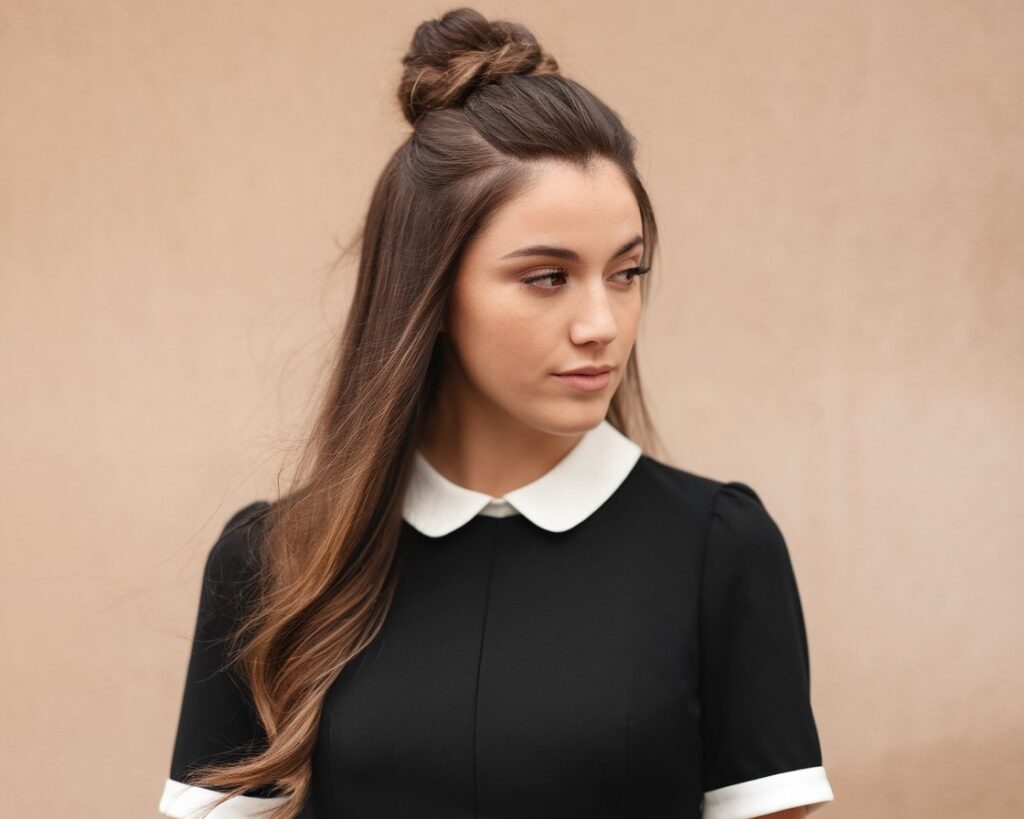
2. Twisted Bun Half Up Style
The step up from the classic twist-back. Instead of pinning the twisted sections flat, you gather them into a small bun at the crown — which adds height, volume, and a slightly more polished finish.
How to do it:
- Gather the top section of your hair — from roughly ear to ear across the top of your head
- Twist this section loosely as you would a rope
- Coil the twisted section around itself into a small bun at the crown
- Secure with an elastic first, then reinforce with bobby pins around the base
- Pull a few small pieces loose at the front to soften the look
- Set with a light spray if you want it to last
Works on: Medium to long hair — short hair doesn’t have quite enough length for the bun Takes: 5-8 minutes Best for: Slightly elevated casual, dinner, events where a full updo feels like too much
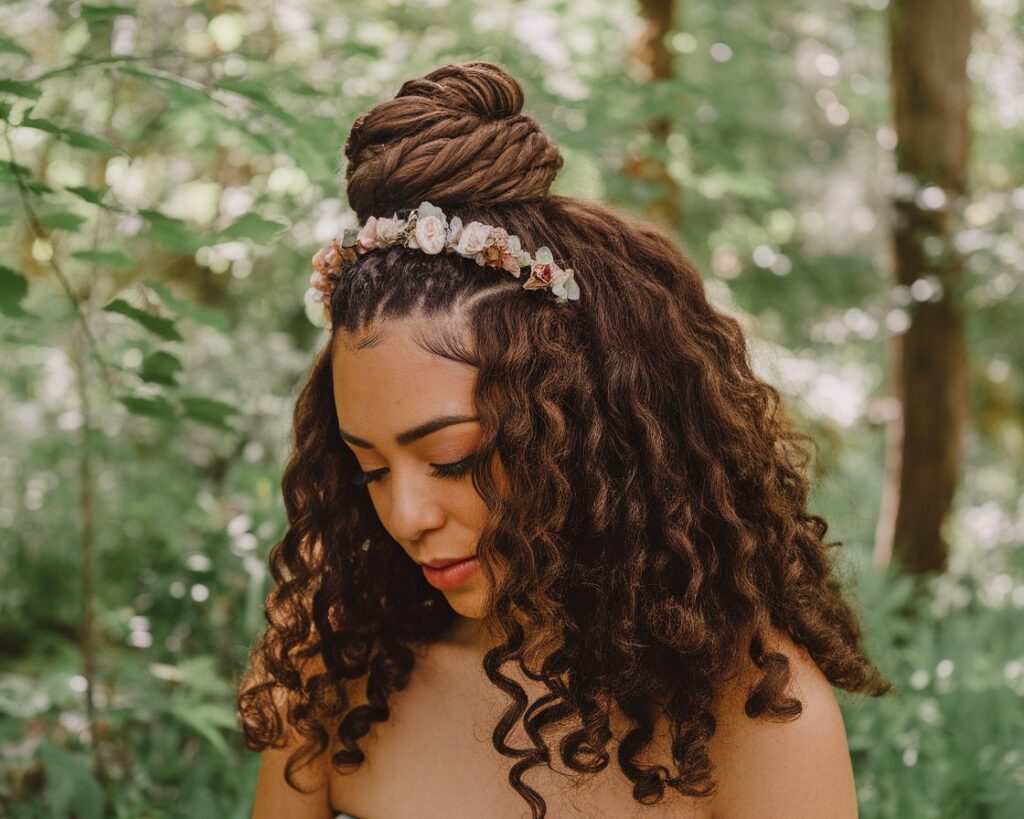
3. Natural Curls With A Half Up Twist
For curly and wavy hair specifically. The goal here is to work with your curl pattern rather than against it — lifting the top section for shape and lift while letting the rest of the curls do their thing underneath.
How to do it:
- Start with defined curls — either natural or refreshed with a curl cream or water
- Using your fingers rather than a comb (a comb disrupts curl pattern), gather the top section from temple to temple
- Twist this section loosely — you want the curl texture to show through the twist, not be smoothed out
- Secure at the crown with a scrunchie or soft elastic that won’t leave a crease
- Shake out the rest of your curls and scrunch gently to revive any that got flattened
- Pull a curl or two loose at the front to frame the face
Works on: Naturally curly and wavy hair Takes: 5 minutes Best for: Days when your curls are cooperating — this style celebrates texture rather than hiding it
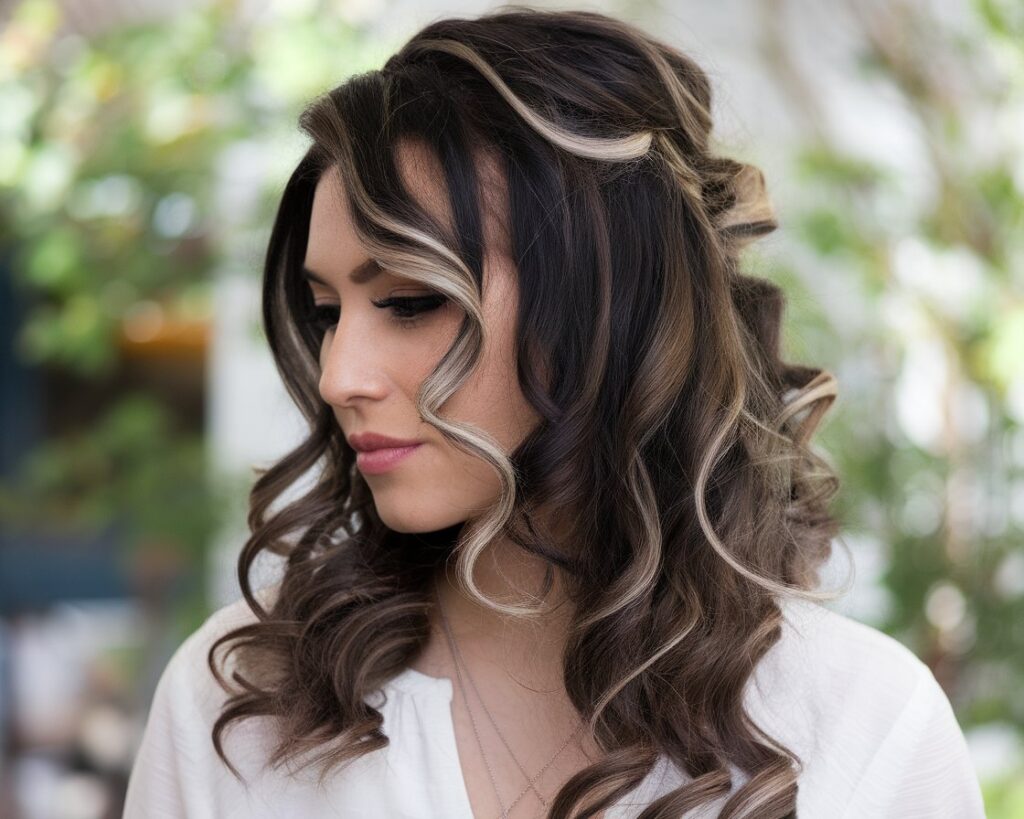
4. Half-Up Half-Down With Highlights and Curls
If you’ve got highlights or balayage, this is the style that shows them off most effectively. The combination of lifted top section and soft curls throughout creates movement that catches light differently at every angle.
How to do it:
- Curl your hair in loose waves using a curling iron or wand — leave a few sections uncurled for a natural, undone finish
- Let the curls cool completely before touching them (this makes them last significantly longer)
- Take the top section from temple to temple and gather loosely
- Backcomb this section very lightly at the roots for volume before securing
- Secure with a clear elastic or a decorative clip
- Break up the curls gently with your fingers rather than a brush — this creates soft waves rather than tight ringlets
- Pull a few face-framing pieces loose and curl them individually if needed
Works on: All hair types once heat-styled Takes: 15-20 minutes with curling Best for: Events, dinners, occasions where you want your hair to look genuinely styled
5. Sleek Half-Up Ponytail
The polished version of the half-up. Everything smooth, no texture, clean lines. It’s the half-up style that suits formal occasions and professional settings where the effortless-undone versions might read as too casual.
How to do it:
- Apply a smoothing serum or cream through damp or dry hair and blow-dry smooth if needed
- Section off the top half of your hair from ear to ear
- Brush this section thoroughly until completely smooth — use a boar bristle brush for the cleanest result
- Gather at the crown and secure tightly with an elastic
- Wrap a small piece of hair around the elastic to hide it and secure underneath with a pin
- Smooth down any flyaways with a small amount of gel or pomade on a clean toothbrush
- Set with firm-hold hairspray
Works on: Straight and lightly wavy hair most easily — very curly hair needs blowout or straightening first Takes: 10-15 minutes Best for: Work, formal events, occasions where polish is the brief
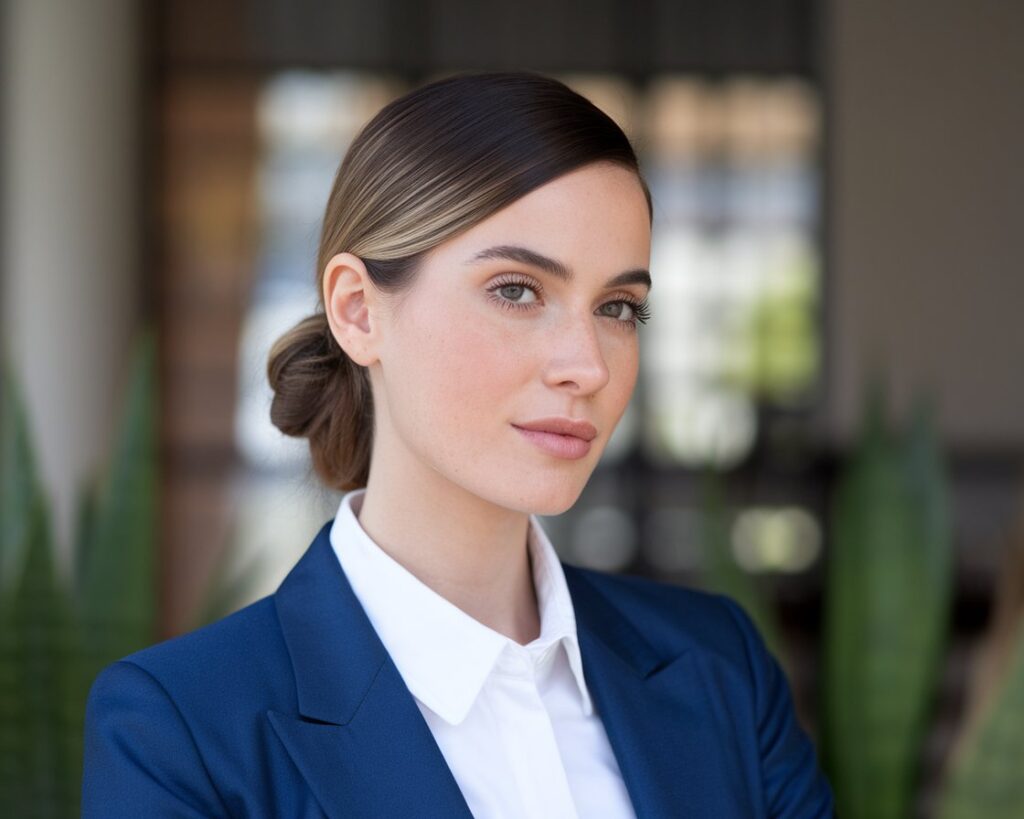
6. Side Swept Curls
Soft curls swept to one side and pinned — one of the most romantic half-up styles on this list. The asymmetry is what makes it interesting: everything gathered and flowing to one side creates a graceful look that suits occasions more than everyday wear.
How to do it:
- Curl your entire hair in loose waves using a curling wand
- Let the curls cool completely before touching them
- Sweep all your hair to one side — left or right depending on your preference
- Take the top section from the heavier side and pin it back loosely behind your ear using decorative pins or a clip
- Allow the rest of the curls to fall over one shoulder
- Pull one or two face-framing pieces loose on the lighter side for balance
- Set with a light hairspray to keep the sweep in place
Works on: Medium to long hair; all textures once heat-styled Takes: 15-20 minutes with curling Best for: Events, weddings, dates, occasions where you want something soft and feminine
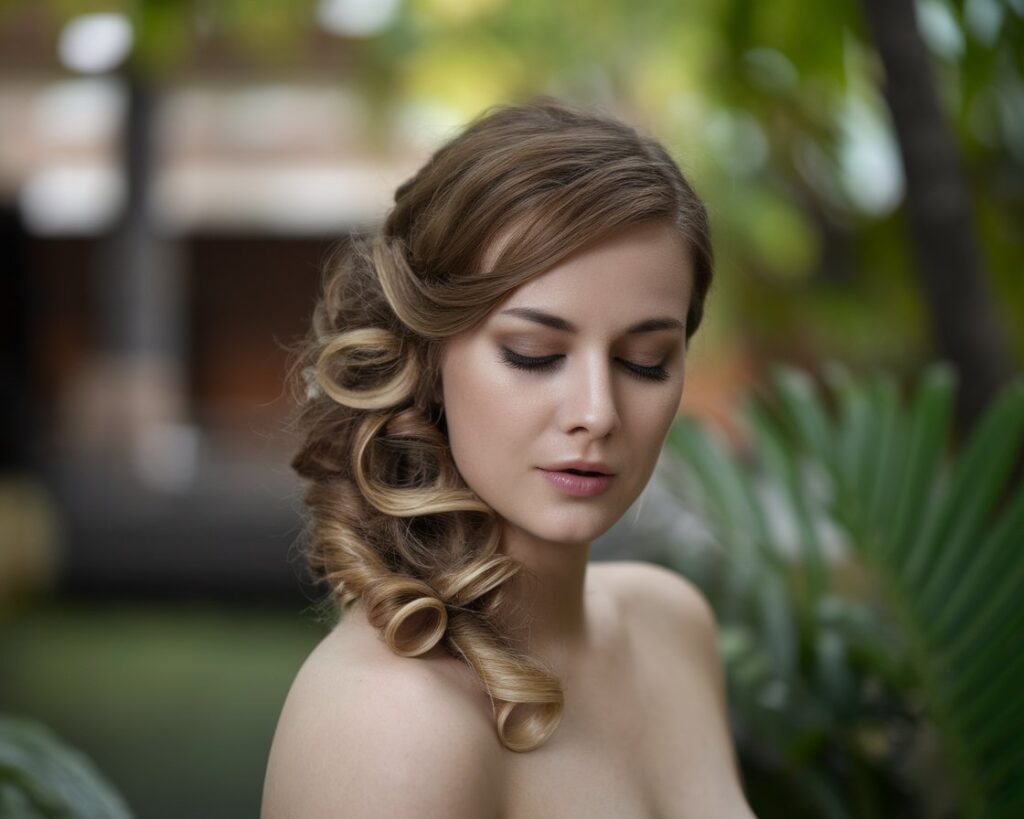
7. Wavy Fountain Ponytail
A half-up ponytail where the secured section fans out and falls forward like a fountain — the waves cascade over the front rather than falling straight back. It’s a more dramatic, editorial take on the standard half-up ponytail.
How to do it:
- Create loose waves through your entire hair with a curling wand or overnight braids
- Gather the top section from temple to temple
- Secure with an elastic slightly forward of where you’d normally place a ponytail — closer to the top of the head
- Fan the ponytail forward so the waves fall over the front of the head rather than backward
- Pin the sides of the ponytail lightly to keep the fountain shape
- Let the rest of your hair fall down in waves beneath
Works on: Medium to long wavy or curly hair Takes: 15 minutes Best for: Events, photoshoots, occasions where you want a statement hair moment
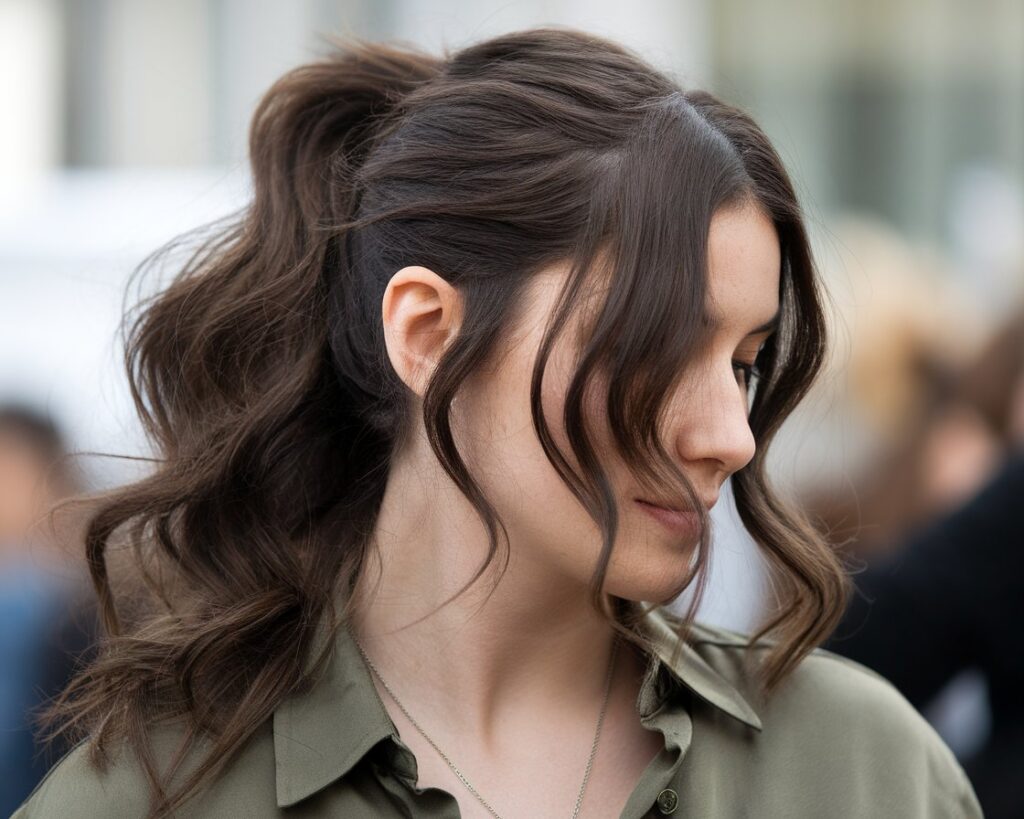
8. Wave Twisted Half Updo
A combination of waves and a twist — the top section is twisted and secured while soft waves flow through both the twisted section and the hair below. The result is romantic and textured without looking overdone.
How to do it:
- Add waves through your hair using a curling wand — loose, not tight
- Take the top section from one side and twist it back toward the center
- Gather with a section from the other side and twist both together
- Secure with pins at the back, letting the twist sit loosely rather than flat
- Gently pull the twist apart slightly to show the wave texture within it
- Leave the rest of the waves loose and natural
Works on: Wavy and lightly curly hair best — straight hair needs to be waved first Takes: 10-15 minutes Best for: Casual occasions, dinners, days where you want texture without a full style
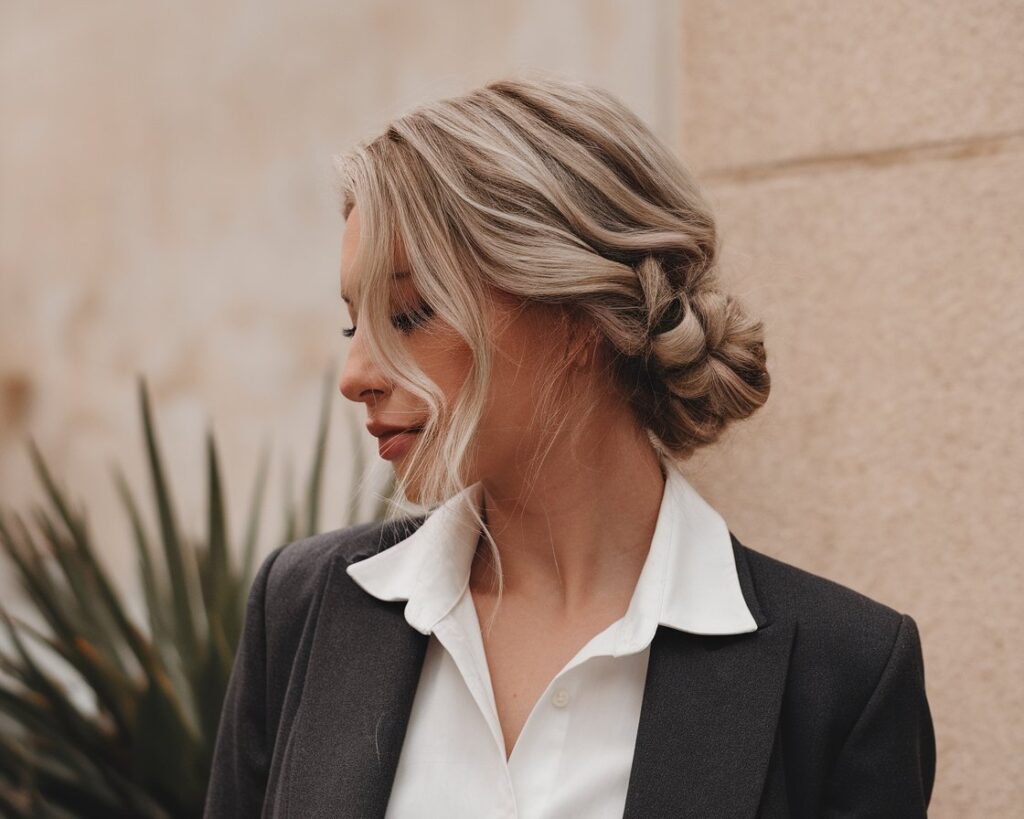
9. Loose Twist Half Updo
The most relaxed twist style on this list. Everything about it is intentionally undone — a loose, barely-there twist at the back that looks like it happened naturally rather than being planned. The key is not overtightening anything.
How to do it:
- Start with natural or lightly textured hair — this works best without heavy product
- Take a generous section from the top of your head, loosely gathered
- Twist it once or twice very loosely — you want movement, not a tight coil
- Secure with a few pins placed casually rather than precisely
- Pull the twist apart gently with your fingers to loosen it further
- Pull face-framing pieces out at the front and let them fall naturally
Works on: All textures — the looser the better Takes: 3-5 minutes Best for: Everyday wear, casual outings, the “I didn’t try but it looks good” effect
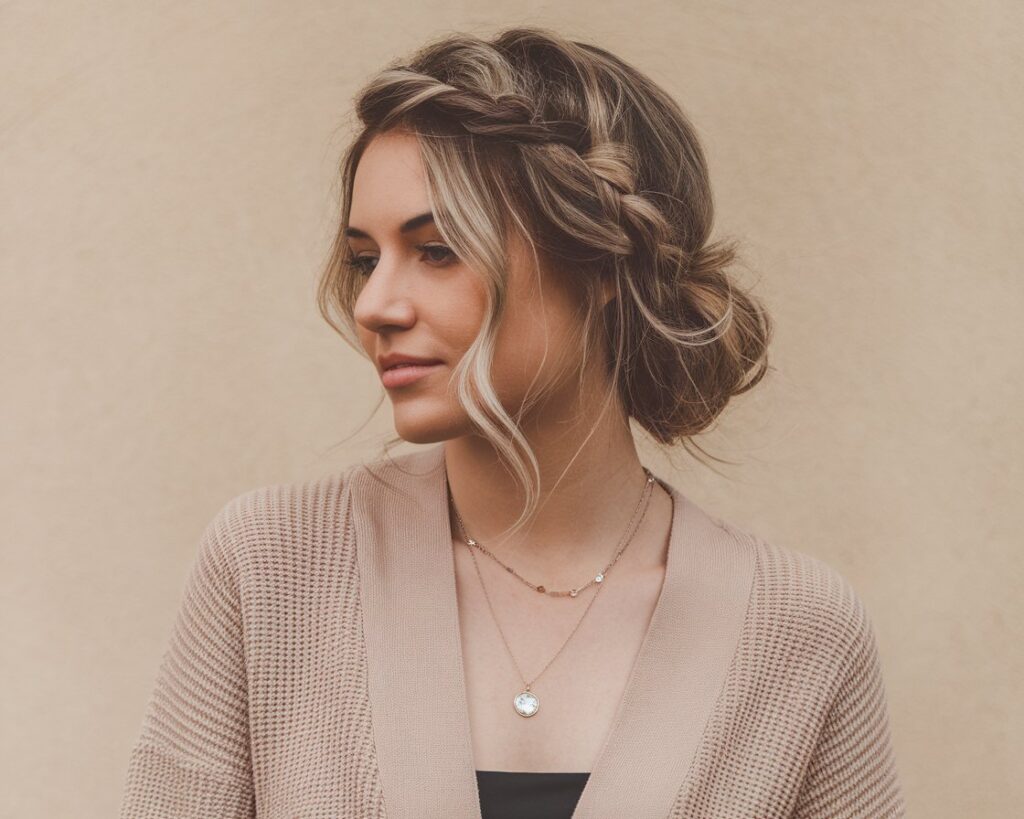
10. Sleek Half-Up Bun
A clean, smooth bun at the crown with the rest of the hair falling straight down. More polished than the twisted bun version — everything is smooth, nothing is undone. The contrast between the sleek bun and the straight hair below is what gives it its clean, modern look.
How to do it:
- Blow-dry your hair smooth or straighten it if needed
- Gather the top section from ear to ear
- Brush this section completely smooth — no bumps, no flyaways
- Twist the section and coil into a neat bun at the crown
- Secure tightly with an elastic, then pin around the base
- Wrap a small piece of hair around the elastic to hide it
- Smooth any flyaways with a small amount of gel and set with firm spray
Works on: Straight and lightly wavy hair most easily Takes: 10-15 minutes Best for: Work, smart casual occasions, formal events where you want polished but not stiff
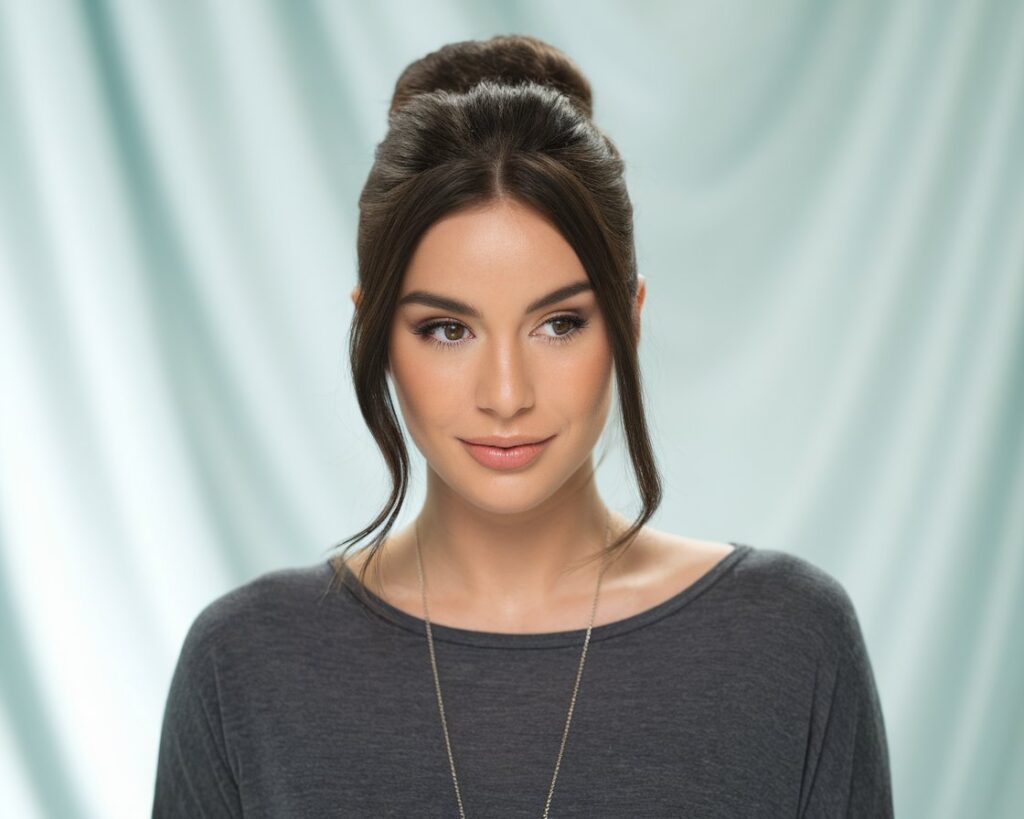
11. Half-Rapunzel
Long, flowing hair with just the top section pinned back — the name describes it perfectly. The goal is maximum length and movement in the hair that’s left down, while the pinned top section keeps everything out of the face and adds a crown-like quality.
How to do it:
- Start with your hair down and as smooth or as textured as you prefer
- Take only a small section from the very top of your head — less than you’d gather for most half-up styles
- Pin this section back at the crown with a decorative clip, pins, or a small elastic
- Leave everything else completely down and flowing
- Add a few loose waves if your hair is straight, to enhance the flowing effect
- The longer your hair, the better this style looks — it’s built for length
Works on: Long hair specifically — this style loses impact on shorter lengths Takes: 2-3 minutes Best for: Days when you want your hair length to be the main feature, casual and relaxed occasions
Choosing the Right Style for Your Hair Type
Not every half-up works equally well on every hair type. Quick guide:
Straight hair — the sleek ponytail and knotted half-up look cleanest. Add texturizing spray if everything looks too flat.
Wavy hair — the most versatile texture for half-up styles. Most options on this list work without much prep.
Curly hair — the natural curls twist-up is specifically designed for you. For other styles, define your curls first with cream or gel before sectioning.
Fine hair — backcombing the top section lightly before securing adds volume that fine hair naturally lacks. Avoid styles that pull too tight as they can look flat rather than sleek.
Thick hair — most styles work well but you may need more pins than the instructions suggest. The space buns and boho braids are particularly suited to thick hair.
The Honest Truth About Half-Up Hairstyles
The ones that look the most effortless in photos are usually the ones with the most texture — second-day hair, a little dry shampoo, some loose pieces around the face. If you’re trying to recreate a half-up you saw on Pinterest and it’s not working, the problem is usually that your hair is too clean and too smooth. Add some texture first and try again.
And bobby pins: you always need more than you think. Buy the bulk packs.
The information in this post is based on personal research and experience and is intended for educational purposes only. It is not a substitute for professional medical or dermatological advice, diagnosis, or treatment. Always consult a qualified healthcare provider before making changes to your skincare routine or health practices, especially if you have a medical condition or sensitivity.
