This post contains affiliate links. If you click a link and make a purchase, I may earn a small commission at no extra cost to you. I only recommend products I genuinely believe in. Thank you for supporting Amoria Style!
Let me be honest with you before we get into technique.
DIY highlights on brunette hair are the most commonly regretted at-home hair project — not box dye disasters, not bad trims, not botched brow tints. Highlights on dark hair. The reason isn’t that the techniques are impossible or that the products are uniquely dangerous. It’s that every guide you’ll find online is written to reassure you into buying something, and reassurance is exactly the wrong frame for this particular job.
What actually trips people up isn’t the application. It’s the chemistry. And the chemistry of lifting dark hair is genuinely different from anything else in the at-home beauty space. So before the techniques, here’s what you actually need to understand.
Hey, gorgeous! So, you’re thinking about switching up your brunette locks with some highlights, but the thought of booking a salon appointment—or, let’s be honest, paying a small fortune—makes you break into a cold sweat. I get it. Been there, done that, and yep, my wallet cried too.
The good news? You don’t need a fancy stylist to get sun-kissed strands or subtle pops of color. With a little patience, the right products, and some DIY magic, your hair can look like it just came out of a salon chair—without the anxiety or the bill. I’ve tried several methods over the years, and I’m spilling all the tea on 7 easy DIY hair highlights for brunettes at home. Grab your comb and a snack—this is going to be fun.
Why Brunette Hair Is Its Own Category
Dark hair contains eumelanin — a dense, stable pigment that doesn’t just fade when you apply bleach. It has to be chemically dismantled in stages, and those stages follow a predictable but unforgiving sequence. Black hair lifts to brown first, then dark red, then red, then red-orange, then orange, then yellow-orange, then yellow, then pale yellow, then — at the extreme end — near-white.
This matters because the color you want and the stage you land on are two different things if you don’t account for timing, hair porosity, and starting depth. Most DIY brunette highlight disasters aren’t caused by applying bleach wrong. They’re caused by stopping at orange and calling it done, or by not understanding that a cool, ashy highlight requires lifting all the way to pale yellow before toning — whereas a warm, honey highlight only needs to reach yellow-orange.
If your hair is medium brown, you’ll typically need to lift three or four levels to get a highlight worth having. If it’s dark brown or black, you may need five or six. And here’s the thing: lift happens fastest in the first twenty minutes, then slows dramatically. Leaving bleach on longer doesn’t always get you further — it just increases damage. Understanding where you are in that sequence while you’re in it is the difference between a highlight and a hair emergency.
There’s also porosity to consider. Previously colored hair, heat-damaged hair, and hair with a lot of product buildup all lift unevenly because the cuticle is in different states across the length of the strand. The mid-shaft might blast to orange in fifteen minutes while the roots barely move. This is why the techniques below vary so much in their risk profiles — the gentler ones avoid this problem entirely by using gradual lighteners that can’t overprocess, while the more aggressive ones require you to actively manage it.
With all of that in mind, here are seven approaches organized from the one with essentially no risk ceiling to the one that needs your full attention.
1. Sun-In and Gradual Lighteners
This is the entry point, and it’s worth taking seriously rather than dismissing as too subtle. Hydrogen peroxide-based gradual lighteners — Sun-In being the most familiar, but there are several — work by depositing a low concentration of peroxide on the hair shaft that activates with heat (usually a blow dryer or sun exposure). The lift is slow, cumulative, and mild.
The realistic result on medium-brown hair is warm, sun-kissed lightening — think the kind of natural variation you’d get after a summer on the coast. It is not dramatic. You will not end up with blonde highlights. But for light to medium brunettes who want texture and warmth rather than a high-contrast look, it’s genuinely effective and carries almost no risk of disaster.
The limitation is precision. You can’t control exactly where it lifts, and it doesn’t work at all on very dark or black hair — the eumelanin concentration is simply too high for low-level peroxide to make a dent. If you apply it to dark hair and nothing happens, that’s the expected outcome, not a reason to leave it on longer.
2. Lemon Juice and Sun Exposure
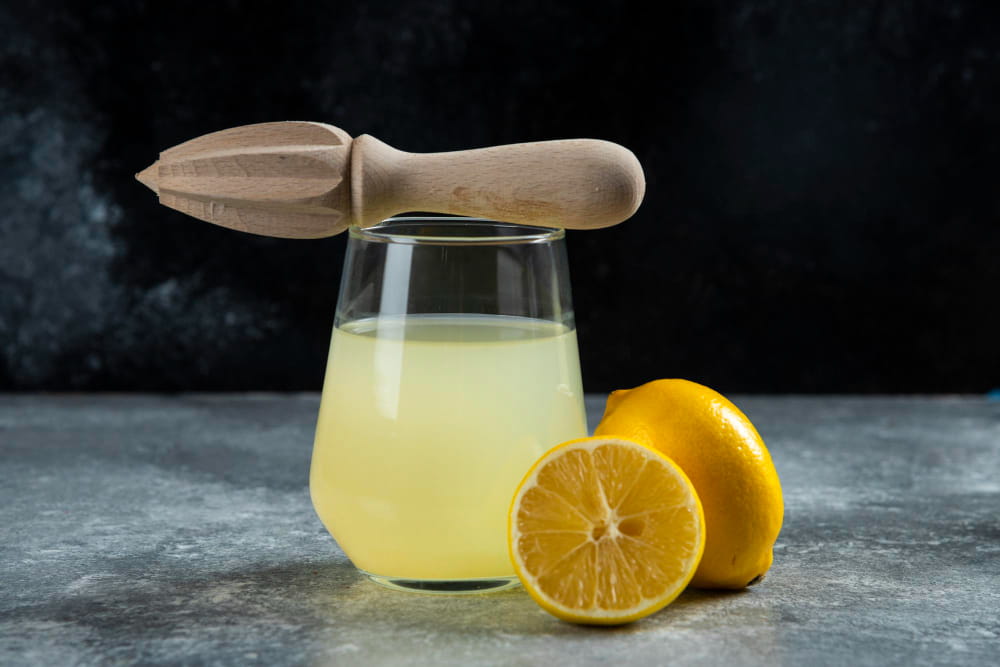
Before rolling your eyes: yes, this actually works, and it works through a real mechanism. Citric acid oxidizes melanin when activated by UV exposure, producing gradual, diffuse lightening. The result is subtle — genuinely subtle — but on light to medium brunettes, repeated application across several sunny days does produce a noticeable effect that reads as natural warmth.
The honest caveat is texture. Citric acid is mildly acidic in a way that disrupts the hair cuticle over time, and unlike most chemical lighteners, it has no conditioning agent built in. Repeated use — weekly all summer, say — will make hair feel drier and more brittle. This is the gentlest lightening option in terms of color outcome, but it carries the most potential for long-term texture damage if you go overboard. Occasional use on healthy hair is fine. Using it as a daily substitute for proper lightening on hair that’s already compromised is not.
3. Chamomile Tea Rinses
Chamomile contains flavonoids, particularly apigenin, that have mild lightening properties when applied to light brown hair and left to dry in the sun. Brew it strong, cool it, rinse through hair after washing, and don’t rinse it out. The effect is extremely gradual and extremely gentle — which means it’s also the technique with the narrowest range of candidates.
This works for medium brown hair that wants a hint of warmth. It does not work for dark brown hair, and on black hair the effect is zero. Think of it less as a highlighting technique and more as a subtle color maintenance ritual for people who already have warm undertones and want to coax them forward. The upside is that there is essentially no way to damage your hair with chamomile tea.
4. Cap Highlights at Home
This is the technique most people picture when they think “DIY highlights from the drugstore” — the rubber or plastic cap with small holes, and the hook you use to pull strands through before applying bleach. It was the dominant at-home method for decades and it still works, but it has real limitations that the packaging doesn’t tell you.
The process: wet your hair slightly so it’s easier to pull through, secure the cap tightly, and use the hook to pull small sections through each hole. Work methodically from the front hairline backward. The size of your hook pull determines strand thickness — thin pulls for finer highlights, thicker for chunkier ones. Apply bleach over the pulled strands only, set a timer, and check every ten minutes. The cap itself doesn’t hold heat the way foil does, so processing is slower.
Common mistakes: pulling too many strands through each hole (creates thick, blocky color), uneven application that leaves some strands half-lightened, and not accounting for the fact that strands near the face will lift faster because of body heat differential. The result, when done well, is consistent highlights distributed across the crown and top sections of the hair.
The honest limitation is aesthetic rather than technical. Cap highlights produce a spotted pattern that reads as distinctly dated compared to modern balayage or foil work. The color sits in uniform dots across the top of the hair rather than following the natural growth pattern, and it rarely looks like you went to a good salon. It looks like a cap highlight. For some people that’s fine — it’s low-effort, low-cost, and low-risk — but go in knowing what you’re getting.
5. Balayage at Home with a Brush
This is where the ceiling gets high and the floor gets low. Done well, at-home balayage produces genuinely beautiful results — natural-looking, sun-kissed color that follows the movement of the hair. Done badly, it produces blotchy, blocky patches that require professional correction.
The technique is freehand: you’re painting bleach onto sections of hair using a brush, without foil, letting it sit in open air. Start by sectioning the hair into horizontal layers from nape to crown, clipping each layer up and working from the bottom. The bleach consistency matters more than most guides acknowledge — it needs to be thicker than you’d think, closer to cake batter than the runny consistency people usually mix. Thin bleach runs, bleeds, and creates hard lines. Thick bleach stays where you put it.
The feathering technique is what separates natural-looking balayage from obvious DIY work. You don’t start the bleach right at the root — you begin several inches down and brush upward in a sweeping, tapered motion so the color fades gradually toward the root rather than starting abruptly. The sections closest to the scalp will process faster due to body heat, so sections you paint lower down may need a few extra minutes before you rinse.
Timing variation between sections is the part that trips up first-timers. If you paint the bottom sections first and the top sections last, the bottom will have been processing longer by the time you finish — which is actually correct, because lower sections are cooler and lift more slowly. If you rush and paint everything at once, you’ll get uneven lift. Check every ten minutes, and look at the actual color you’re seeing, not just the clock.
Be honest with yourself about the first attempt. Most people who do at-home balayage need a second session or a professional tone to get exactly where they want. The first round is learning the movement.

6. Foil Highlights at Home
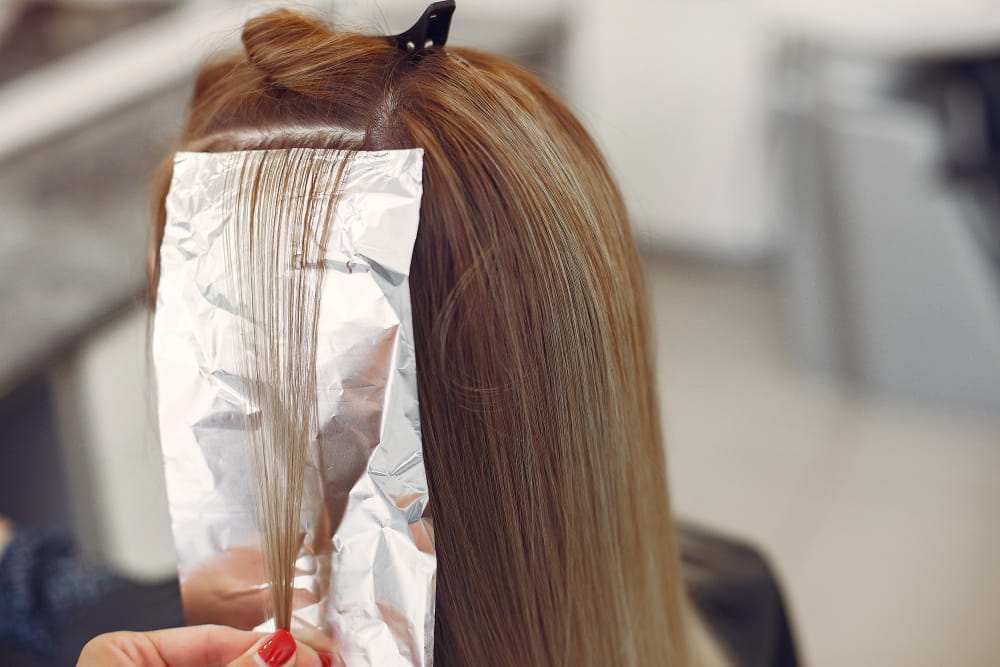
The most precise DIY technique, and the one with the sharpest gap between a good outcome and a bad one. Foil highlights create more lift than open-air techniques because the foil traps heat, accelerating the bleaching process and allowing for more controlled color placement. The result, when done correctly, is genuinely professional-looking — clean highlights with crisp boundaries, distributed however you choose to place them.
The process requires sectioning the hair cleanly and working methodically. Take a horizontal parting, slip a sheet of foil underneath the section, apply bleach, fold the foil up to seal the heat in, and move to the next section. Work from the nape upward. The temptation is to rush, which leads to sloppy foil placement and bleach bleed onto unintended sections.
Timing is where foil work gets demanding. Foil highlights process faster than open-air techniques — sometimes significantly so — and you can’t easily check color while the foil is sealed. Open one foil every five to eight minutes to assess where you are. If you see the strand has lifted to your target level, open all foils, rinse immediately. Leaving them sealed too long is how you get hot spots and breakage.
Getting a friend to help with the back sections isn’t just convenient — it’s the practical difference between even highlights and a result that looks like you couldn’t see what you were doing (because you couldn’t). This is the one technique on this list where another pair of hands genuinely changes the outcome.
7. Toning After Lightening
This isn’t a highlighting technique, but no DIY highlight guide that omits it is giving you the full picture. Toner is what takes pre-lightened brunette hair from orange or brassy yellow to the actual color you wanted. Most people skip it because most at-home guides bury it in a footnote or don’t mention it at all.
Here’s how it works: toner is a semi-permanent color that deposits cool or warm pigment onto already-lightened hair, neutralizing unwanted undertones. The color wheel does the work. Orange and brassy tones are neutralized by blue pigment. Yellow tones are neutralized by purple pigment. This is why toners are typically labeled with these undertones, and why purple shampoo is effective for maintaining blonde highlights but does essentially nothing for hair that lifted to orange.
If your highlights came out more yellow than you wanted, a purple toner is your corrector. If they’re orange, you need a blue-based toner or a cool ash toner with significant blue pigment. Apply it to towel-dried, freshly bleached hair, work it through evenly, and watch the clock — most toners need eight to twenty minutes, and the difference between eight and twenty-five is the difference between a natural-looking cool tone and hair that has gone temporarily gray or lavender. Set a timer and check every five minutes toward the end.
What Can Actually Go Wrong
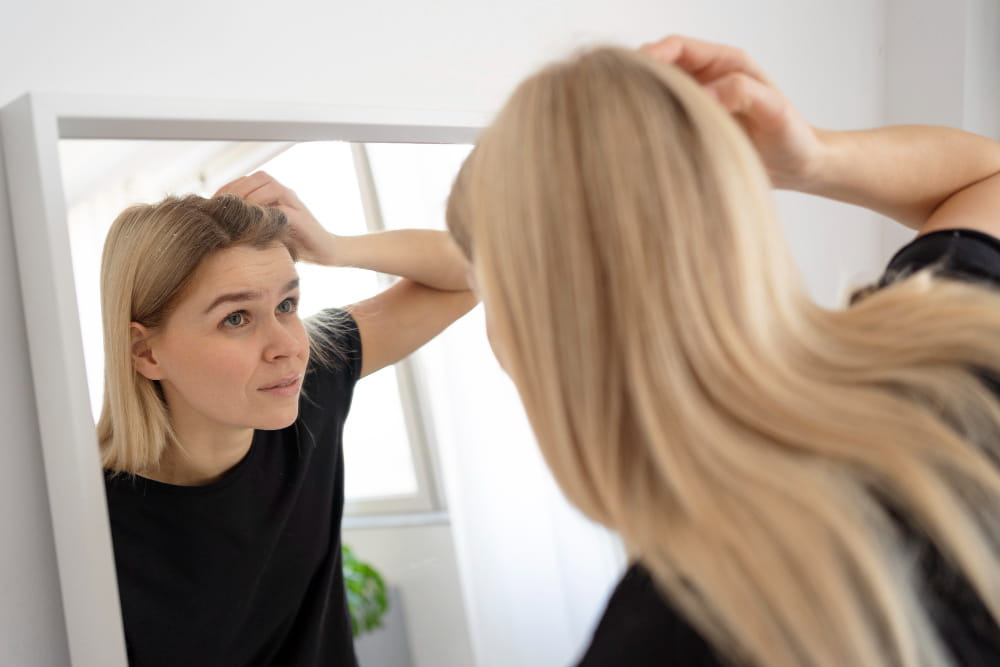
Bleach burns happen when product sits on the scalp too long or when there are micro-abrasions from scratching — which is why you should not scratch your head or brush aggressively in the 48 hours before lightening. Scalp burns show up as redness, tenderness, and in severe cases small blisters. Keep bleach off the scalp for any technique that doesn’t require root application.
Over-processing produces a specific kind of damage: hair that has lost structural integrity will break when you stretch a single strand. This is the snap test — wet a strand, stretch it gently. Healthy hair stretches slightly and returns. Over-processed hair stretches and snaps. If you hear or feel that during processing, rinse immediately. You cannot fix broken hair with more product.
Allergic reactions to bleach developers and color products are real. The patch test instructions on every box exist for a reason. Do it 48 hours before a full application, even if you’ve used the same product before — sensitivities develop over time.
The hair types that carry the highest risk for any DIY bleaching: hair that has been chemically relaxed or permed, hair that has been heavily heat-damaged, and very fine hair, which has thinner strand walls and processes faster and more unpredictably than coarse hair. If any of these apply to you, the risk-to-reward calculation on DIY bleaching shifts considerably.
When to Stop and Call a Salon
This section is short because it doesn’t need to be long.
If your hair has been box dyed repeatedly — and especially if you’re not sure exactly what’s in those previous colors — stop before you bleach. Box dye results are unpredictable under bleach, and “unpredictable” in this context means you can end up with green, red, or nothing at all in the same section of hair.
If your goal is more than three levels lighter than your current color, stop. That’s salon work.
If you hear or feel any snapping during processing — stop, rinse, and go see someone.
The cost of professional correction after a DIY disaster is always higher than the original salon service would have been. That’s not a scare tactic; it’s just what corrective color costs because of the time and skill required to undo damage. Know your limits, and know that recognizing them is part of doing this well.
The information in this post is based on personal research and experience and is intended for educational purposes only. It is not a substitute for professional medical or dermatological advice, diagnosis, or treatment. Always consult a qualified healthcare provider before making changes to your skincare routine or health practices, especially if you have a medical condition or sensitivity.
